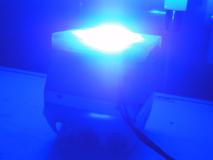
 Why
WhyHow
Electrical
Mechanical
Results
Other uses
TODO
One lab preparation required a photocatalytic reaction. A source of a massive flux
of 450-470 nm photons was needed.
A fifty-watt blue LED was sourced from a local vendor. As cooling the LEDs is of utmost importance for both the efficiency and the lifetime of the lamp, a large heatsink for an obsolete Pentium CPU was chosen to be its thermal management system.
The lamp is bright, deserving its codename BLUESUN.
 Schematics |
The lamp consists of a multichip 50-watt LED, a matching off-the-shelf power supply module, and a heatsink with a 12V fan.
The power supply is MEAN WELL LPC-60-1750 (datasheet), a 60-watt constant-current one
stabilized at 1.75 amperes and with output voltage between 9-34 volts.
The LED used is a GeTian GT-P100WB3450050750 (datasheet), 50-watt blue LED (465nm center wavelength) with 120°
radiation pattern and 750-1250 lm
(320 cd
) of light. It operates at 1750 mA,
with forward voltage 30-36 volts. The module consists of five parallel groups of ten series LED chips.
The heatsink is an old Pentium-grade one, specified for about 100 watts of heatsinking capability at full fan power. The fan operates at 12 volts, which requires a voltage regulator here; a 7812 was chosen as the most expedient solution. As the fan turned to be very loud and unnecessarily powerful, it was throttled down with a series resistor; another option would be using a 7805 stabilizer and adjust its voltage with diodes in its "base", or maybe a 7809 one. The best voltage (or series resistor value) where the fan starts reliably, provides enough airflow and doesn't make too much noise can be found by trial and error.
The power supply is directly connected to the LED assembly, to avoid issues with connectors; this may change in future iterations. The mains cable is spliced to the power supply primary side wires as an expedient solution. There is no switch, the unit is controlled directly by connecting/disconnecting it from the power socket; this may also change in future iterations.
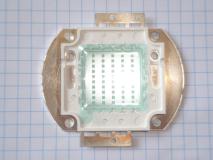 50 watt blue LED | 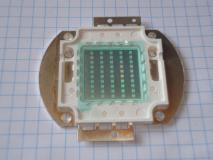 50 watt blue LED | 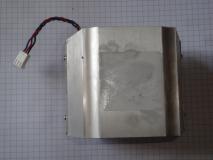 Heatsink | 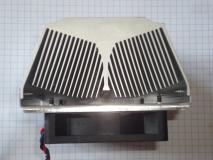 Heatsink |
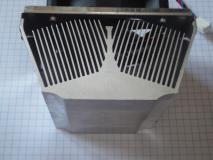 Heatsink |
The LED was placed on the heatsink, and its mounting holes were marked, together with other holes for attaching a face plate to the lamp. The holes were drilled and tapped with standard M3 thread.
One more hole was drilled from the side, and tapped with a tripod 1/4" thread.
Due to the amount of dissipated power the cooling has to be active. The heatsink comes with a fan, which operates at 12 volts. The LED operates at 30-36 volts. A 7812 stabilizer was chosen on the basis of expediency; it is specified to 35 volts on its input so it is kind of pushed, hopefully it survives. The stabilizer was clamped to the inner side of the outermost fin, using the springiness of the nearest inner fin to press its back (smeared with thermal grease) to the outer fin.
The face plate was designed in two parts and 3d-printed. The inner part covers some of the wiring and holds the silicone potting gel in place. The outer part holds in place the glass window and provides mechanical protection for the wiring and the LED.
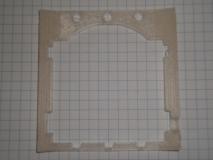 Top inner frame | 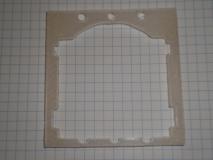 Top inner frame | 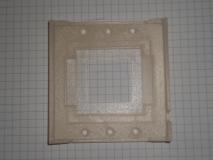 Top outer frame | 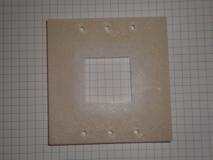 Top outer frame |
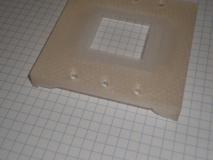 Top outer frame |
A glass window was cut from a microscope slide (with an atypical width, fortunately perfectly matching the LED width). To fit the LED, the corners were cut. They were cut a bit too much, so the rest of the slide was used to make another window; this time it was cut less aggressively, and then trimmed to fit with a diamond burr.
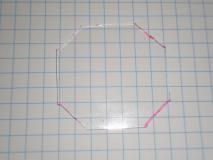 Glass window | 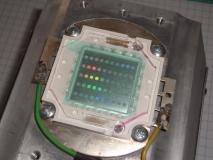 LED with glass window | 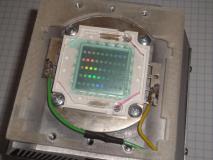 LED with glass window | 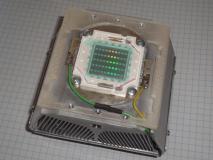 LED with glass window |
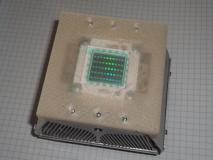 mockup assembly | 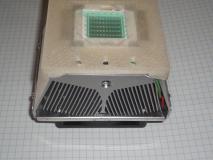 mockup assembly | 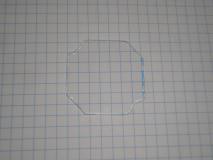 Better glass window |
Wires were attached and the new glass window was put in place, fit-tested, and then two-component transparent silicone gel was poured over the electrical connections and the LED top. The glass window was carefully lowered to the gel, avoiding trapping bubbles underneath.
There was some gas dissolved in the silicone, so some tiny bubbles formed during setting. They were judged inconsequential.
Raytech Magic Gel 1000 was used for the potting. It has a slight blue tint, which may be harmful for longer wavelengths but was judged to be unimportant for the thin layer used here. A regular one-component silicone was used for sealing the edges of the frame. Good internal protection against fluid ingress is necessary due to the intended use in laboratory environment.
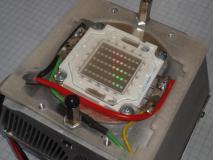 LED with better glass window and wiring | 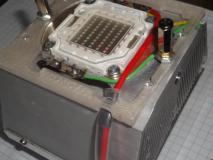 LED with better glass window and wiring | 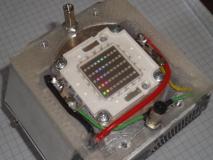 LED with wiring | 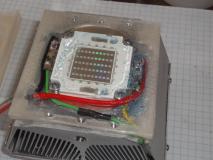 LED with window potted with gel |
About here it was realized that the top frame design did not account for the cables to the LED. The window for them was manually milled using a Dremel.
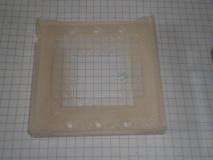 Top frame with milled cable window | 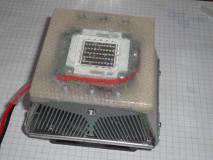 Top frame in place, silicone potted | 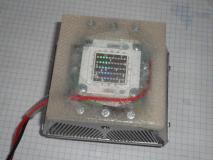 Top frame in place, silicone potted | 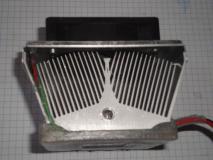 Top frame, tripod side |
The plastic was covered with single-component silicone, to provide chemical protection and better grip to the vessels standing on it.
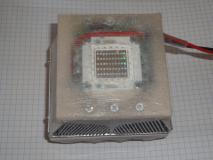 Top side, potted, cured, silicone-coated |
The unit was powered up and tested.
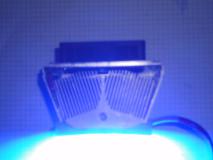 Powered up | 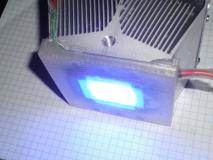 Powered up |
The cooling fan requires some protection. The design was chosen conservatively, with larger spacing between the top and the fan, and airflow holes from the sides to facilitate airflow in any lamp position. The cover was printed from ABS, at a rather high temperature, to facilitate interlayer cohesion; some minor deformations around the holes at the negative slopes resulted, which were "healed" as the print progressed.
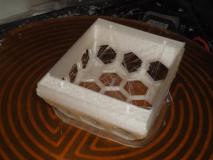 Bottom cover, as-printed | 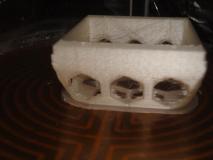 Bottom cover, as-printed | 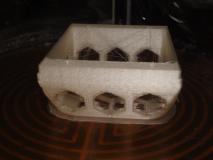 Bottom cover, as-printed |
The stringing was removed, the edges were milled smooth with a Dremel, and the finest burrs and stringing were removed with a torch.
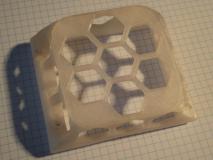 Bottom cover, cleaned up | 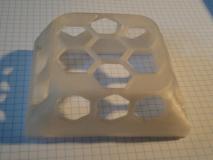 Bottom cover, cleaned up | 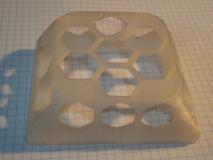 Bottom cover, cleaned up | 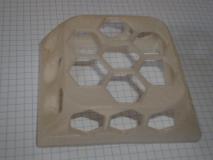 Bottom cover, cleaned up |
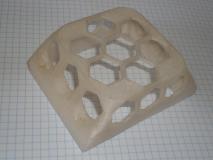 Bottom cover, cleaned up |
The same issue as on the top cover was discovered; a missing groove for the cable. Again, it was milled manually. Oh well. After setting in, holes were drilled to the aluminium fan frame using the printed cover as a template, and the cover was attached to the frame with M3 bolts and locknuts.
To secure the LED cable, a holder clamp was printed and attached to the side of the fan using two holes with M3 thread cut in, and a pair of small screws.
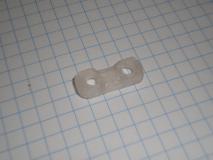 Cable holder clamp | 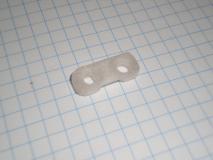 Cable holder clamp | 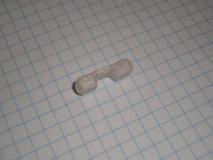 Cable holder clamp | 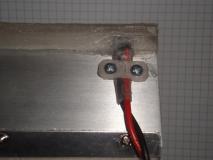 Cable holder clamp, in place |
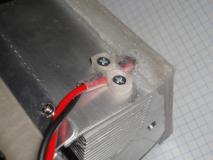 Cable holder clamp, in place | 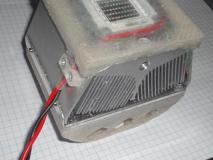 Cable holder clamp, in place | 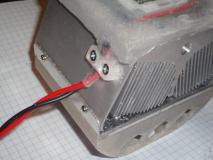 Cable holder clamp, in place |
Test shown that the fan at full power keeps the heatsink virtually on ambient temperature (better than adequate) but is rather insanely loud. A series resistor, composed of a 220Ω and 270Ω parallel pair (chiefly due to availability and trial-error), was attached and secured in place with silicone. The fan was rendered very quiet, and the reduced airflow was still sufficient to maintain the heatsink just somewhat warm, give or take 10-20 degrees above ambient.
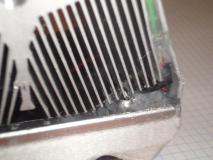 Fan resistor | 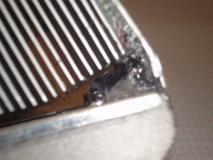 Fan resistor |
The final assembly was mechanically tested.
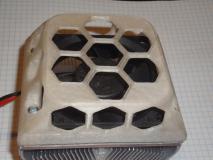 Final assembly | 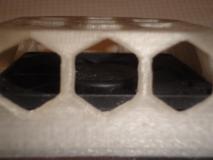 Final assembly | 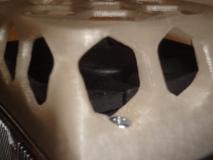 Final assembly | 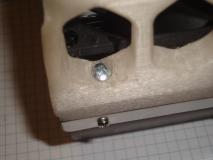 Final assembly |
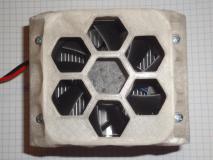 Final assembly | 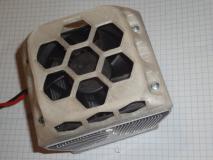 Final assembly | 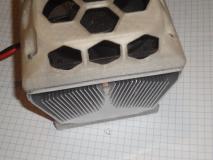 Final assembly | 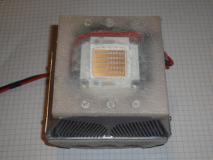 Final assembly |
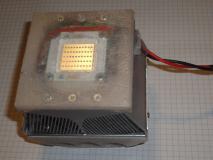 Final assembly | 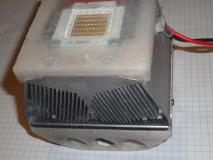 Final assembly |
The lamp was placed on a tripod and its usability was tested.
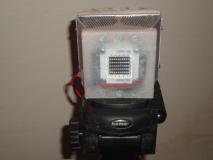 Lamp on a tripod | 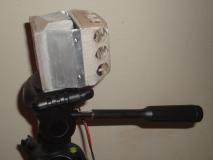 Lamp on a tripod | 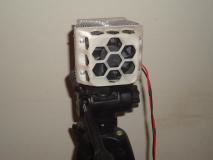 Lamp on a tripod | 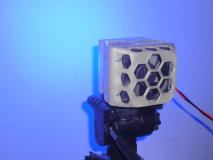 Lamp on a tripod |
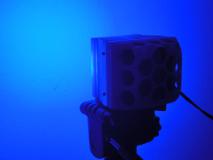 Lamp on a tripod | 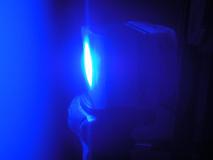 Lamp on a tripod | 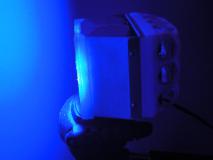 Lamp on a tripod | 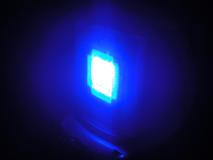 Lamp on a tripod |
 Lamp on a tripod | 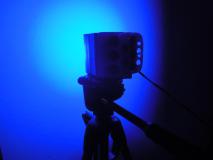 Lamp on a tripod |  Lamp on a tripod |
For the last test, the lamp was placed underneath (and then from side) a beaker
with a solution of a tiny bit of riboflavin acting as a fluorescent dye.
The assembly was able to easily illuminate the entire room with eerie blue-white light.
In addition to photochemistry, the lamp can be also used as a source of blue light for fluorescence or where other colors would not do. Another possible use is excitation of an external layer of yellow phosphor, resulting in a white lamp with exchangeable phosphor panels. This may facilitate experimentation with quantum dot phosphors for enhanced color rendering capability.
The same design can be used with no or minor tweaks for other colors: