 Why
WhyHow
Laser holders
Frame
Tripod plate
Camera holder
Power supply
Power supply box
Complete unit
Adjustment
Parallax
Lessons learned
OpenSCAD file
TODO
Sometimes a camera is used to record a scene where it is impossible or impractical to monitor the display or viewfinder.
The awareness of where the edges of the camera field of vision are should be available without any additional effort. This allows recording video without having to divide attention between the recording device and the action being performed.
The device was inspired by a couple of... ummm... actors on a livecam site, always gradually getting out of the cam view during their performance, too focused at their "job" to care about what the camera sees. To the detriment of the audience.
Other use cases involve recording project assembly or disassembly, lecturing for a recording, and other one-man operations where objects and operator have to stay within the camera view without dividing attention.
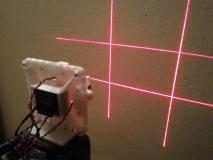
The task is achieved by projecting four line lasers, arranged around the camera lens.
The design was chosen to be modular, so every part can be individually redesigned, to facilitate different mechanical assemblies, different cameras, lasers, and other components.
The frame square has mounting holes with M3 thread (cut in postprocessing) around its edge, to allow attaching other components, e.g. the tripod mount plate and the battery box.
Inexpensive nonfocusable laser line projectors were chosen on the basis of cost and size, and obtained via eBay. The lasers are simple 3V units with series resistor, requiring accurate voltage limit to not degrade too fast. They are brass cylinders, 9mm in diameter, about 23mm long.
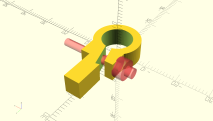
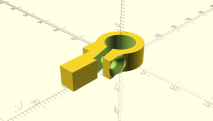
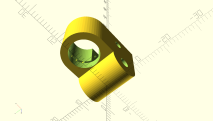
The lasers are mounted in four identical holders. Each holder consists of three parts: the cradle to be mounted to the cam frame, the laser holder that grips the laser and tilts in the cradle, and a top handle that grips the laser and serves for line perpendicularity adjustmet.
The holders were printed with 2mm spaced vertical walls as supports in the horizontal gap. The walls were removed after printing with a heated blade.
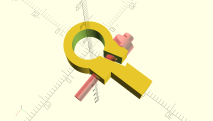 |  |  |
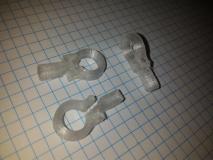 laser holder tops | 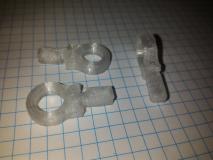 laser holder tops |
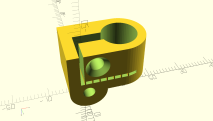 | 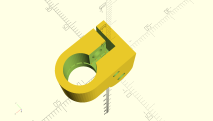 |  | 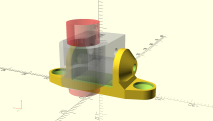 |
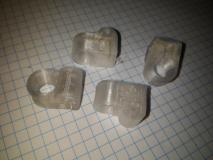 laser holder cradles | 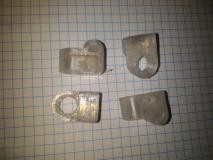 laser holder cradles | 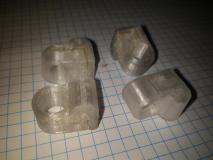 laser holder cradles |
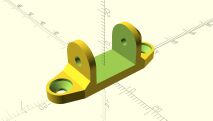 | 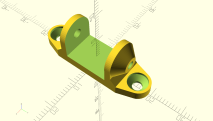 | 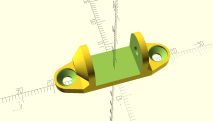 |
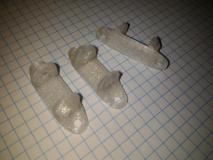 laser holder bottoms | 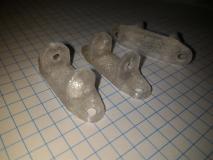 laser holder bottoms |
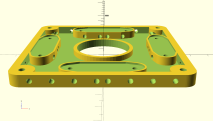
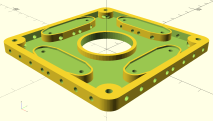
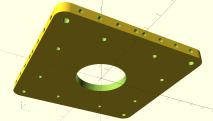
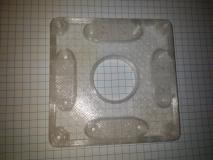
The laser holders are attached to a custom frame, with 30mm-diameter hole in the center. The dimensions of the hole were chosen as an ad-hoc compromise. The laser cradles are mounted on posts with raised edges, to hold the cradles in place and facilitate their positioning.
The frame is also attached to a base plate, equipped with a 1/4"-20 tripod-mount threaded hole.
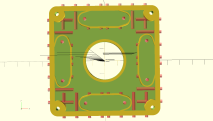 | 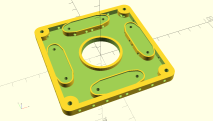 |  |  |
 |  bottom frame | 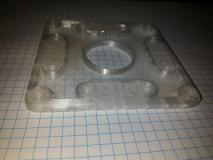 bottom frame | 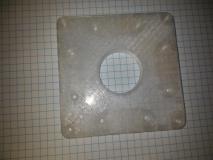 bottom frame |
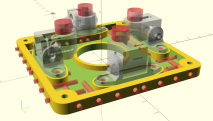 | 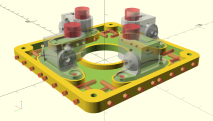 | 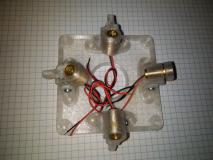 frame assembly with lasers | 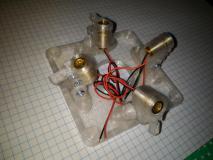 frame assembly with lasers |
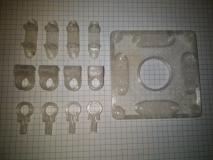 frame assembly parts | 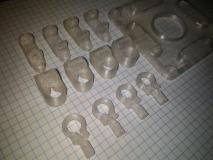 frame assembly parts |
A plate for tripod mount was designed. It has a center hole with a manually cut Whitworth 1/4"-20 thread. It attaches to the frame using the M3 threaded holes around the edges.
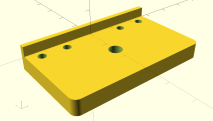 | 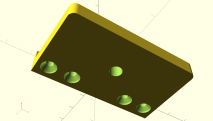 | 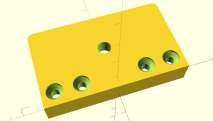 |
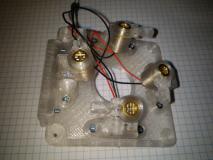 frame with tripod plate | 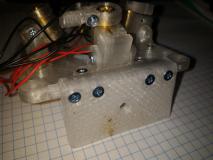 frame with tripod plate | 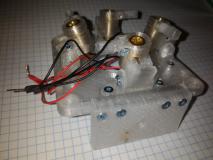 frame with tripod plate | 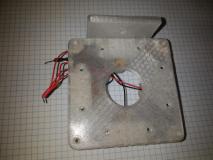 frame with tripod plate |
A cheap 640x480 webcam was chosen as a test cam, on the basis of being readily on hand. The image quality is lousy but the assembly is sufficient for proof of concept.
A frame was designed to accommodate the camera and hold its lens in the center of the base frame center hole.
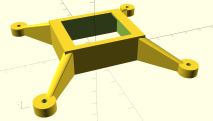 | 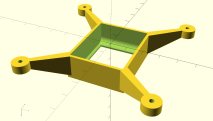 | 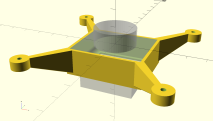 | 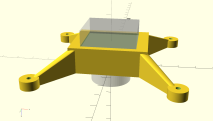 |
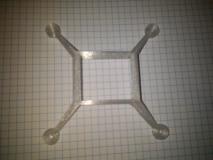 webcam frame | 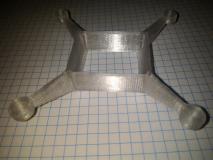 webcam frame | 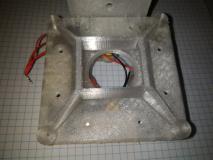 webcam frame on bottom frame | 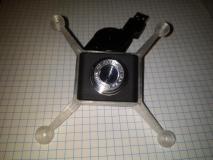 webcam frame with camera |
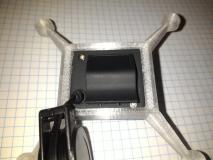 webcam frame with camera | 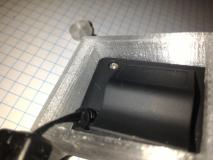 webcam frame with camera |
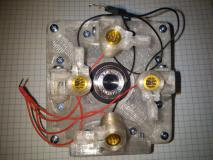 laser frame with camera | 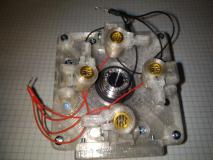 laser frame with camera | 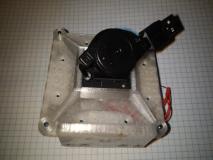 laser frame with camera | 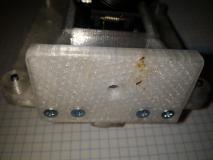 laser frame with camera, tripod plate |
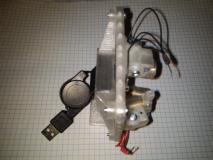 laser frame with camera | 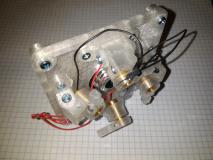 laser frame with camera | 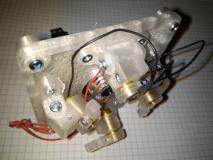 laser frame with camera |
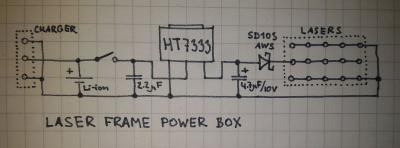
The power for the lasers is provided by a 650 mAh Li-ion battery, chosen on the basis of on-hand availability. A low-drop 3.3V stabilizer, HT7333, with a series-attached Schottky diode, SD103AWS, selected to have suitable forward drop voltage at the current needed, was used to obtain 3V for the lasers. (In practice, a little over 2.9 volts.)
A 3.0V stabilizer would be a more straightforward solution, but none were on hand.
To avoid problems with availability of polarized connectors, symmetrical approach was used. Three-pin connectors were made from header pins, with negative edges and positive center; both orientations are then identically functioning.
The connector tops were potted in hot-melt adhesive, to give them shape, insulate the pins, and prevent them from moving.
Holes had to be milled in the main frame plate to push the connectors through. These were forgotten about in the design and have to be added to the design.
Charging the battery is done via a similar connector, using an external charger, usually a TP4056-based module. This approach was chosen due to a shortage of the modules on hand.
During operation, the stabilizer's heating is negligible.
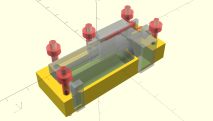
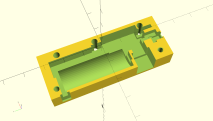
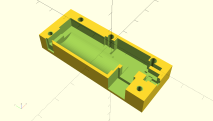
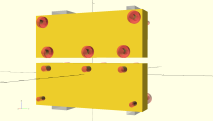
The power supply assembly was placed into a custom-designed housing, holding the battery, board, connectors and the switch in place. The housing consists of two halves, held together with five screws, three of which also attach the box to the frame.
 |  |  | 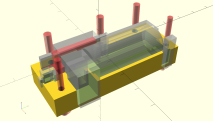 |
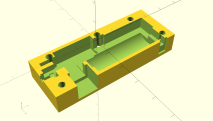 | 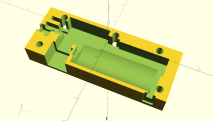 | 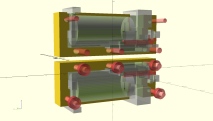 |  |
The complete unit, with the power supply unit and the camera, is mounted on a tripod and tested.
The laser frame is projected to the target.
The screw on the laser cradle is loosened, the laser is rotated to horizontal or vertical orientation using the top lever clamp, then the screw is tightened again to lock the position.
The screw on each cradle holder is loosened, the cradle rotated so the line is just along the inside edge of the camera view, then the screw is tightened again.
Afterwards, the cradles are rotated a little more, to move the lines just a little outside of the camera view, then locked in position.
The video frames are reddish due to lousy white balance of two-dollar webcam, not from scattered laser light.
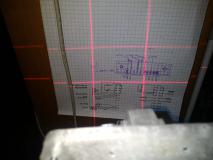 adjusted protection on test paper | 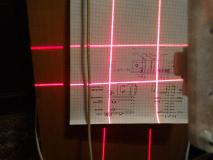 adjusted protection on test paper | 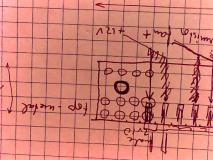 corresponding camera view |
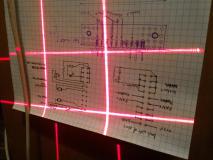 adjusted protection on test paper | 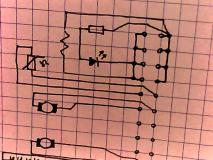 corresponding camera view |
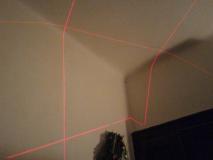 projection on wall/ceiling |  corresponding camera view |
The lasers have a parallax, as they are offset from the camera. The frame, when adjusted for a close-range shot, will show in the cam view on longer-range. Correspondingly, a longer-range adjusted frame will leave gaps around the close-range shot. This is not an issue for a fixed-range shooting from a tripod, but has to be counted with when variable distance will be encountered.
The rotation angle of the lasers is easy to adjust. That was designed well.
The tilt of the laser cradles is more difficult. Getting hold of the part without shielding the beam or camera lens with hand can be challenging. The cradles have to be redesigned, with easier access to the lock screws and a lever for easier adjustment.
There is no support for camera zoom. This would require sophisticated mechatronics, with feedback from the camera.