 was designed in OpenSCAD; version 2015.03 or later is needed to provide
support for the text() function.
was designed in OpenSCAD; version 2015.03 or later is needed to provide
support for the text() function.
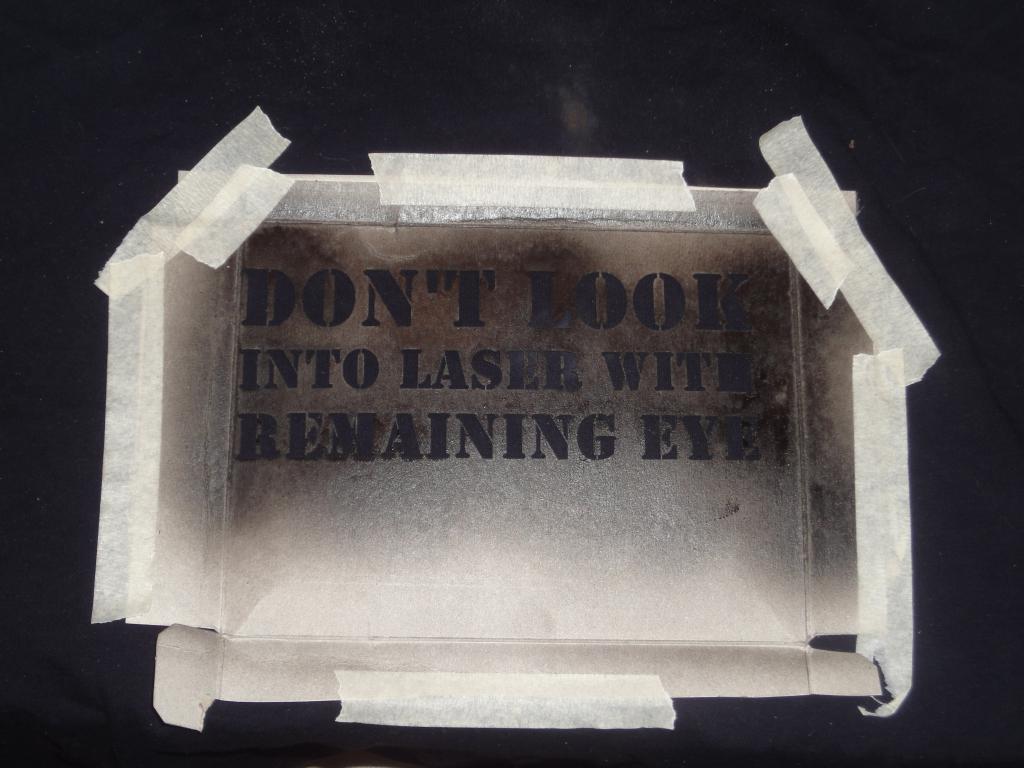
A t-shirt is sometimes needed, with a pithy phrase. While there are vendors that provide printing, the printing operation is usually more expensive than the t-shirt itself.
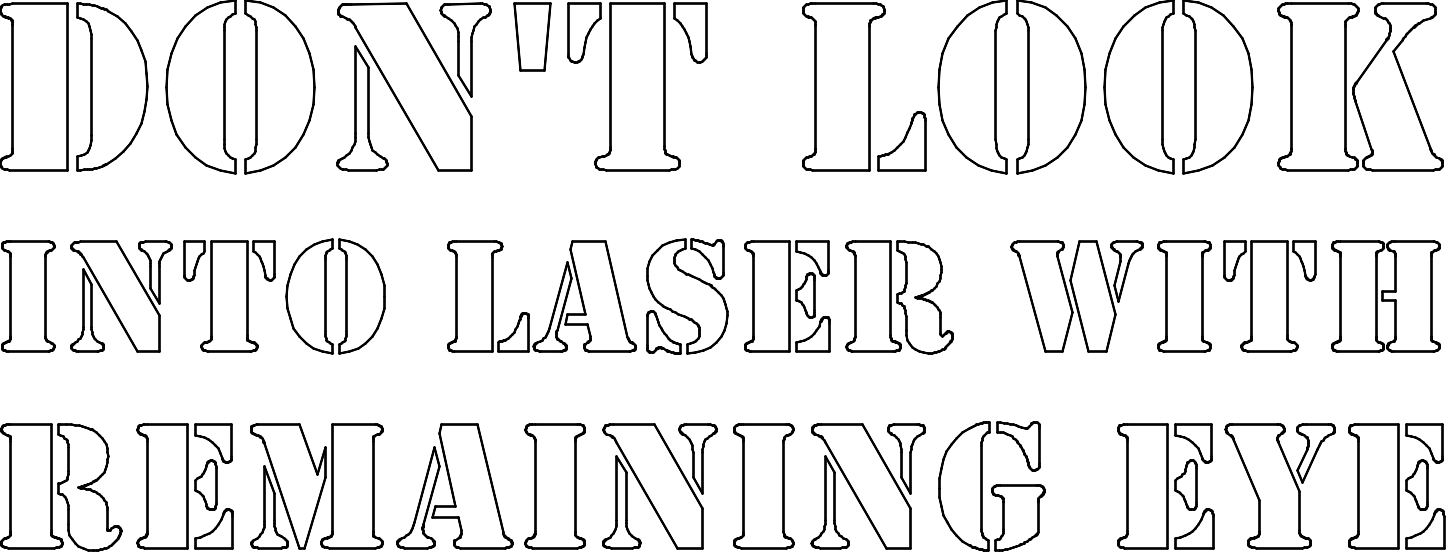
A stencil was designed in OpenSCAD; version 2015.03 or later is needed to provide
support for the text() function.
The "Army" font , with stenciling feature, was used.
The design was exported as a DXF file, converted to polylines using sw_DXFlaserutils . The
DXF file was then used with MoshiDraw to cut the design on the K40-III "Blue Horror" machine.
. The
DXF file was then used with MoshiDraw to cut the design on the K40-III "Blue Horror" machine.
For the material, a discarded cardboard box of the cereal-box grade was chosen, on the basis of availability and mechanical properties.
 Stencil image |
 - DXF file, as of from OpenSCAD
- DXF file, processed, zeroed and flipped vertically
- DXF file, as of from OpenSCAD
- DXF file, processed, zeroed and flipped vertically
The software used is processing the elements in what seems to be random order. The y-axis seems to be skipping steps during rapid acceleration/deceleration, which leads to increased cumulative error, so stencil elements end up out of place.
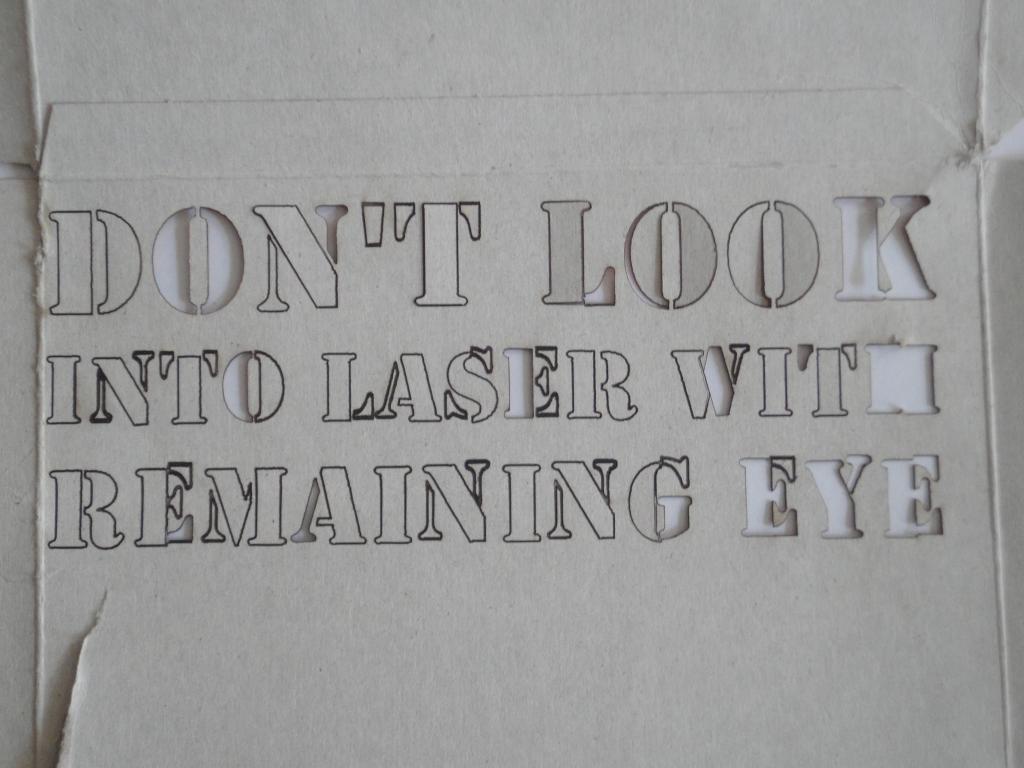 Failed stencil | 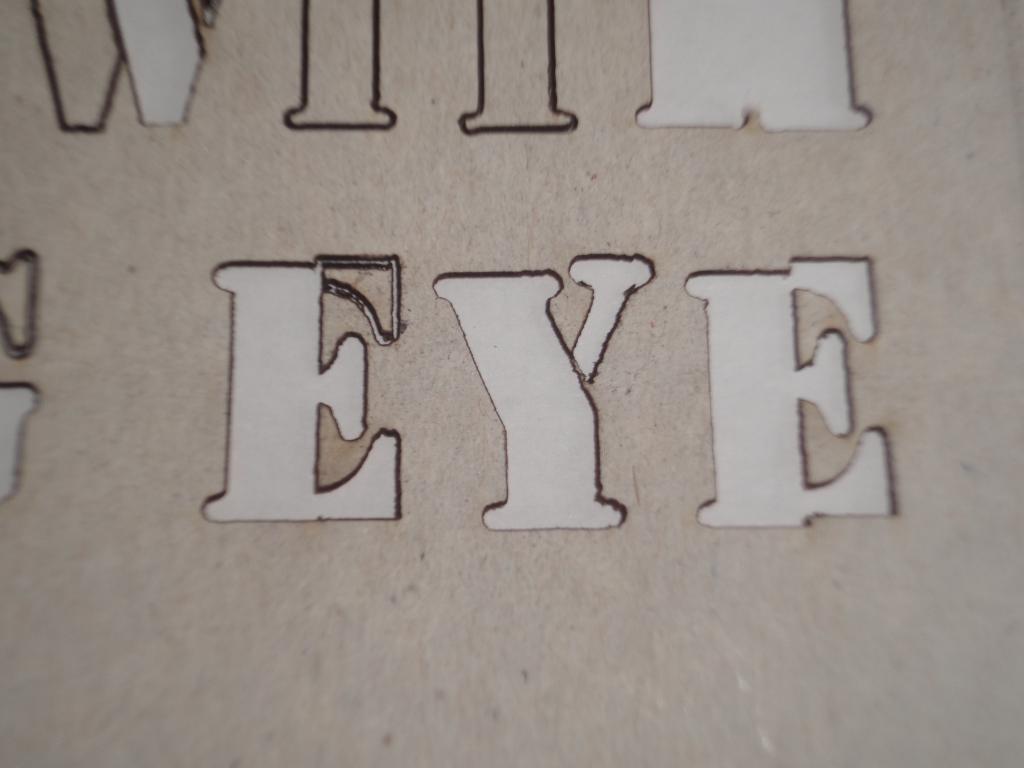 Failed stencil | 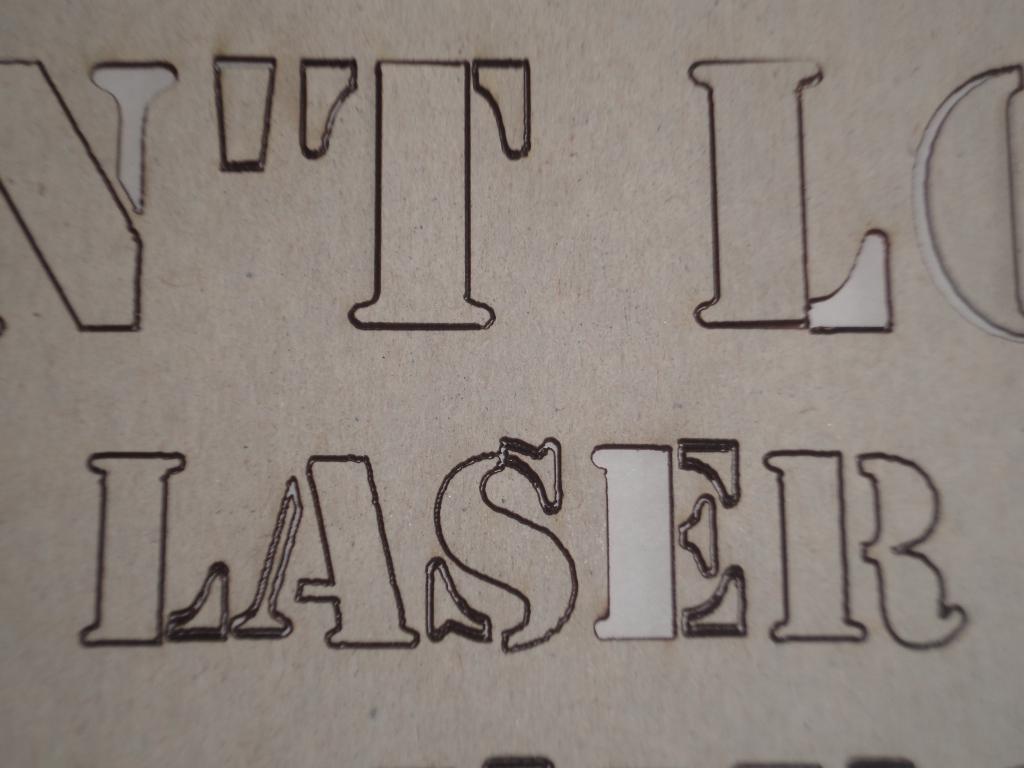 Failed stencil | 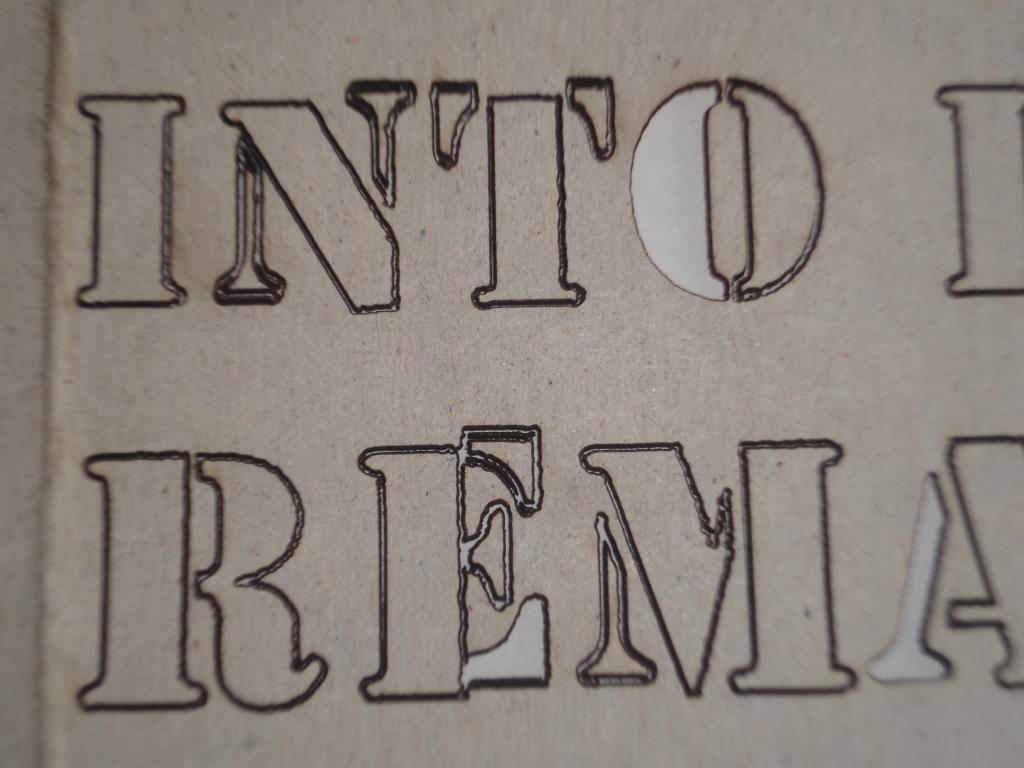 Failed stencil |
The problem was alleviated by cutting in several passes. The file was loaded to the software, then two of the three lines were marked and deleted. The line was cut, then the operation was repeated on two other lines.
On the middle line the software seized at second-to-last curve and stopped processing. The line was burned once again, with the same result. Therefore it was decided to delete all its elements except the two unfinished ones.
The repeated tracing widened the pattern slightly. This was not perceptible on the result, but led to the middle of the "H" letter falling out. The element was lost. It was replaced by taking it from the other stencil that failed due to cumulative errors.
The line-by-line pass technique proved to be successful. The distances traversed by the head were not so bad so the total error, if present, was not perceptible.
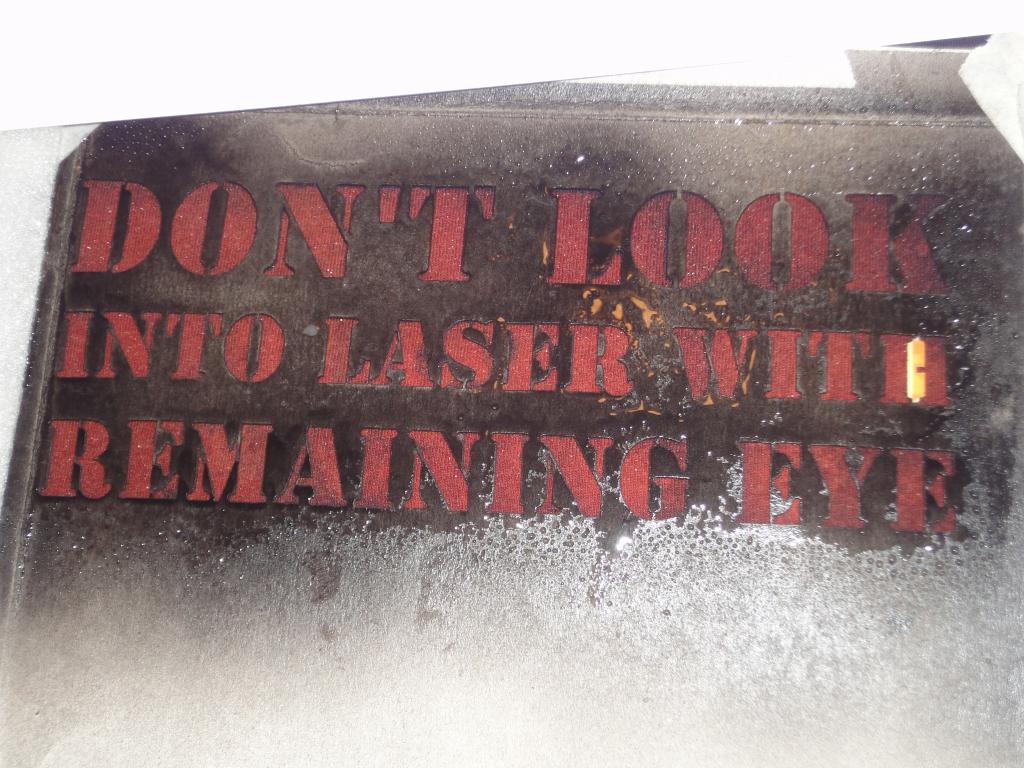
The finished stencil was spray-painted with black car-grade spray paint from the rough, exposed carton side, for a degree of waterproofing.
The shirt was stretched on a seat. A layer of plastic foil was placed between the front and back layer of the fabric, to prevent penetration of the bleach. The stencil was positioned and attached to the fabric with masking tape. Plastic boards and sheets were lined around the mask to prevent sprayover of the bleach.
A missing segment of the rightmost letter H, salvaged from a miscut stencil, was manually put in its place.
 Stencil taped to cloth | 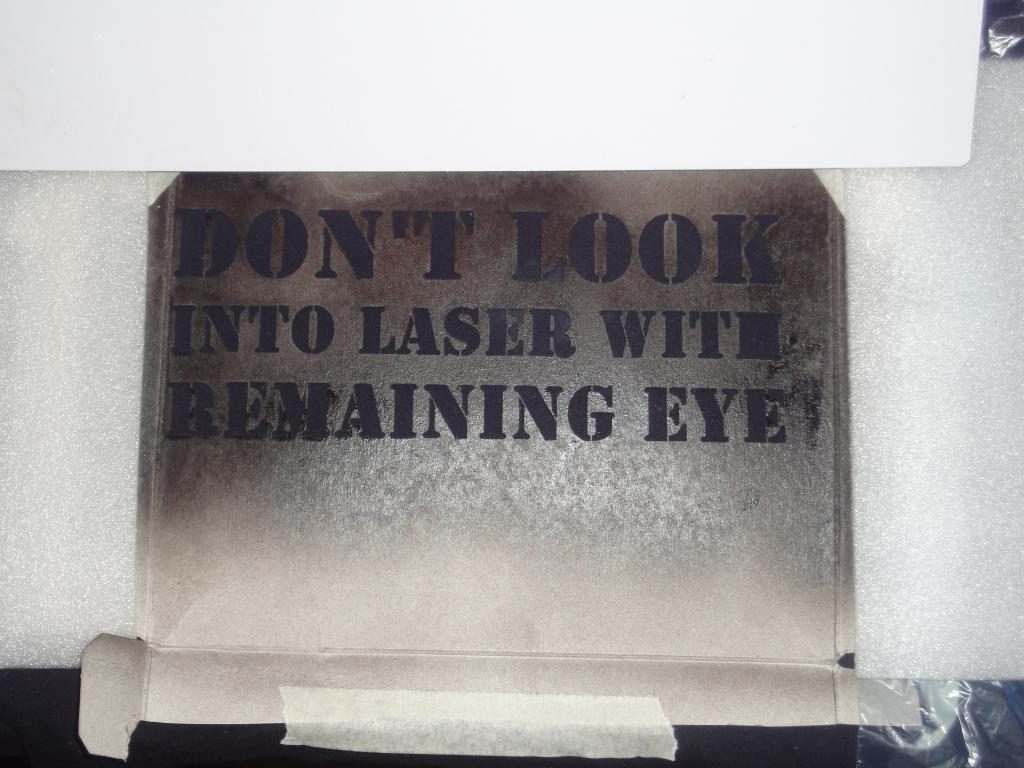 Stencil taped, mask added | 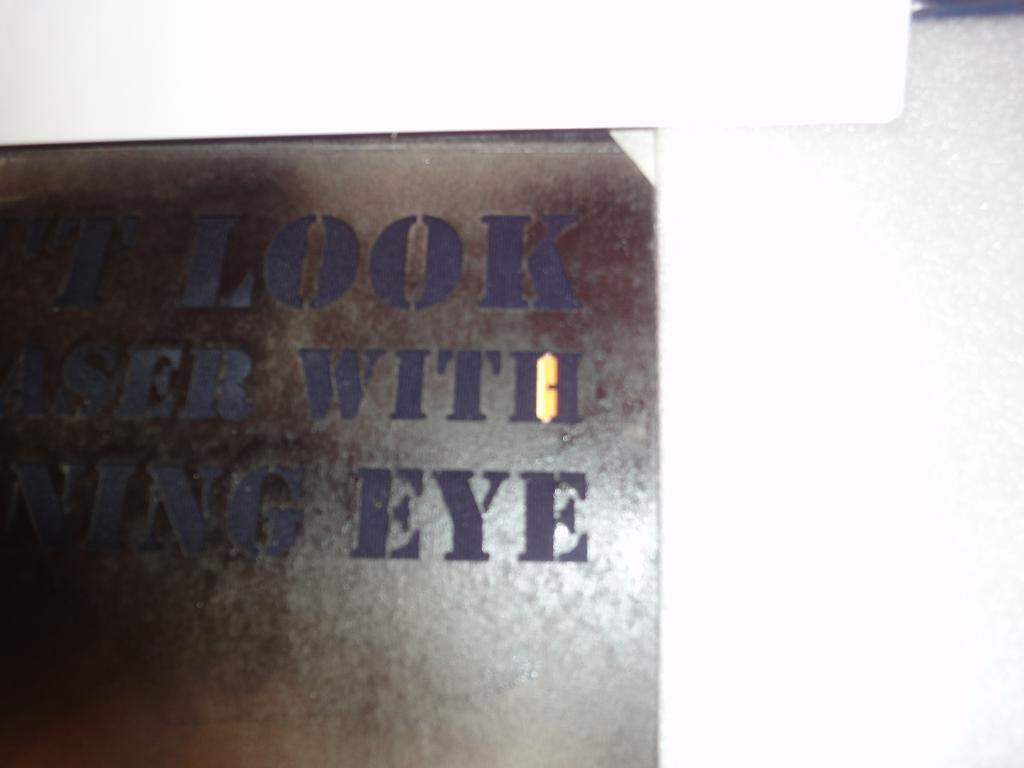 Added missing segment |
Undiluted sodium hypochlorite based bleach was put into a small mechanical spray bottle.
The spray was evenly applied on the stencil, carefully wetting the fabric only on the exposed areas. After application it was let for several tens of seconds until the color changed sufficiently and evenly.
The mask was then removed, with care to not drip the excess solution from the stencil surface on the now exposed fabric.
More bleach was added in a misguided attempt to achieve brighter hue. This resulted in some penetration under the stencil in the middle area.
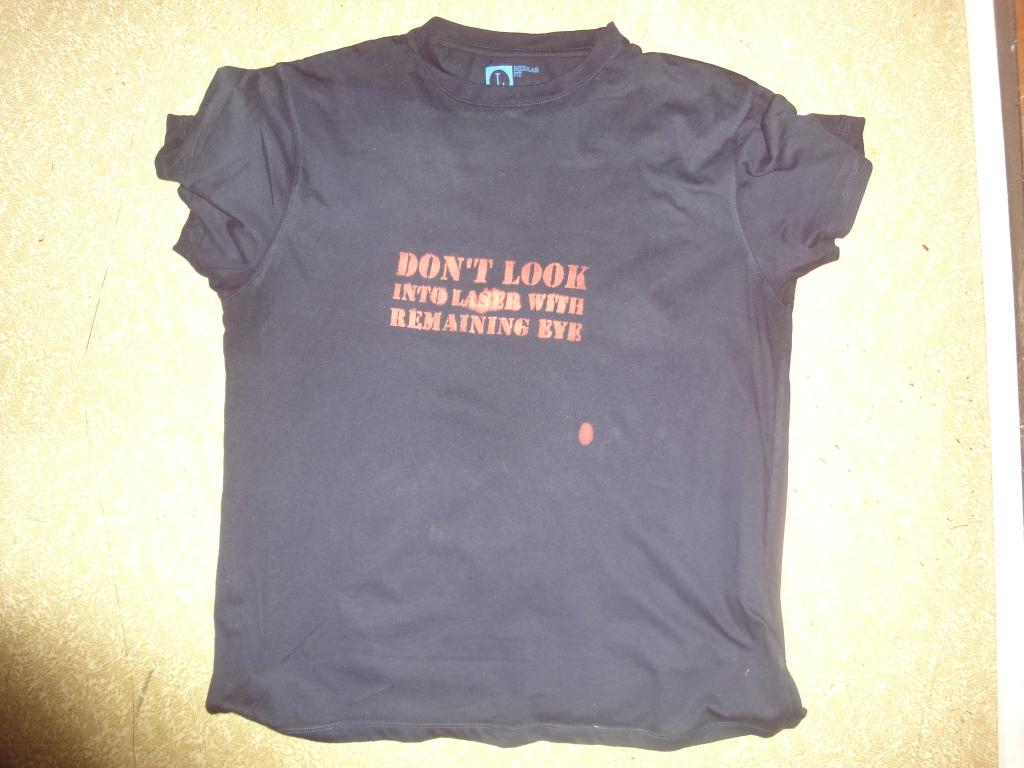
A discolored spot was found on the front part, away from the stenciled area. This was caused by a stray drop of the bleaching solution.
 Bleach applied | 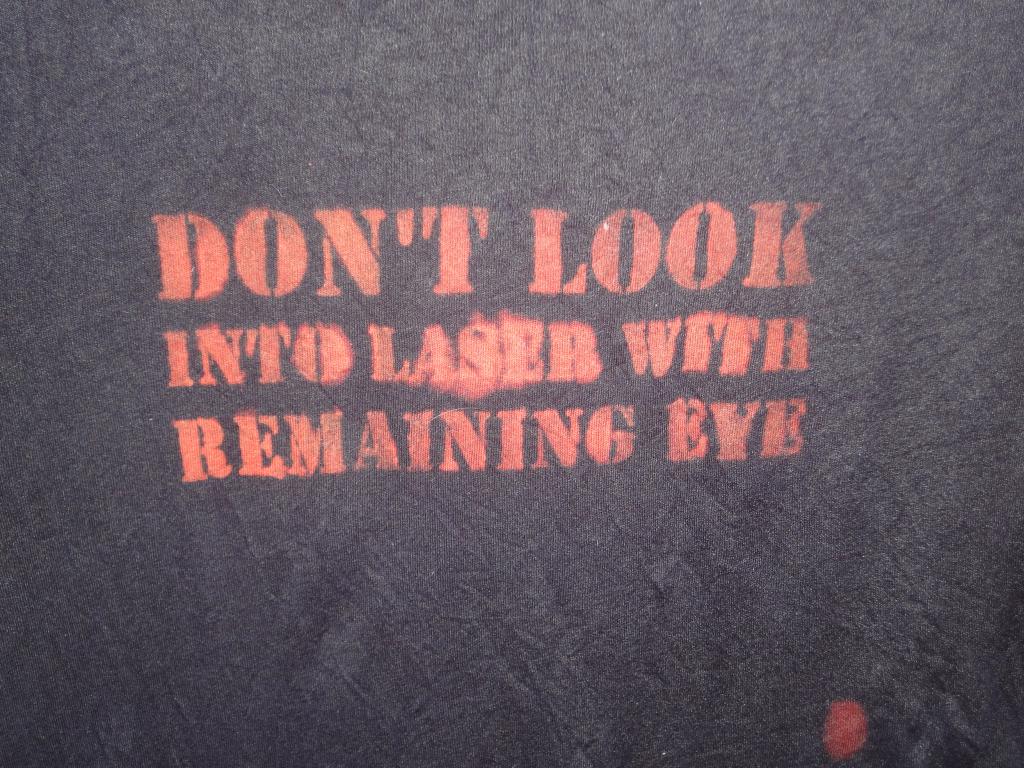 Mask removed, stray drop visible near edge | 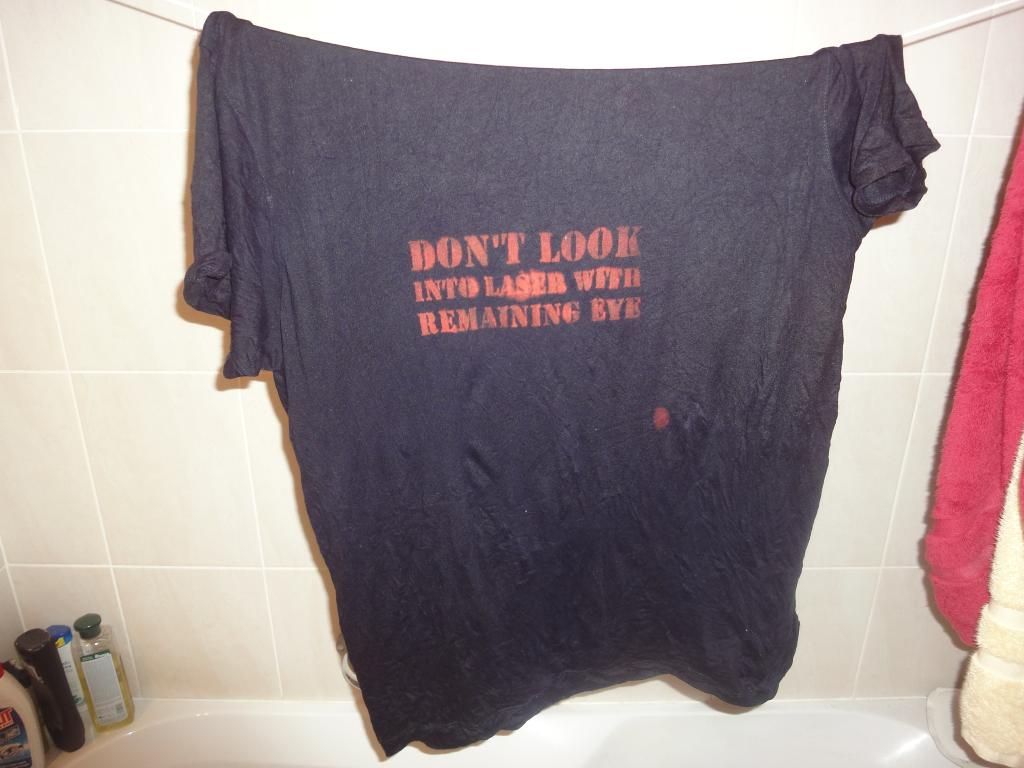 Finished pattern | 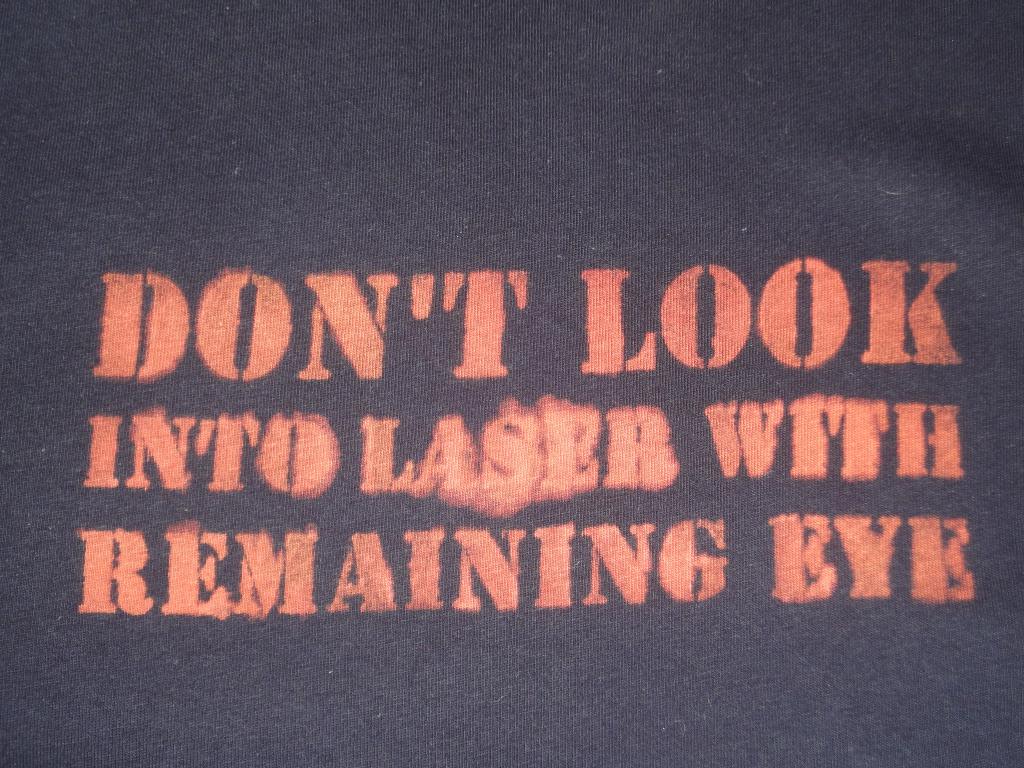 Finished pattern, defect detail |
The t-shirt was immersed in warm water and thoroughly washed. Then it was predried with hot air, followed by ironing in order to remove residual moisture and allow immediate wearing.
 Finished pattern |
.
, control it via LinuxCNC or other G-code player