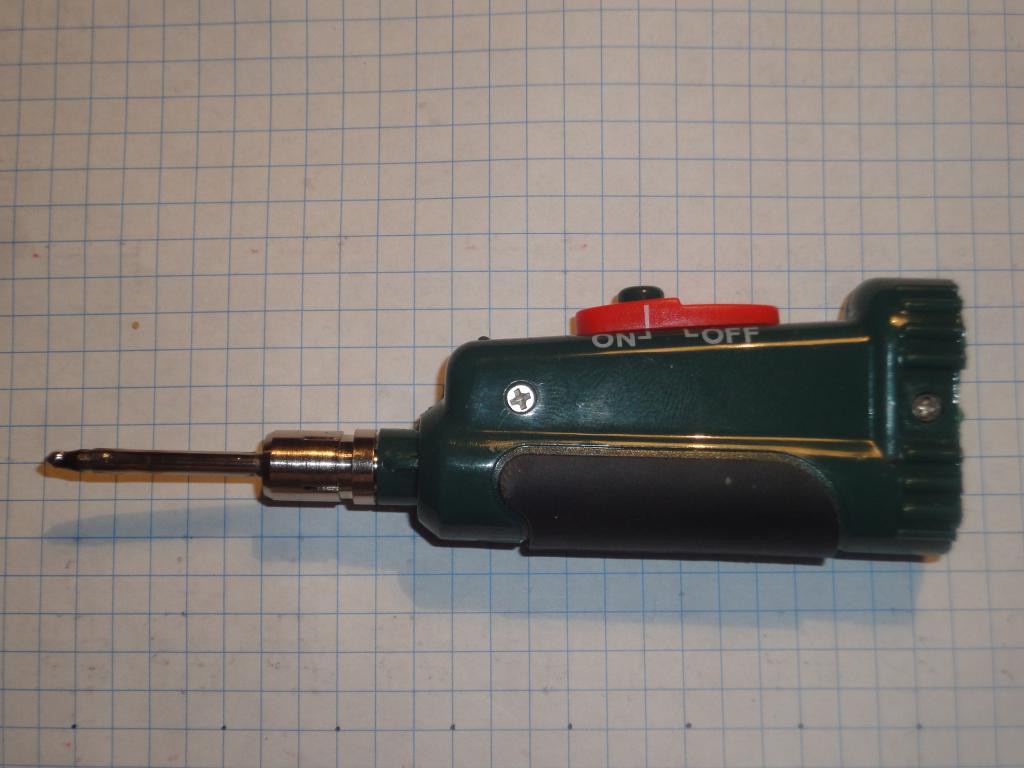
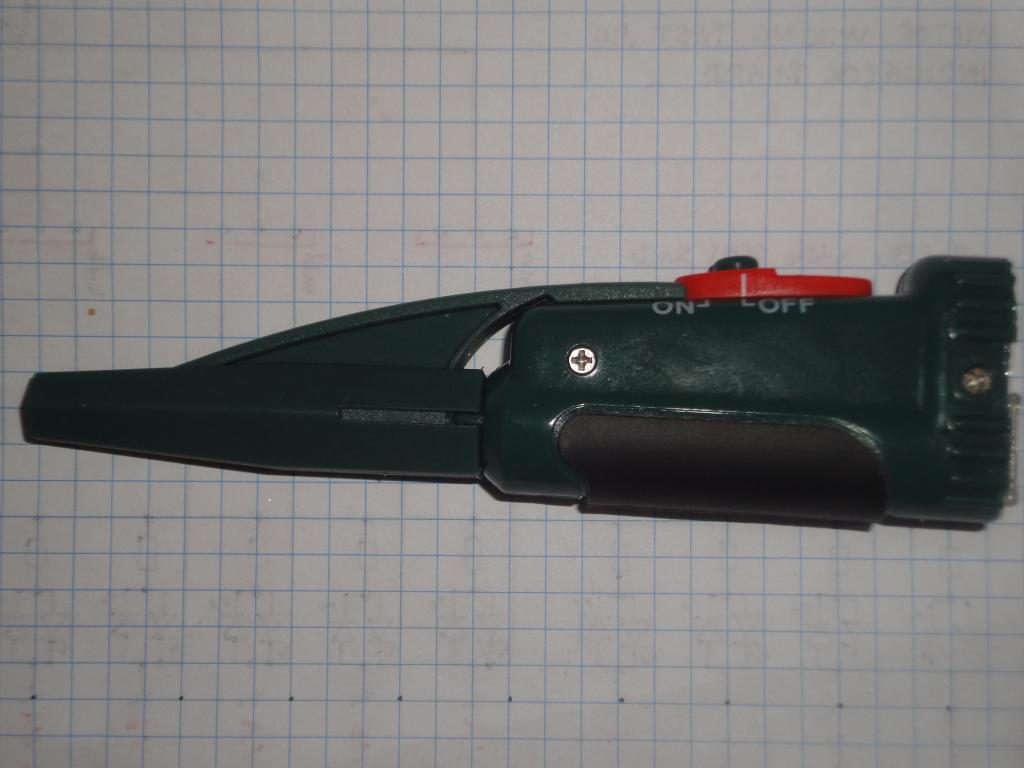
 was obtained, the Parkside Cordless Soldering Iron BLK 520.
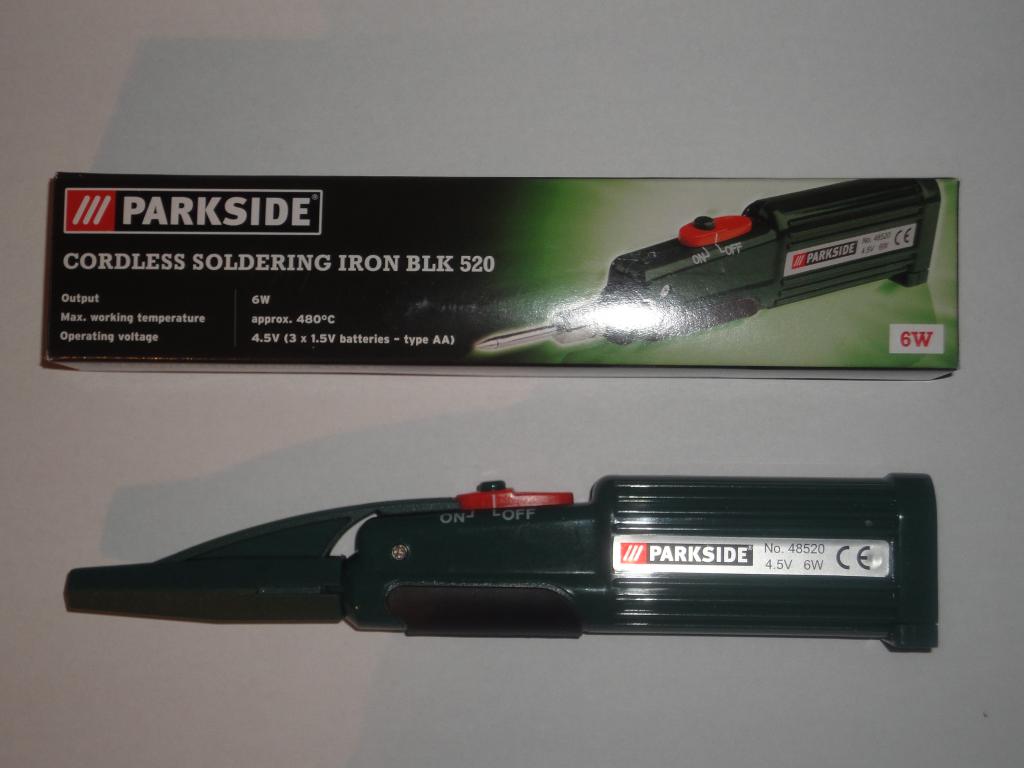
A battery-powered soldering iron was obtained, the Parkside Cordless Soldering Iron BLK 520.
It is a handheld device powered by three AA batteries, specified for 6 watts at 4.5 volts.
Batteries are however notoriously problematic. Such device, designed for rare, intermittent use, will inevitably end up as a storage container for dead batteries. Especially in power-hungry applications, where more than one amp needs to be taken from the cells for several seconds.
 Box |  Box | 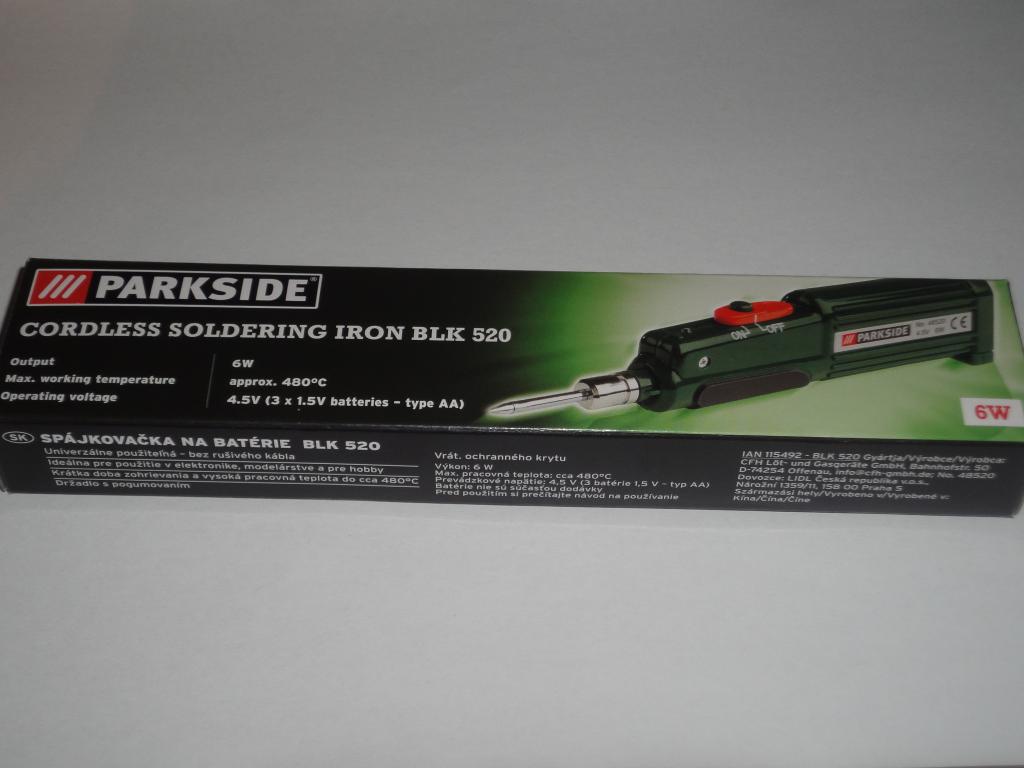 Box | 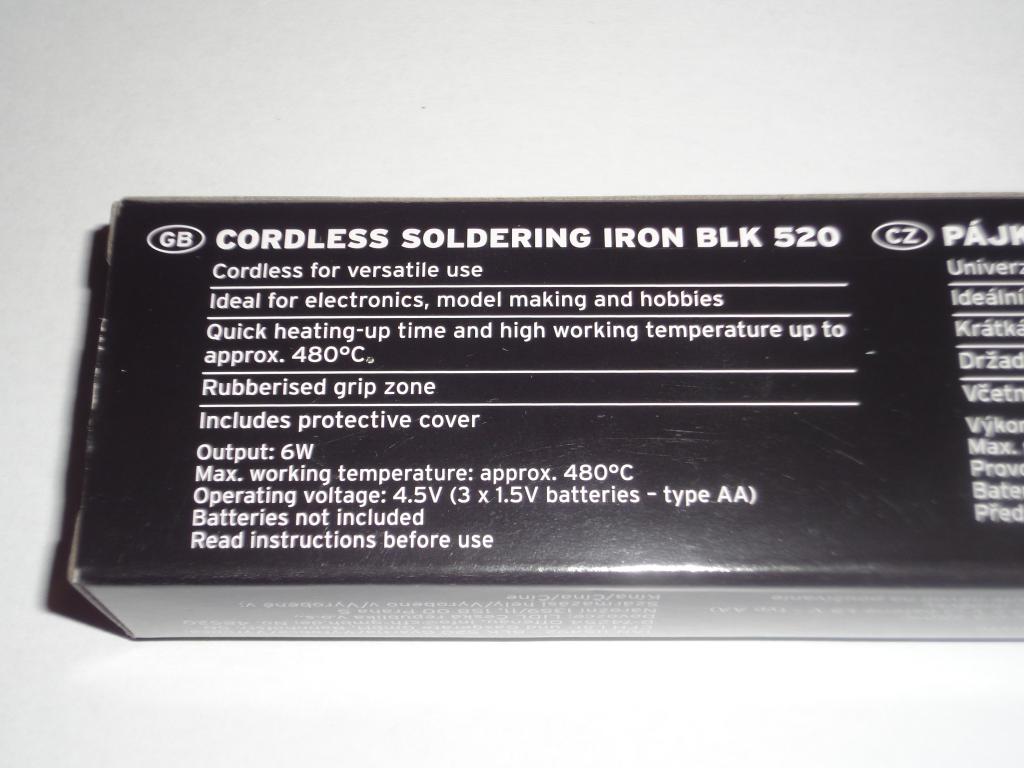 Box |
 Original device | 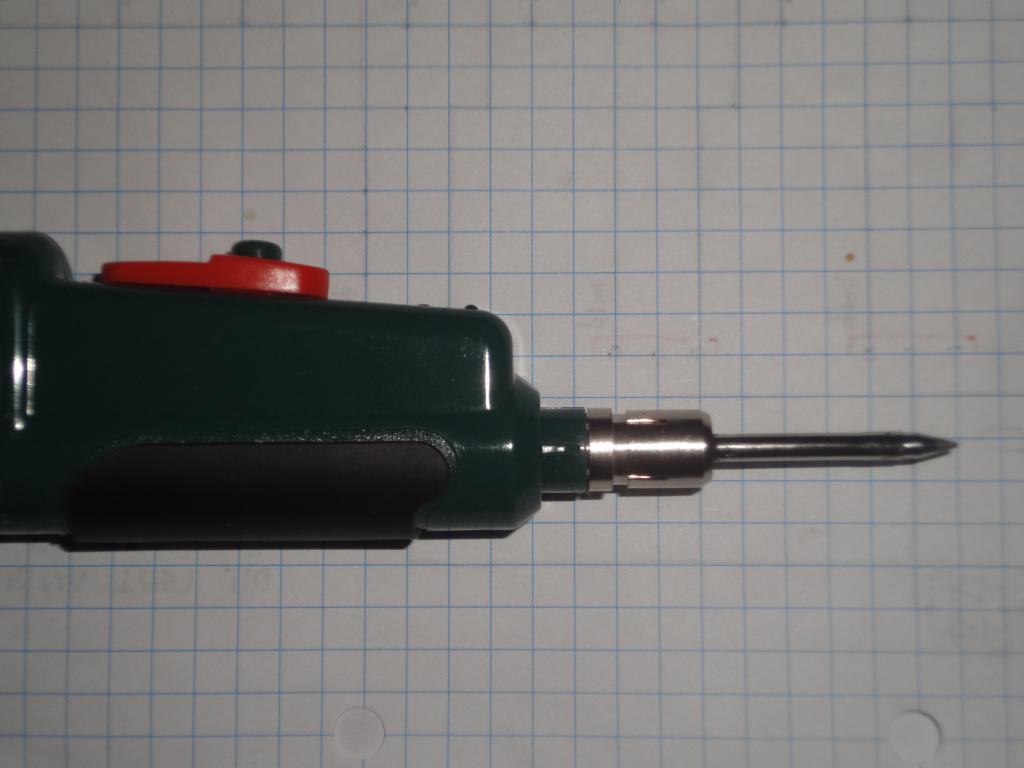 Original device | 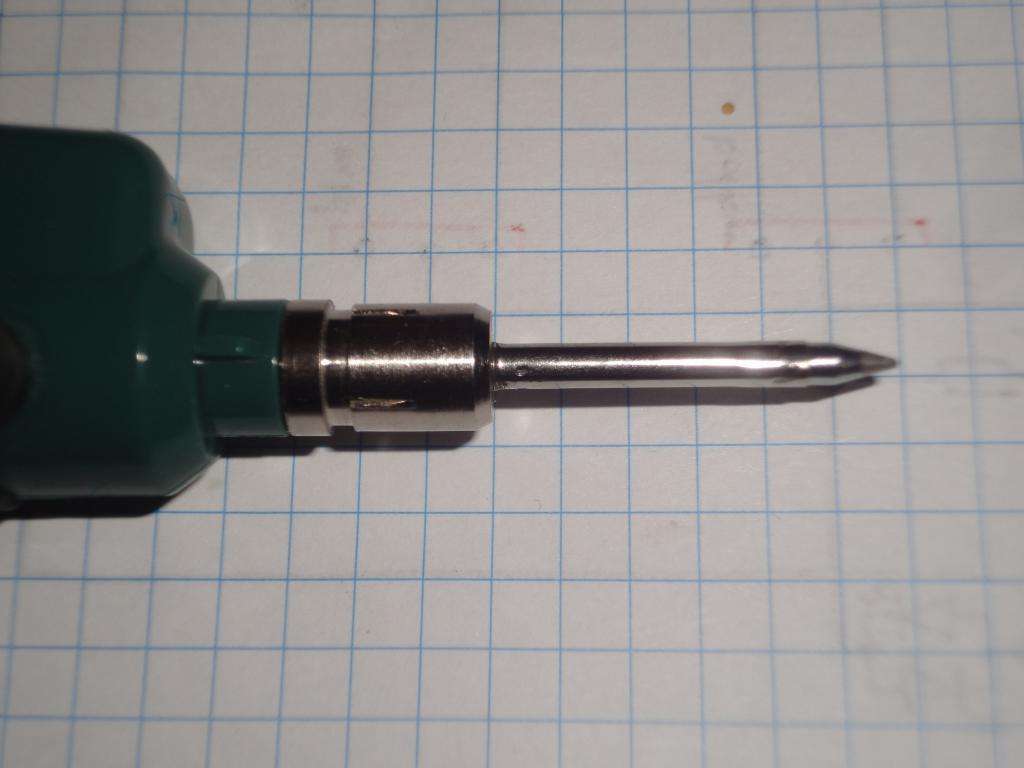 Original device | 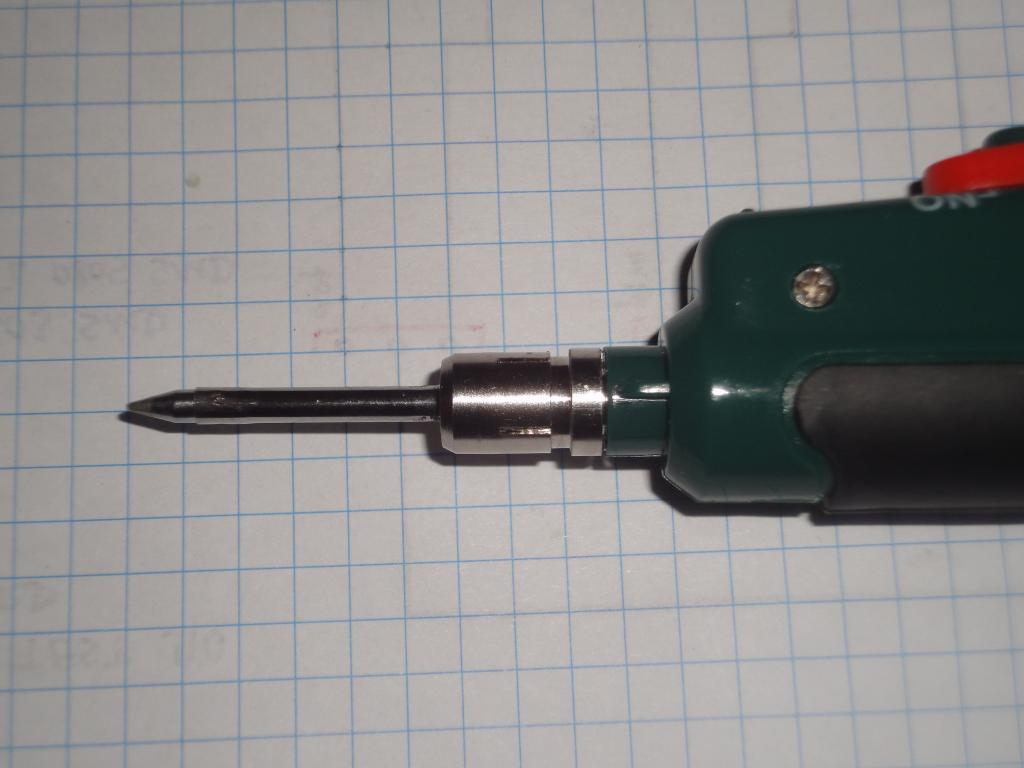 Original device |
5 volts power with a microUSB connector is a widely available power source; smartphone and tablet
chargers overwhelmingly use this form factor (with the exception of Apple, for a reason known only to
them). There are also portable rechargeable batteries, the power banks.
These power supplies are often specified to deliver 2 or 2.1 amperes, sometimes more. This is sufficient
for at least 10 watts.
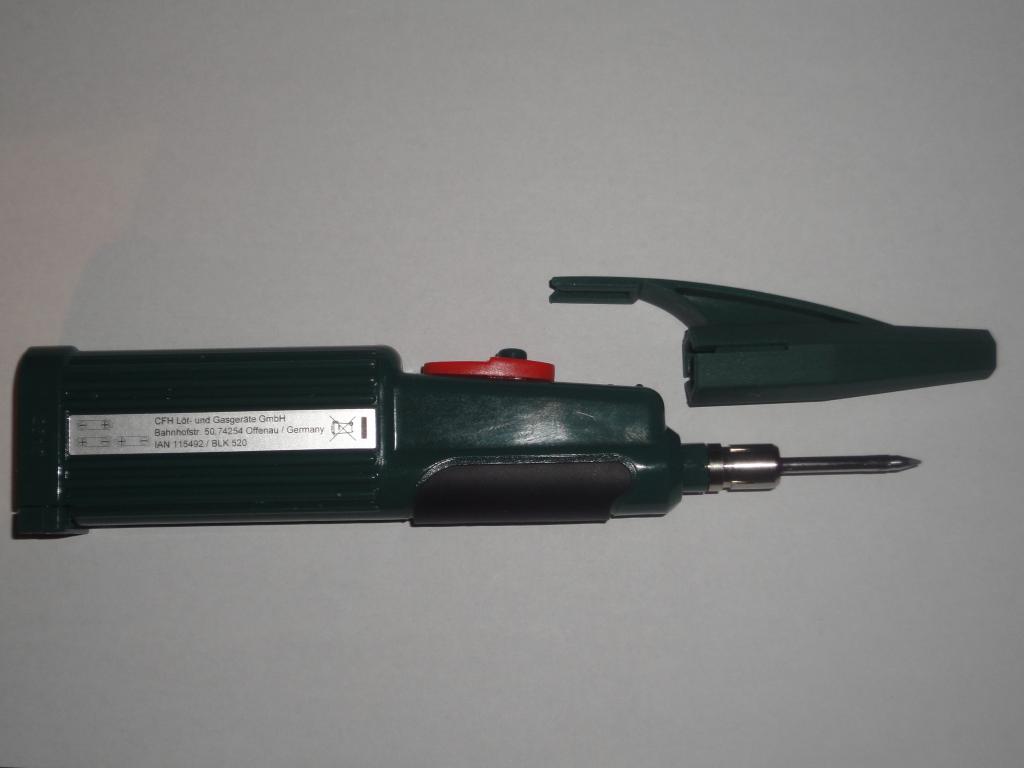
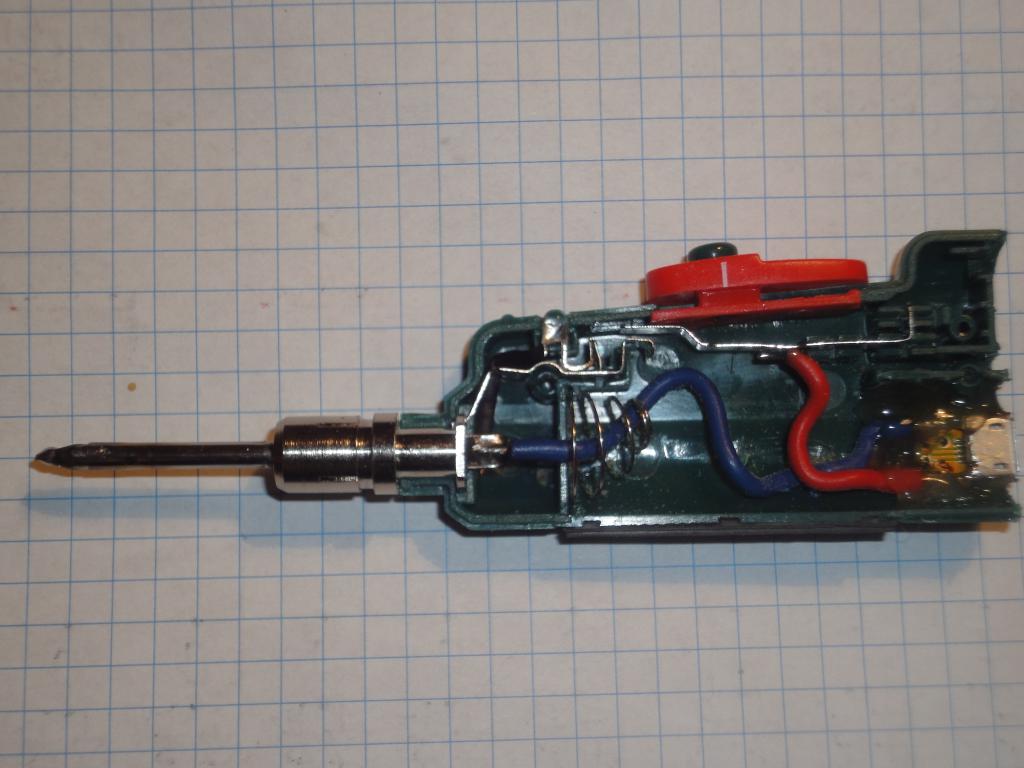
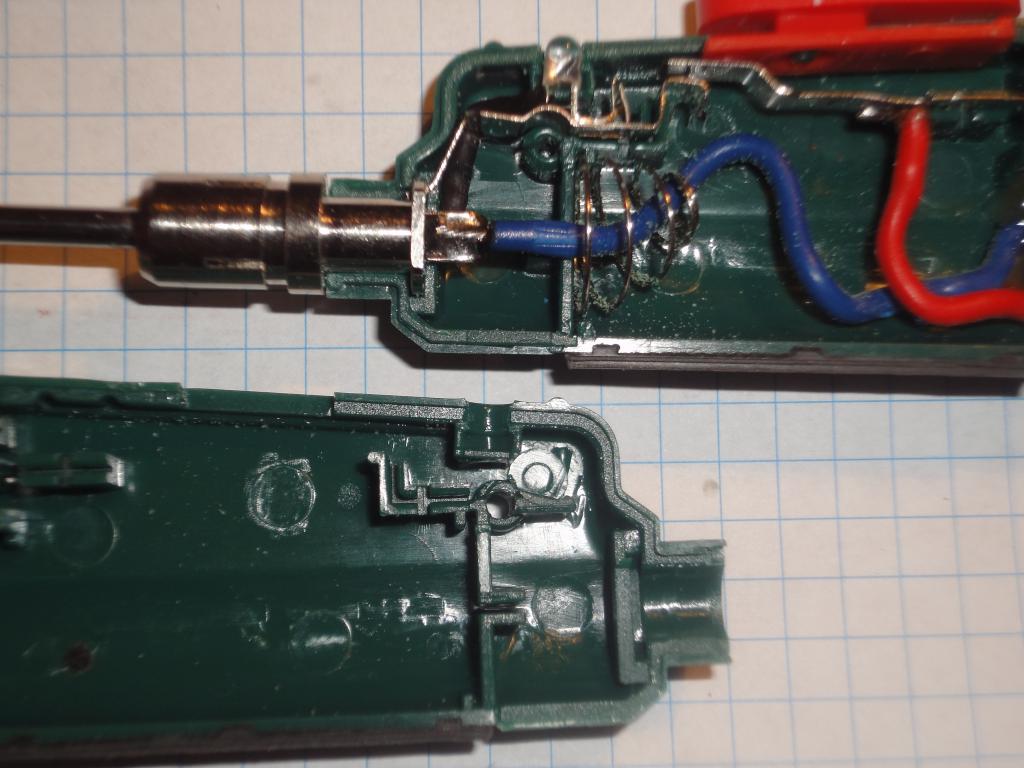
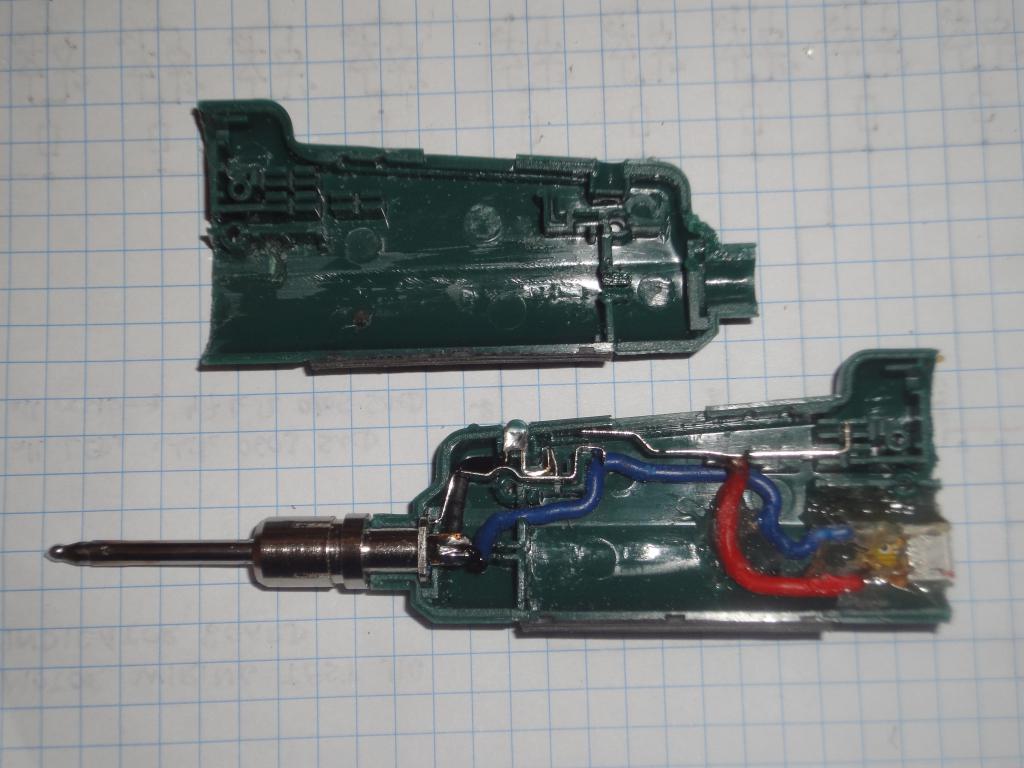
The soldering iron was taken apart and examined. The device is about as simple as it can be, with a simple mechanical switch (OFF-ON slider, and a button that switches on the tip when the slider is in the ON position), a resistor-LED indicator of activity, and a resistive heating element in the tip.
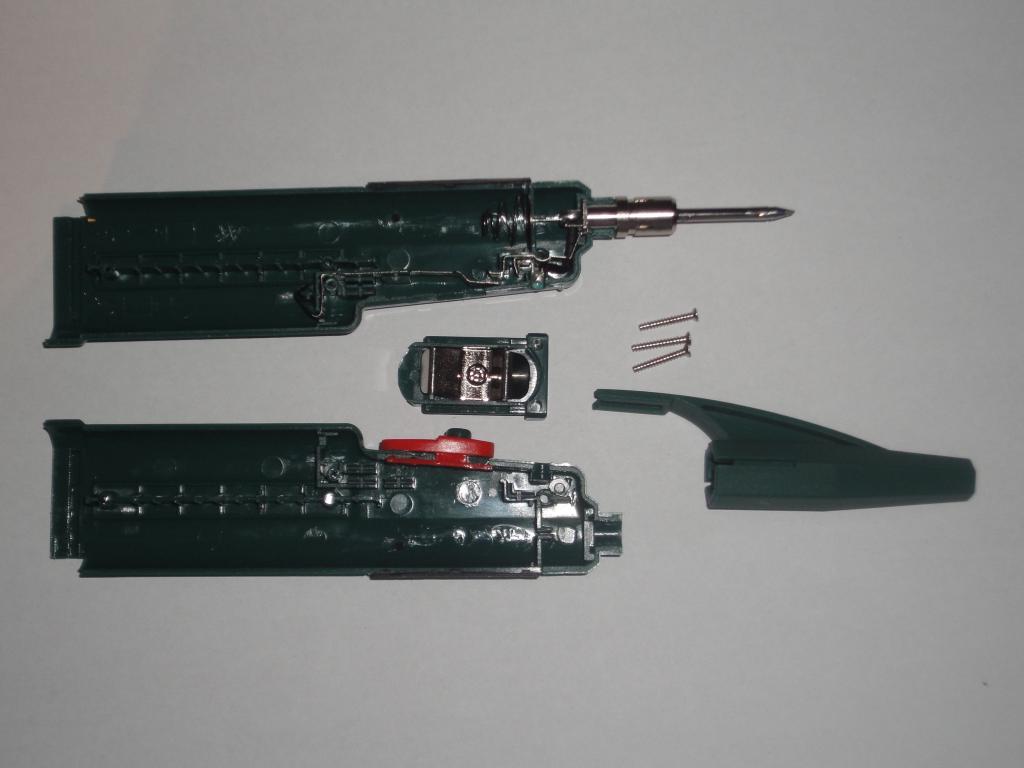 Disassembled | 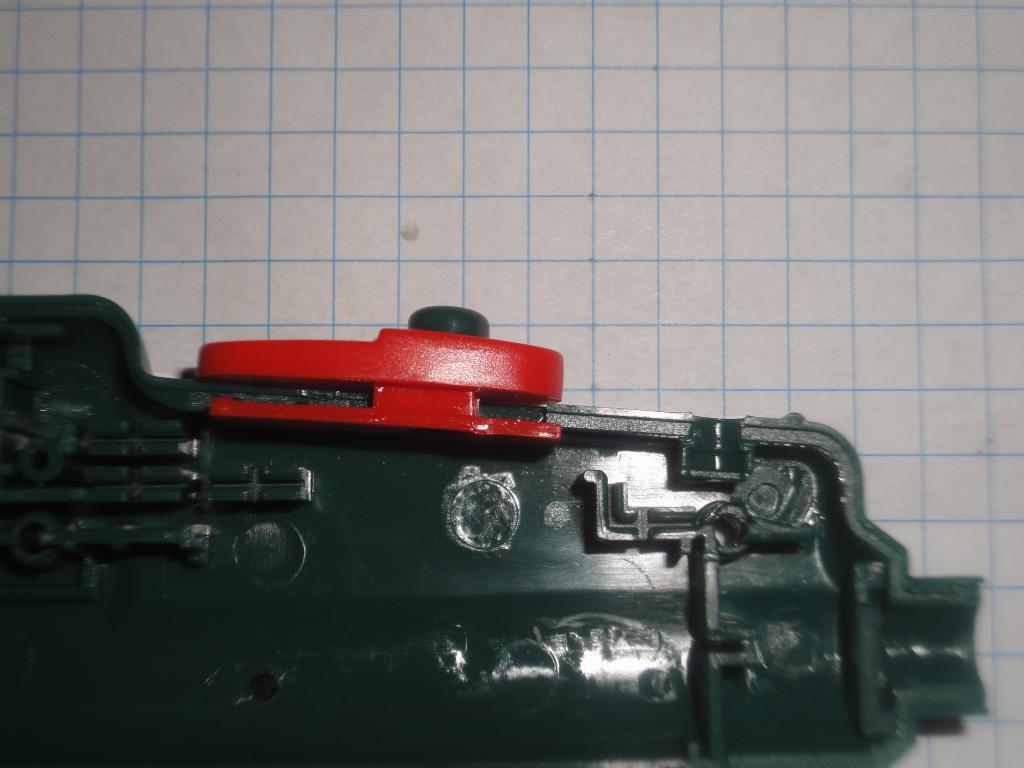 Power switch | 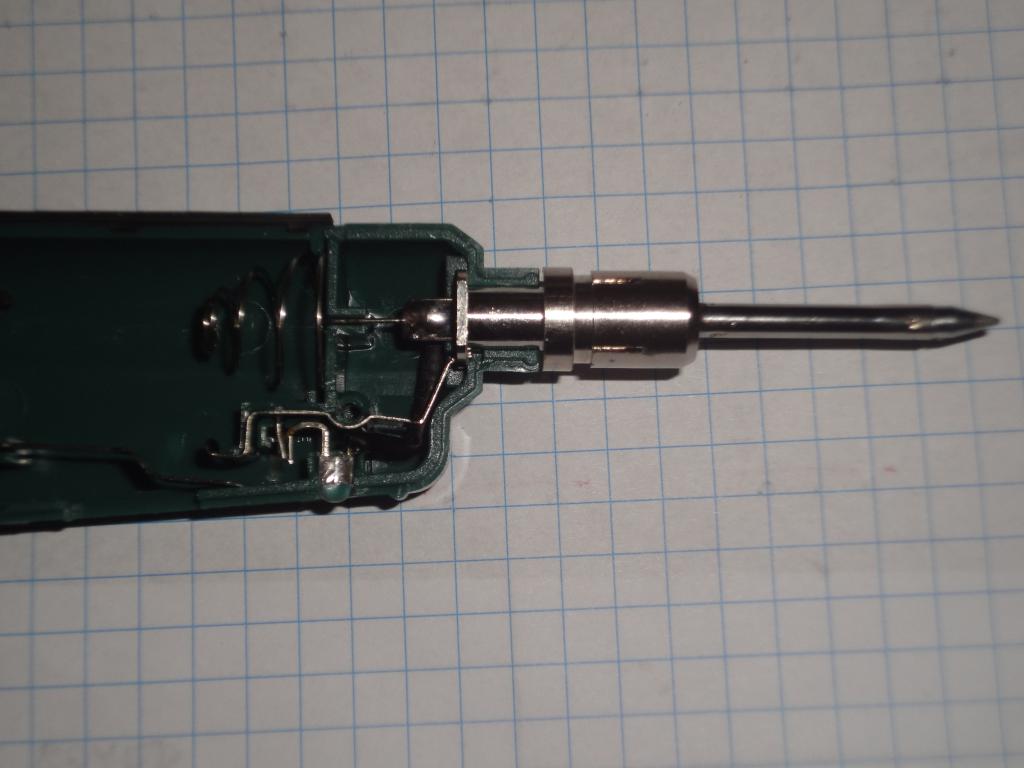 Heating tip | 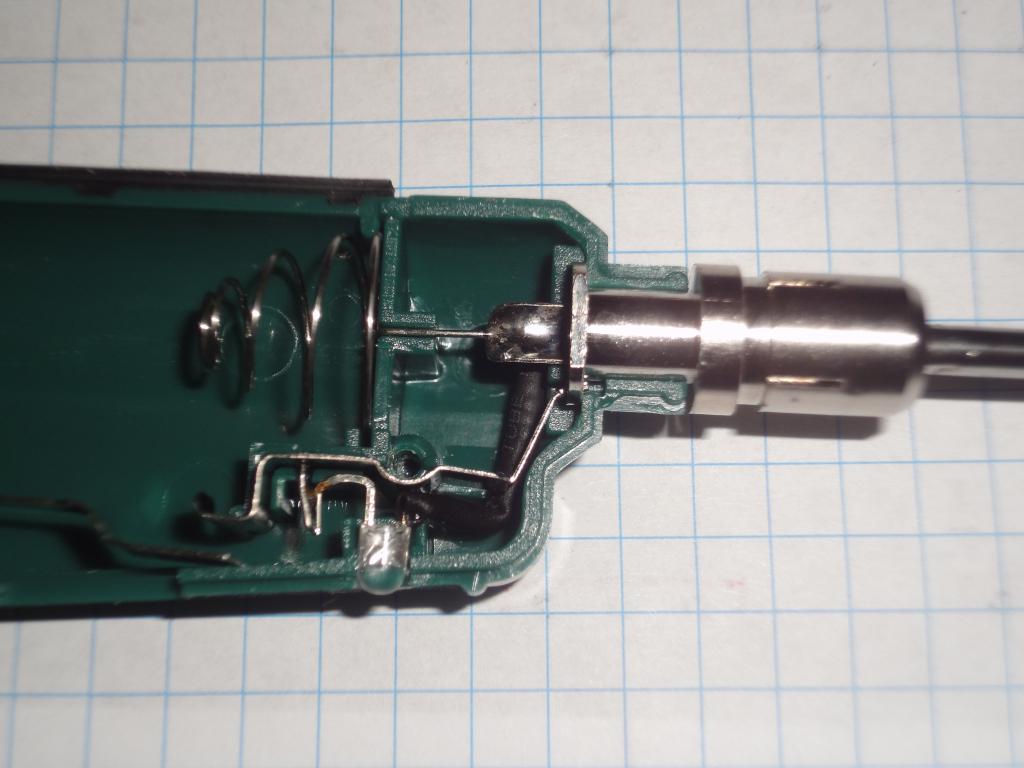 Heating tip |
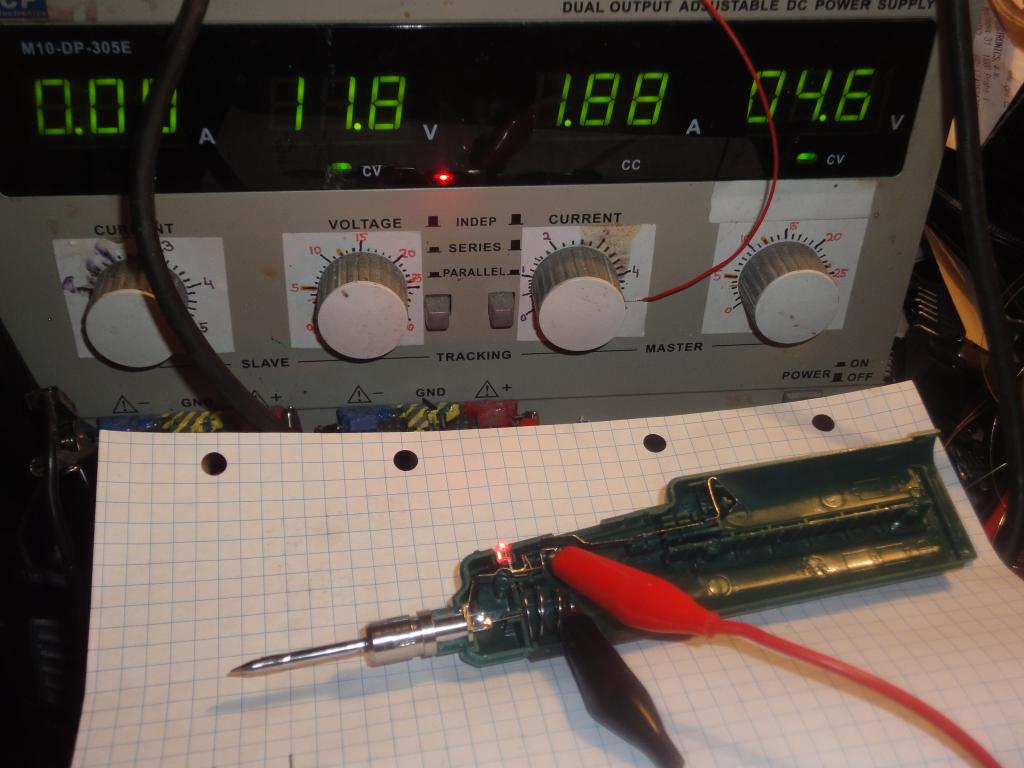
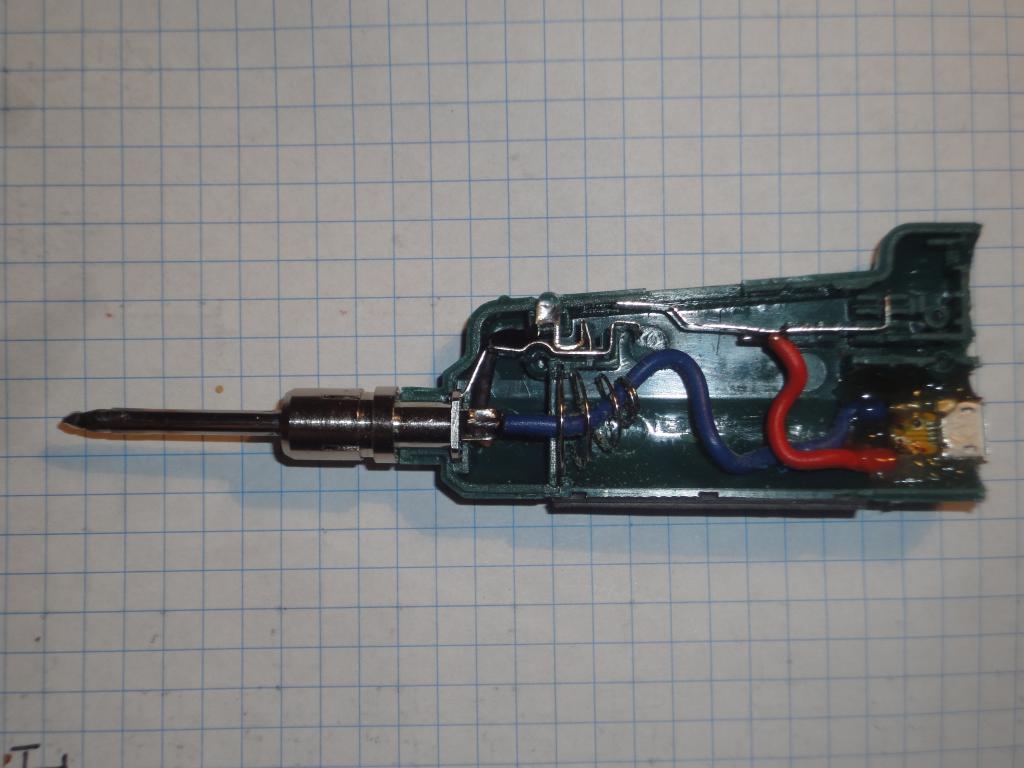
The disassembled device was connected to a lab power supply and powered up. It turned out that the actual power is higher than specified, at 4.6 volts the current consumption was 1.88 amperes, corresponding to about 8.6 watts, or 2.4 to 2.5 ohms of resistance. This corresponds to 2.05 amps at 5V, or 10.2 watts. Close to the maximum rating of the common power supplies but still close enough to the limits.
It was found the device heats up fairly fast and melts solder easily.
 Powered up | 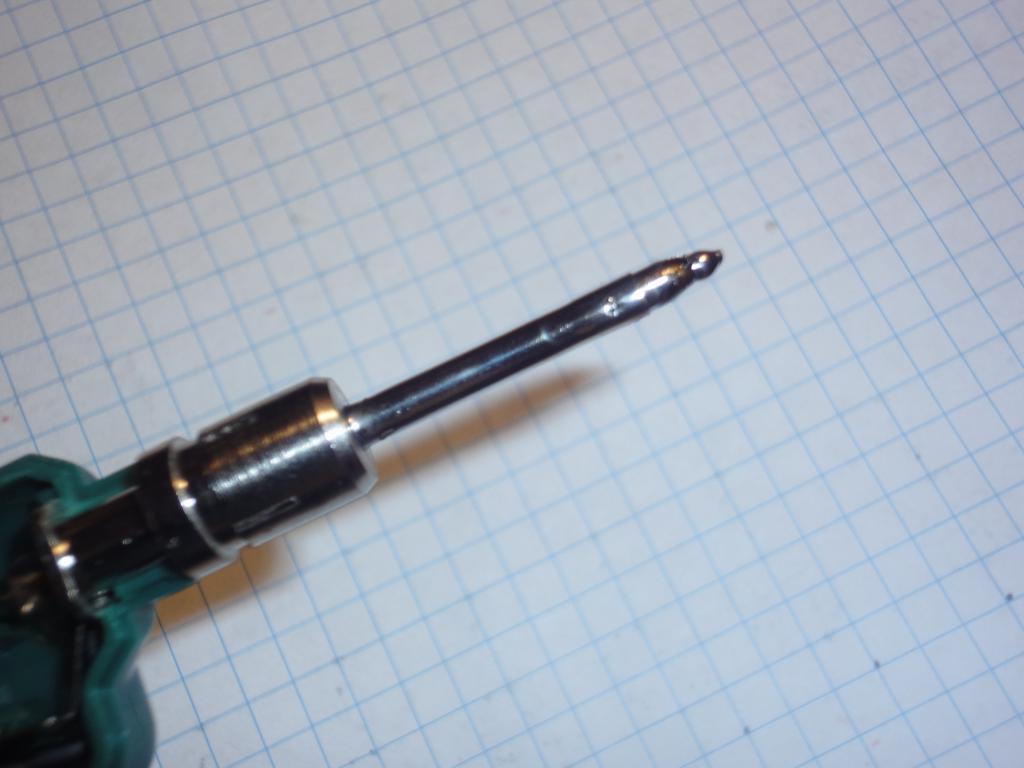 Tin-coated tip | 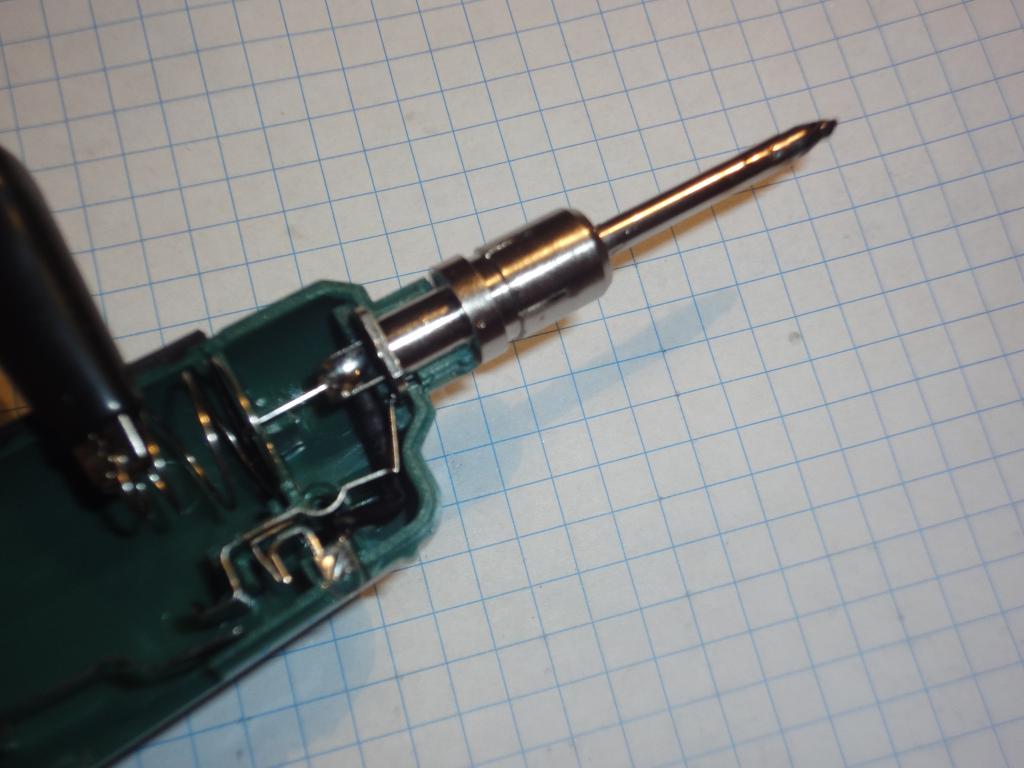 Tin-coated tip |
The power is delivered from batteries via springy metal contacts. One contact serves also as the switch. It is seated in position via molded plastic holders. As the casing will be shortened, it was decided to shorten the contact as well.
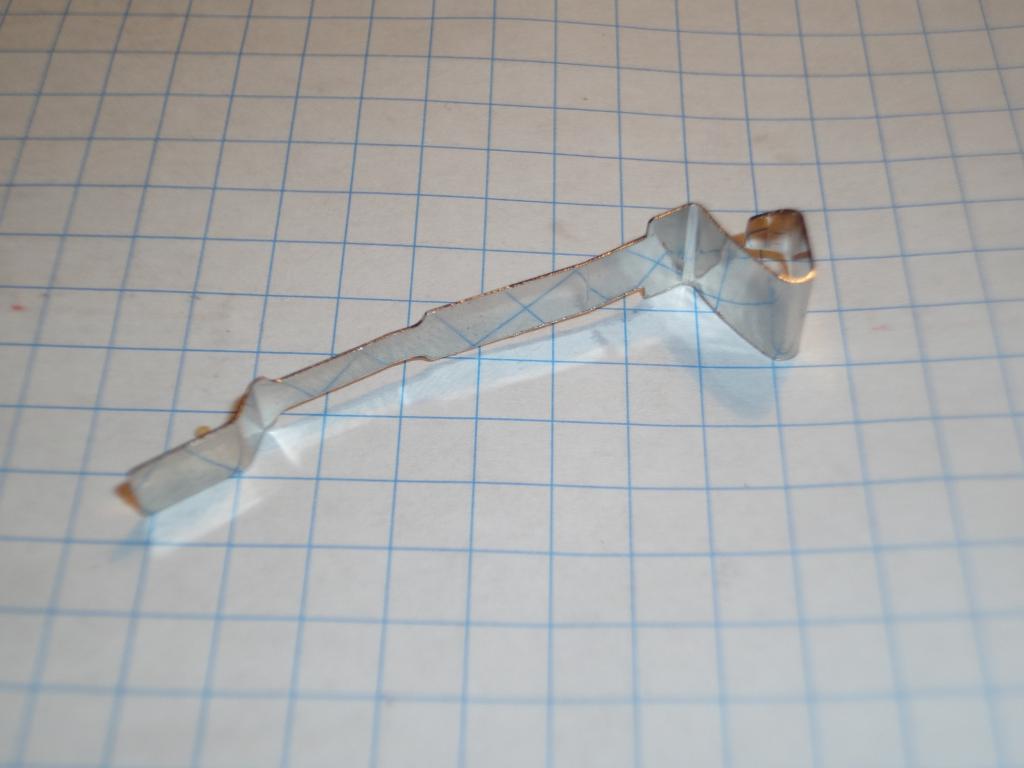 Battery contact | 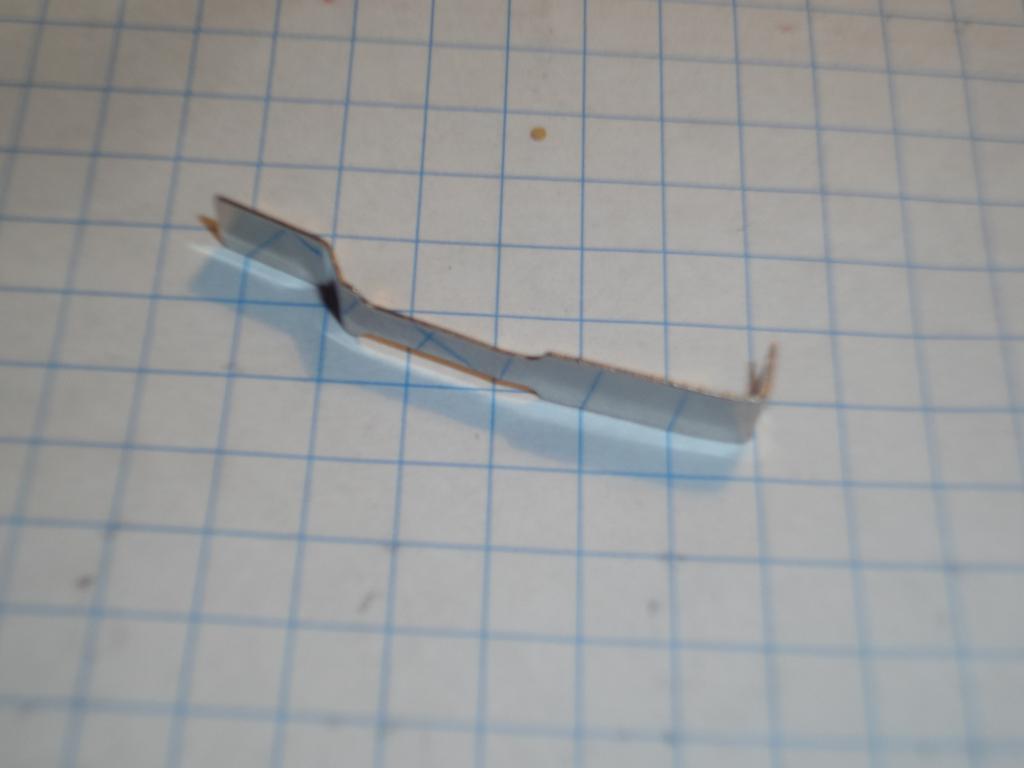 Battery contact, cut and rebent | 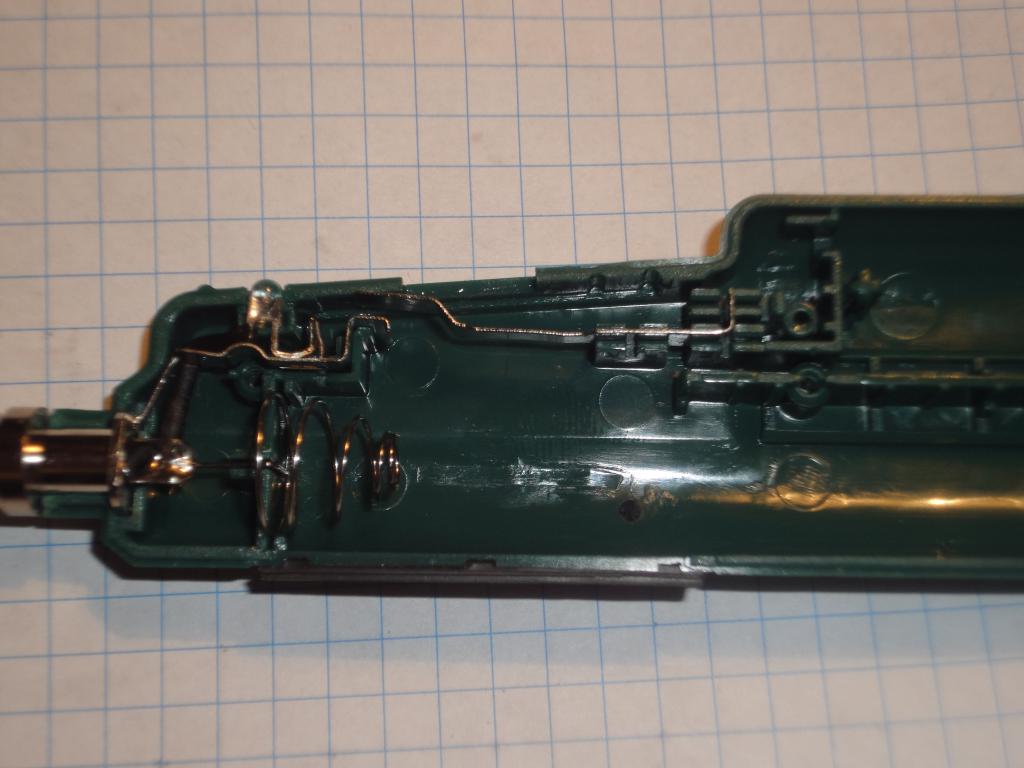 Battery contact, new configuration |
Wires were soldered to the battery contacts. A microUSB connector on a breakout board was attached to their ends. Polarity was maintained due to the signalization LED, otherwise it would be noncritical.
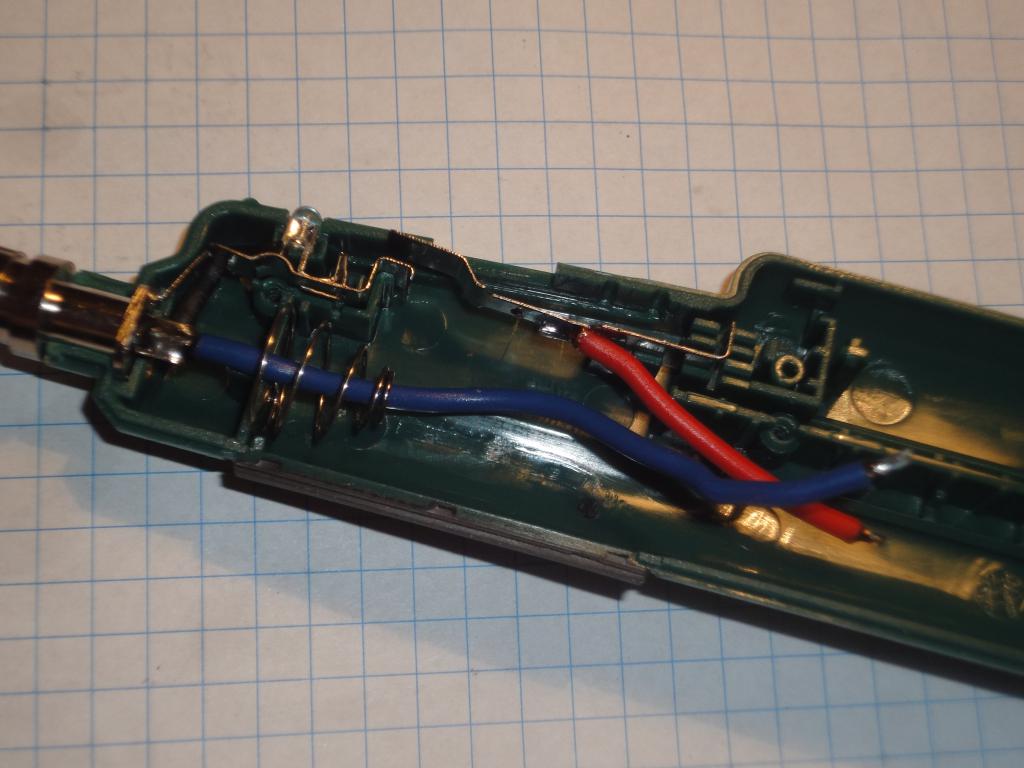 Wires attached |  Wires, connector breakout prepared | 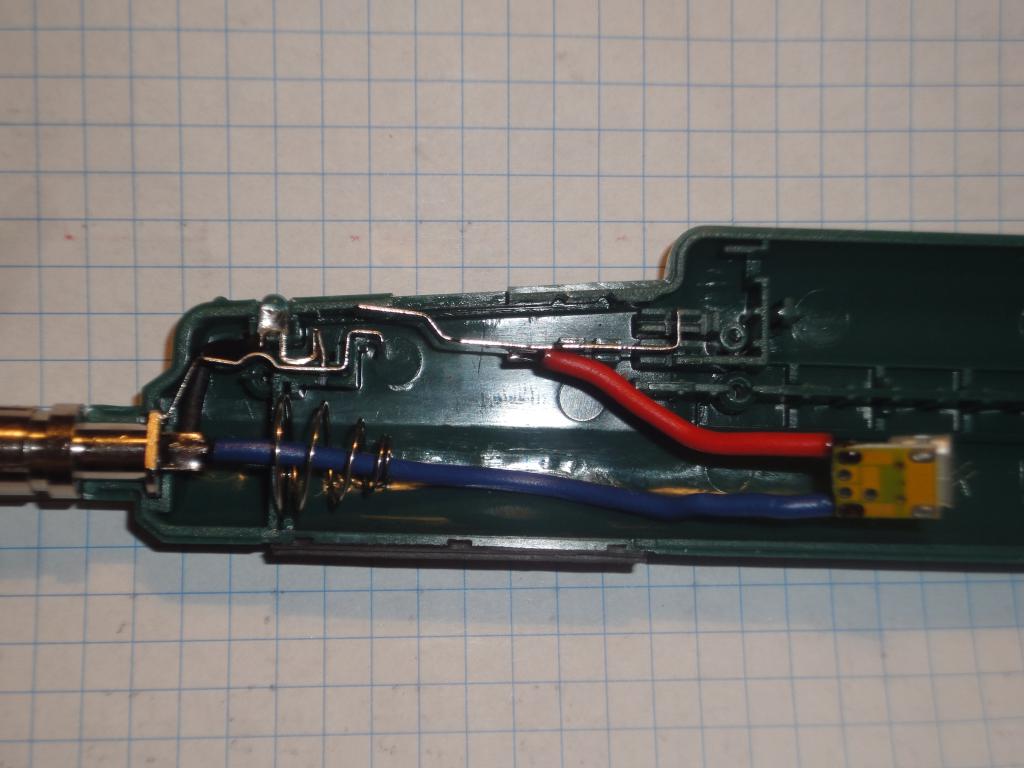 Connector attached |
Using a hot knife, the casing was cut about to half of its original length. This was done to facilitate portability; the original thing was a bit too long. The shorter length slightly impairs the grip, though.
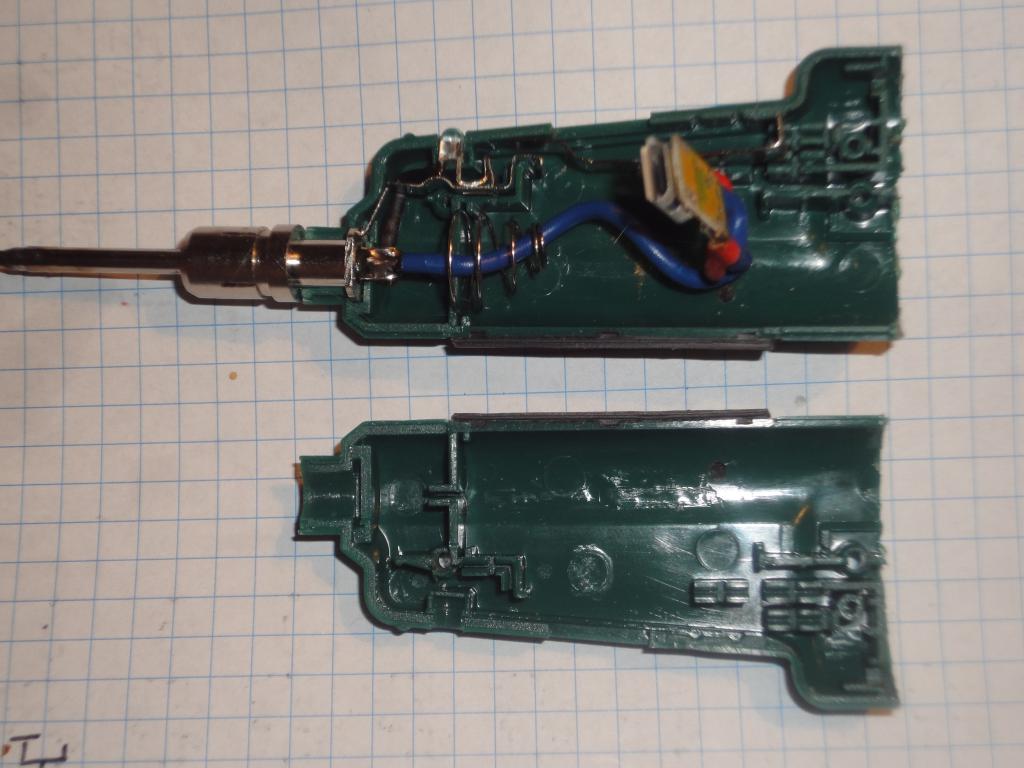 Casing cut | 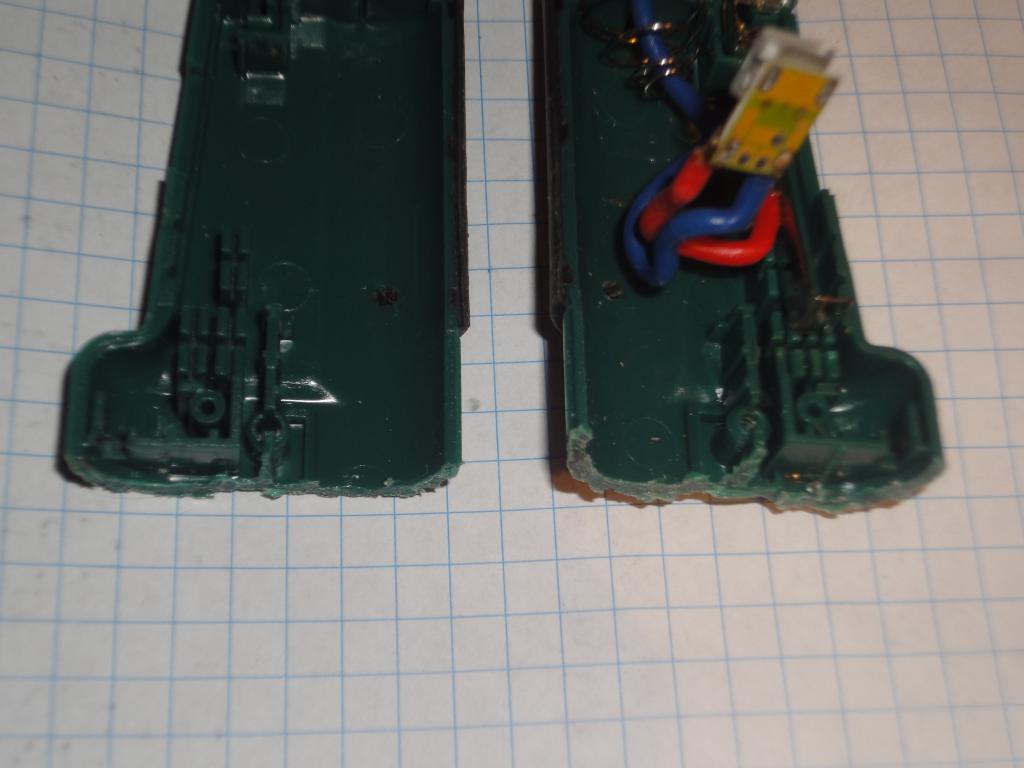 Casing cut |
The connector board was attached to the casing using a hot-melt adhesive.
 Connector installed | 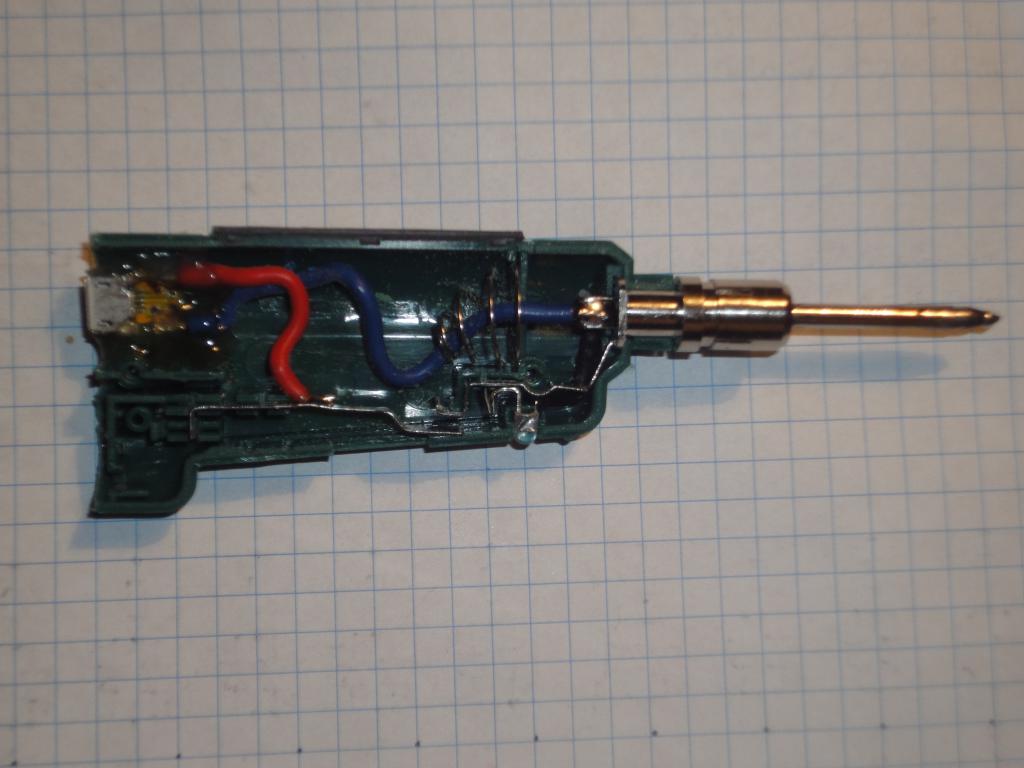 Connector installed | 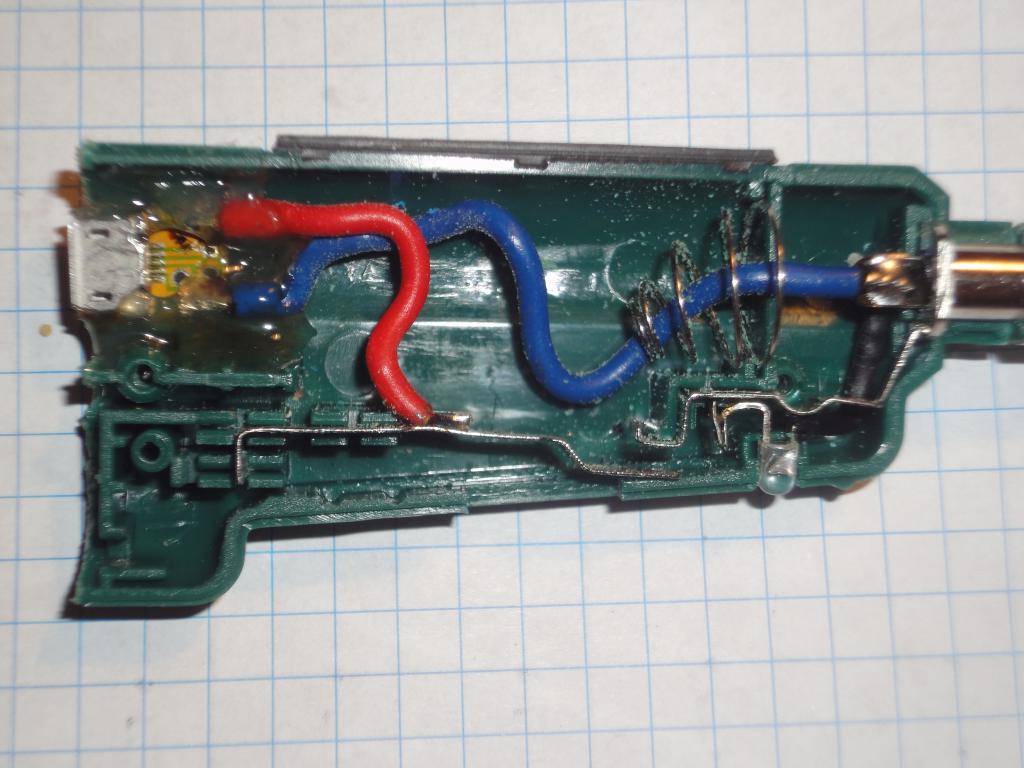 Connector installed | 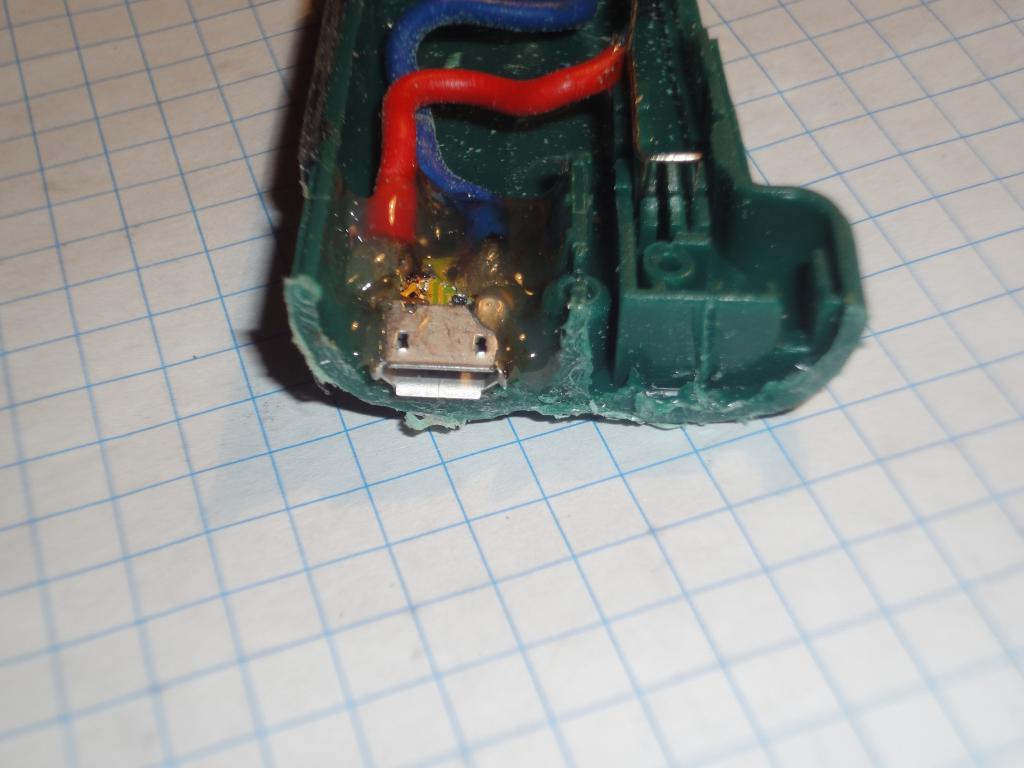 Connector installed |
The switch functionality was examined to be certain the contact is bent the right way and was not damaged during modifications.
 Switch function | 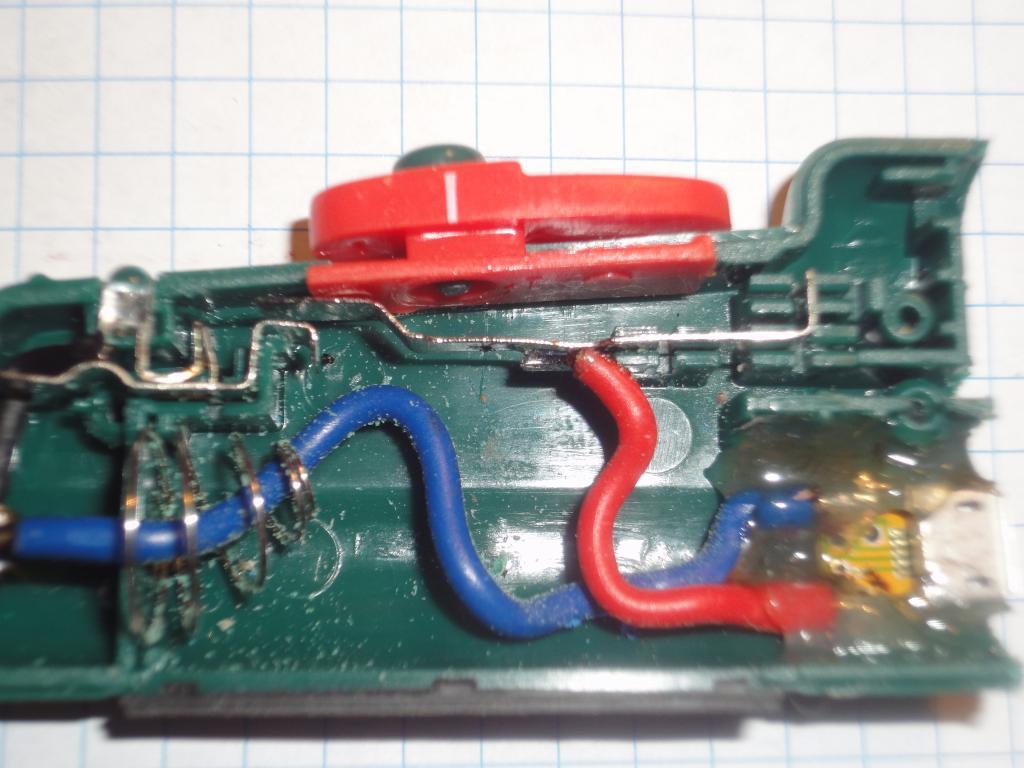 Switch function, OFF | 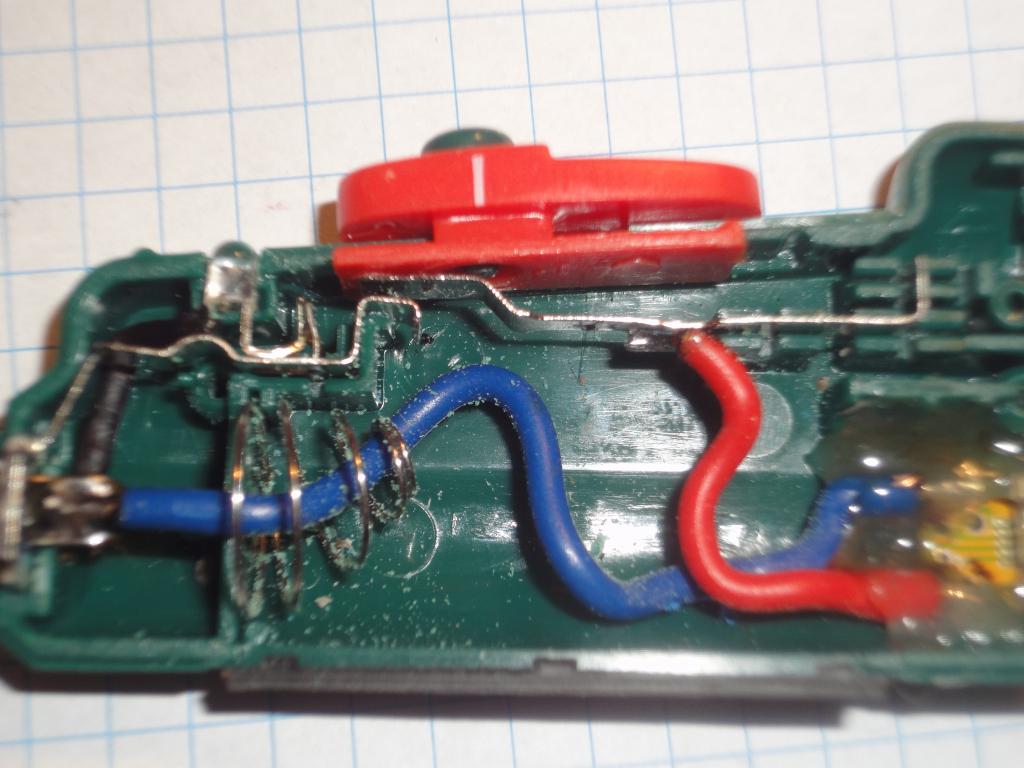 Switch function, ON |  Switch function, ON, activated |
It was found that the thick cable from the other heater end requires cutting a little part of the plastic from the casing so they could mate again.
 Casing cable pass mod location |
The device was reassembled.
 Final assembly | 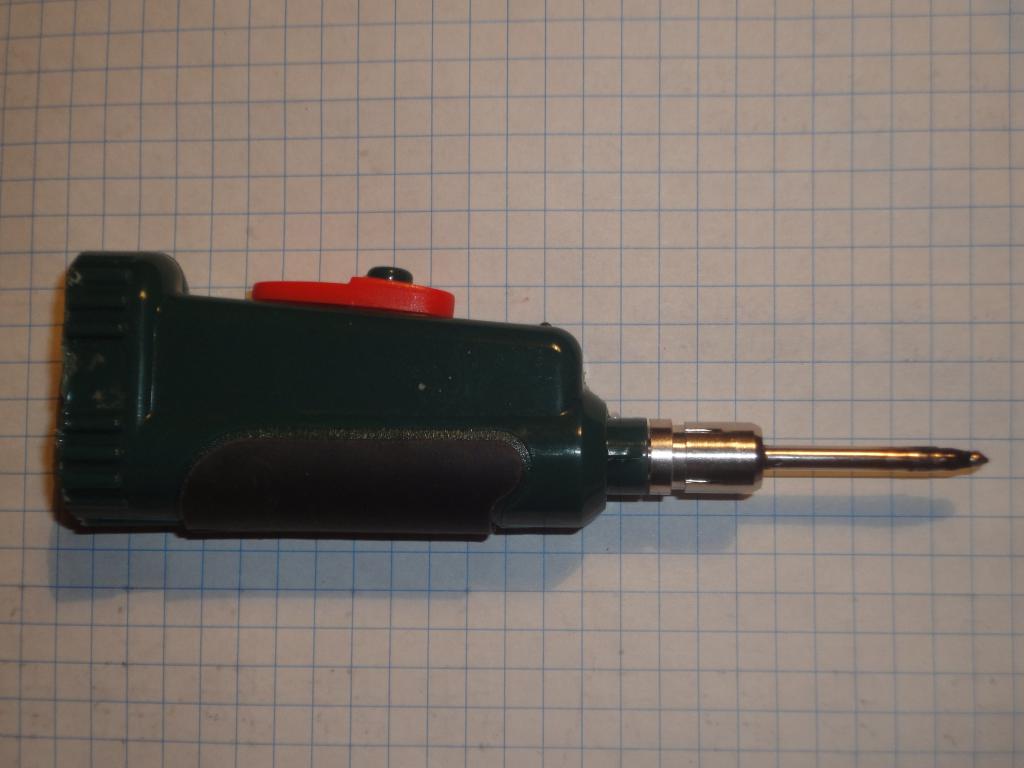 Final assembly | 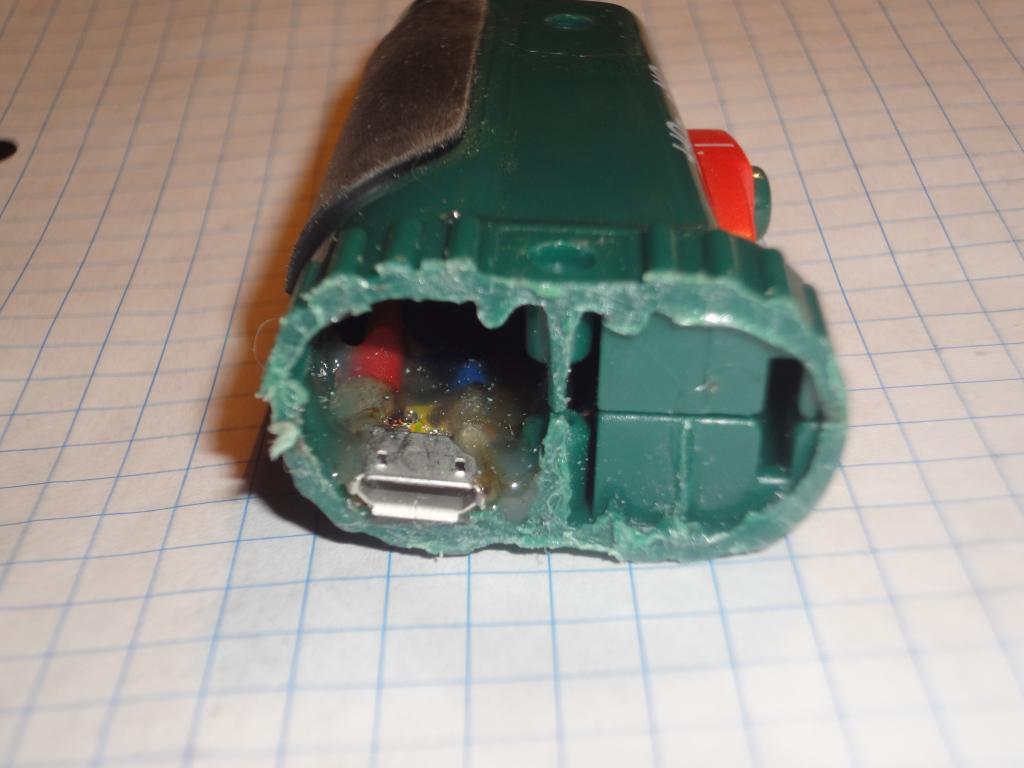 Final assembly | 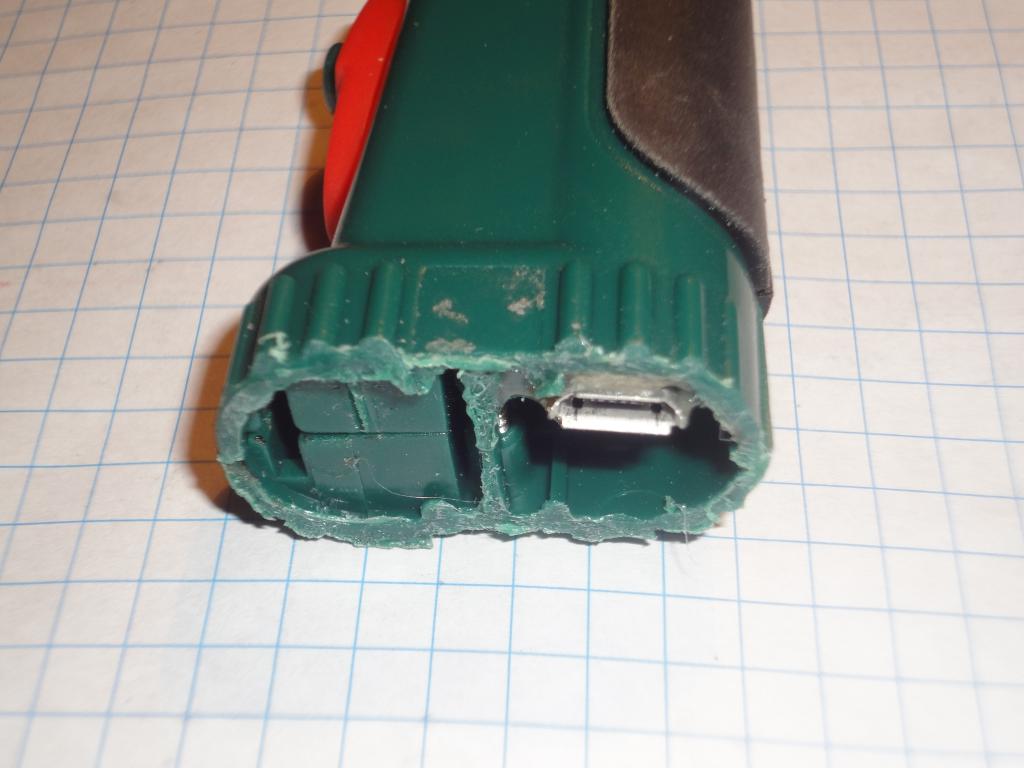 Final assembly |
The device has a lot of unused space inside. For soldering, flux and solder are needed. A small drawer was decided to be 3D-printed, and after several design iterations one was settled on.
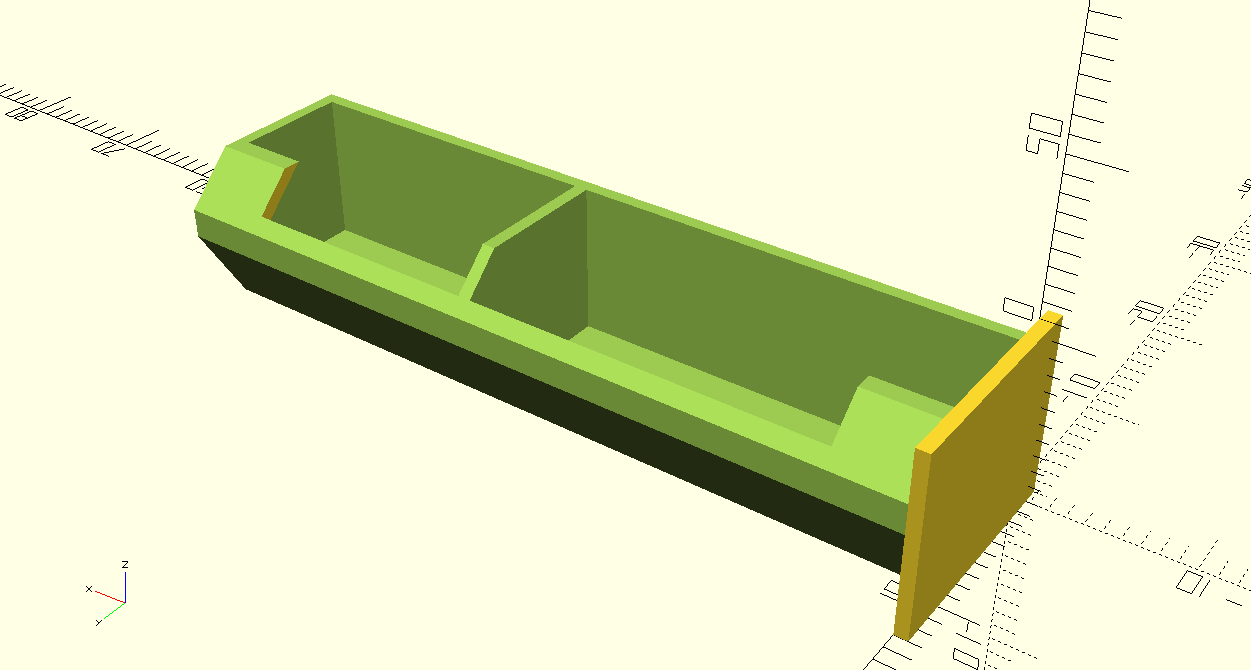 Drawer, OpenSCAD draft |  3d-printed drawer | 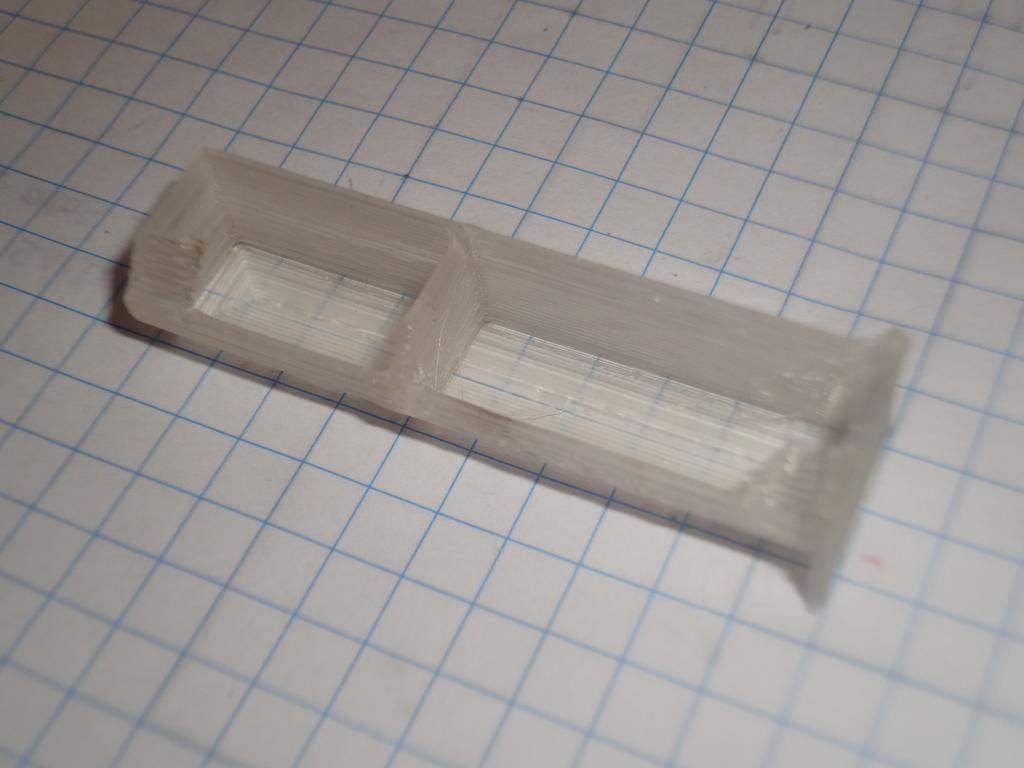 3d-printed drawer | 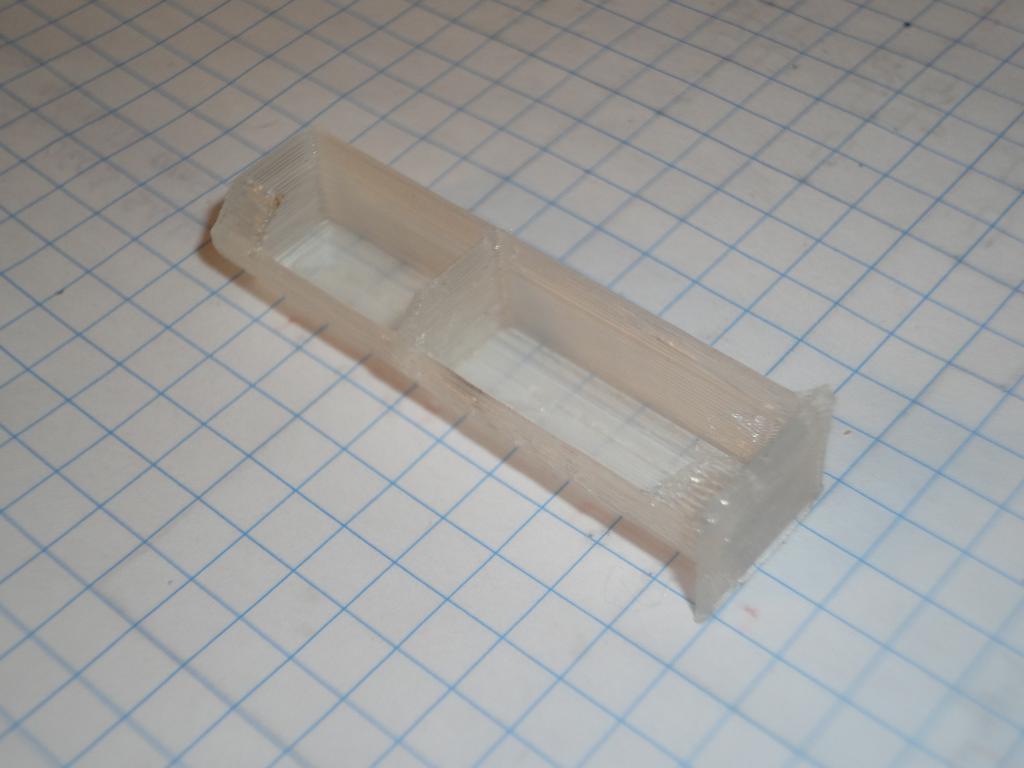 3d-printed drawer |

 Internal, prepared for drawer | 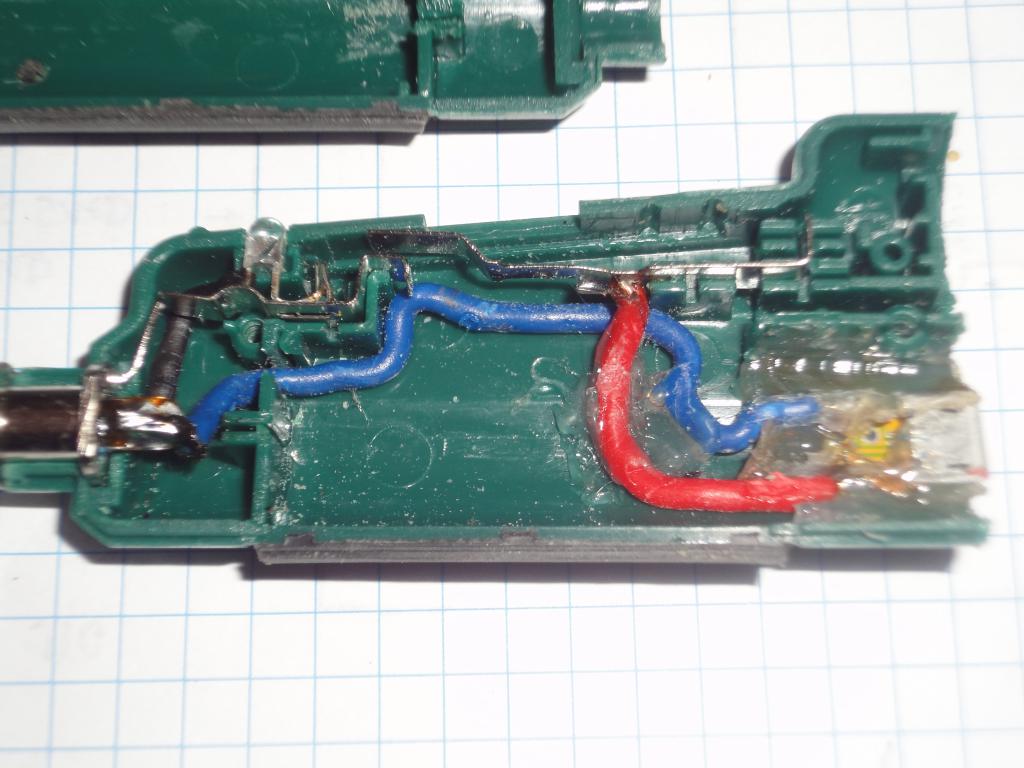 Internal, prepared for drawer |  Drawer, mechanical fit |
Rosin was melted into its compartment. A soldering iron heated to 220 °C was used
to minimize discoloration. Care was taken to cool the compartment between addition of further rosin,
as it was printed from PLA and prone to softening.
 Drawer, with rosin | 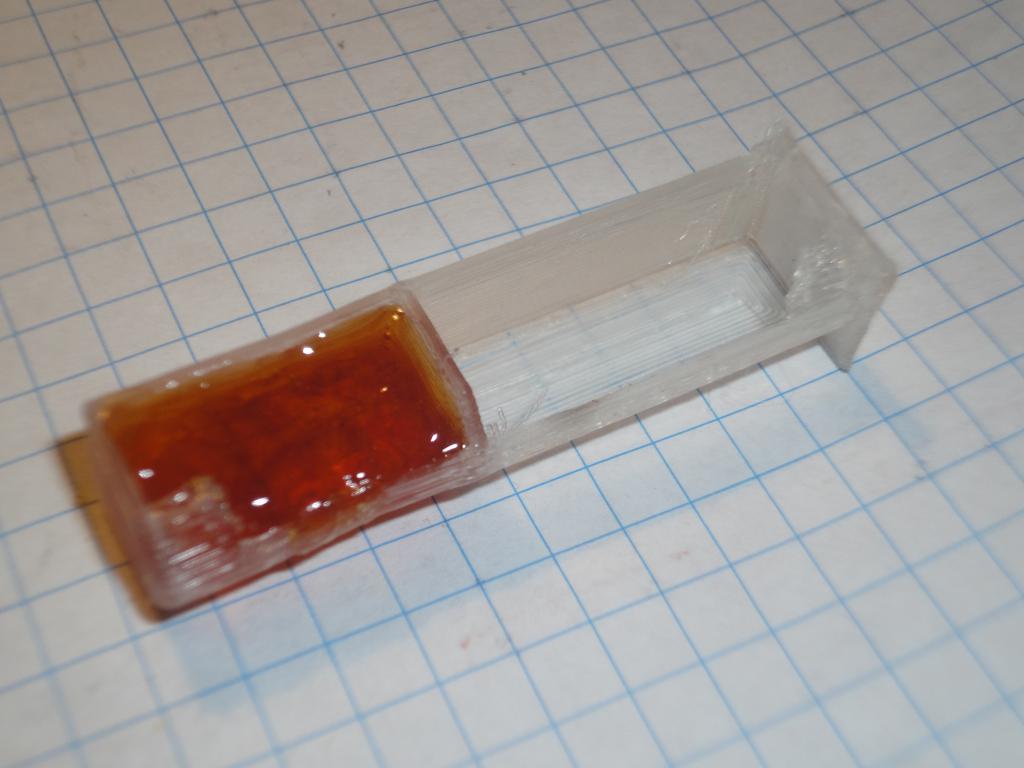 Drawer, with rosin compartment | 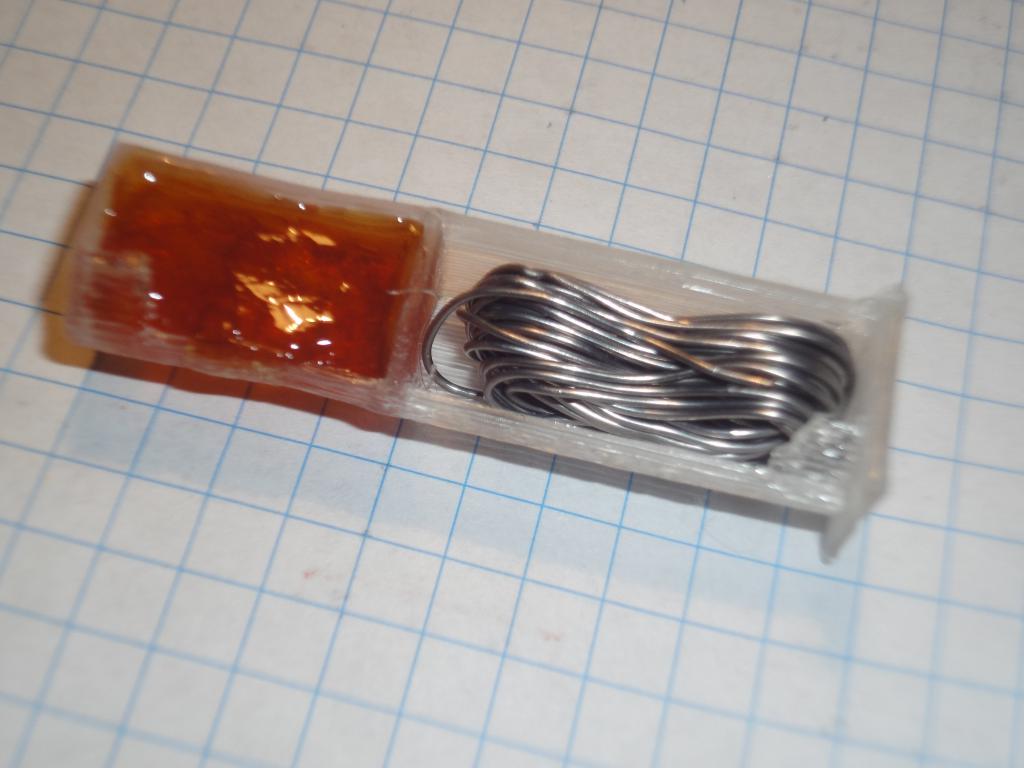 Drawer, with rosin and solder | 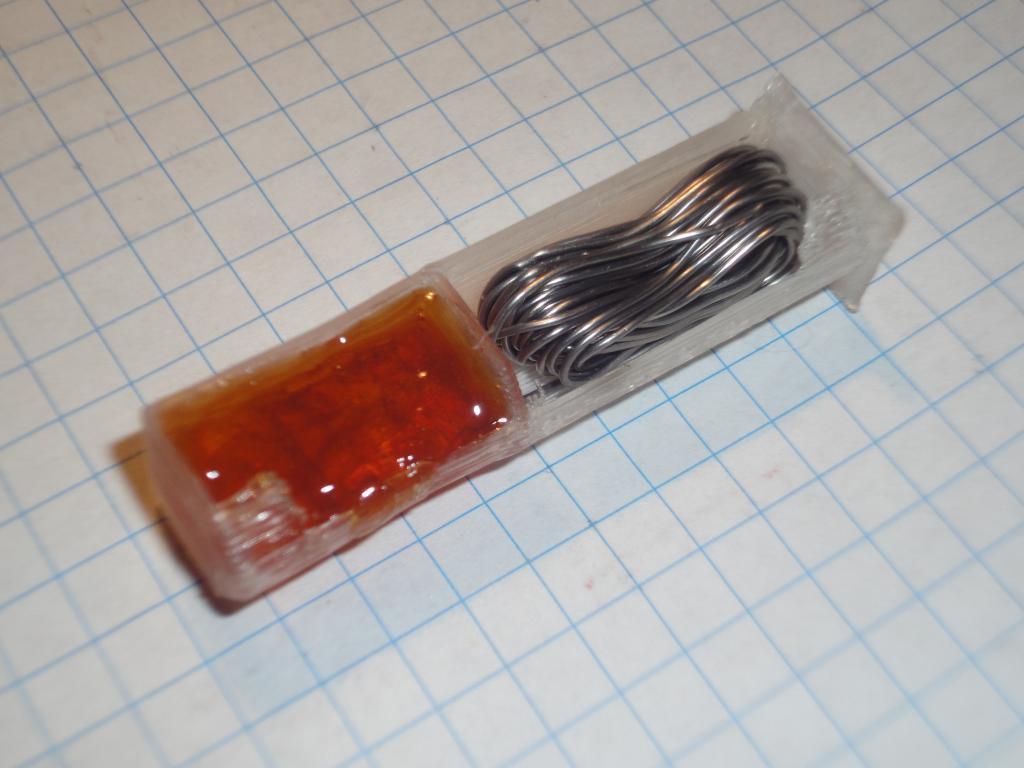 Drawer, with rosin and solder |
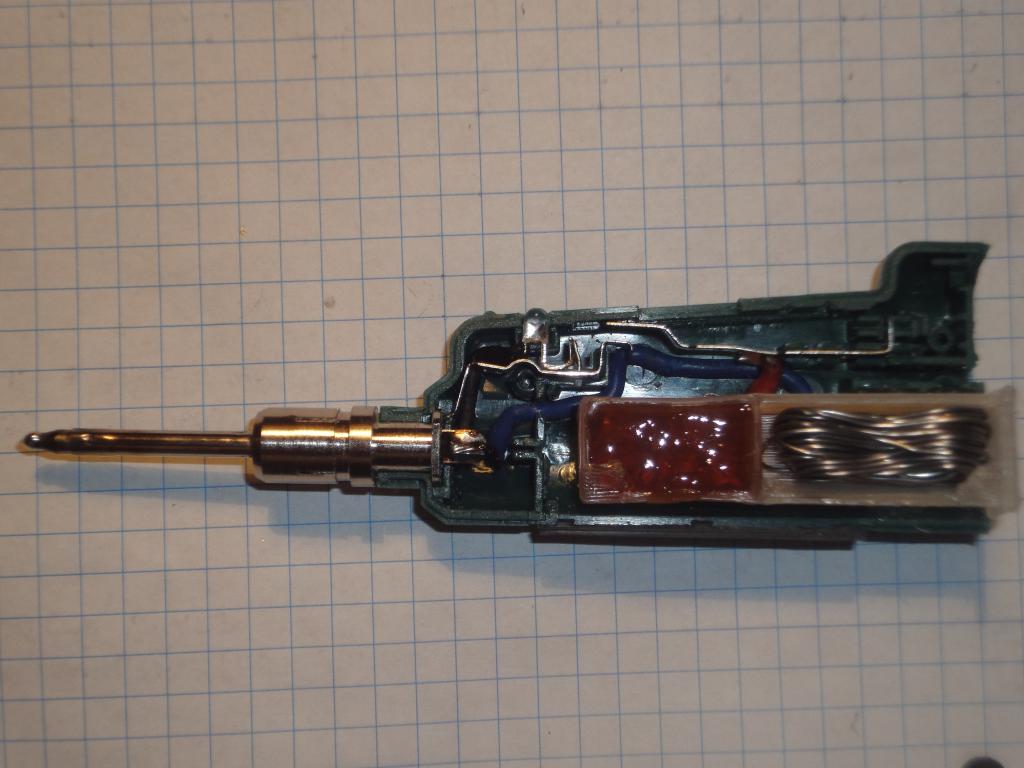 Drawer, mechanical fit | 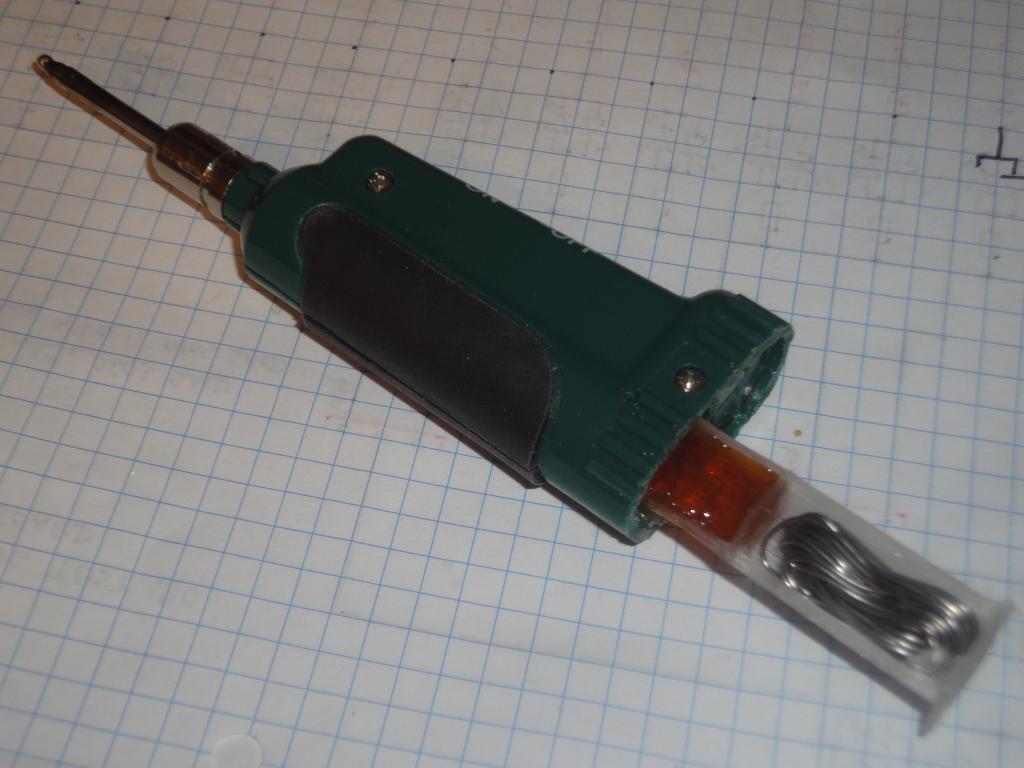 Drawer, in place | 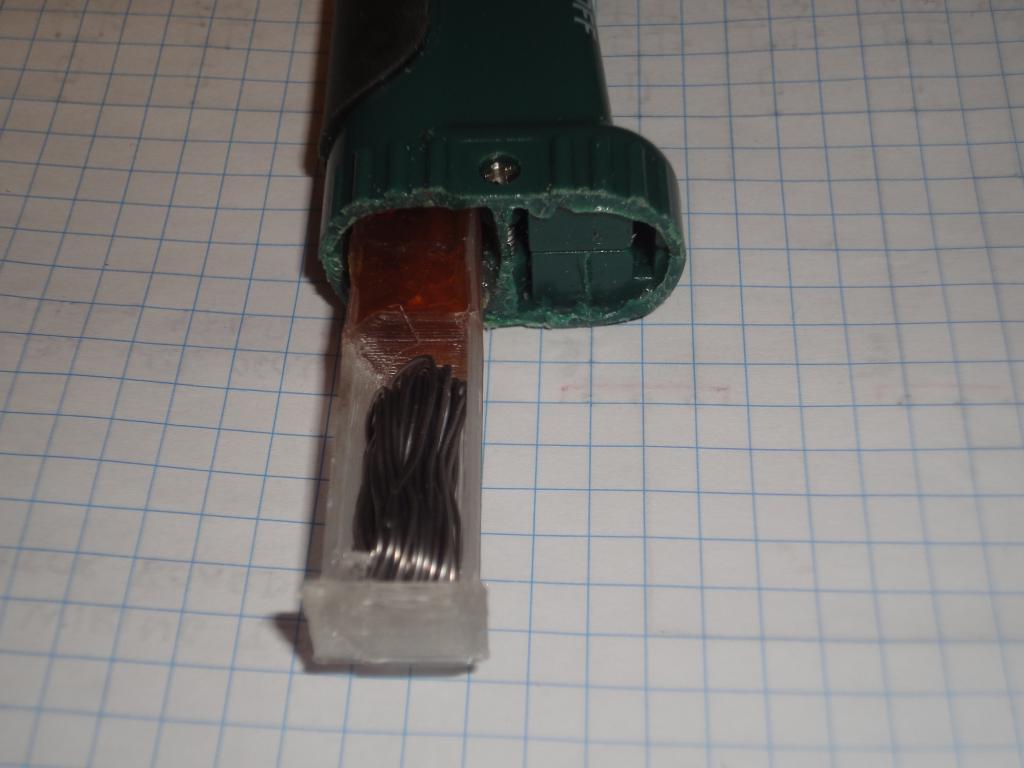 Drawer, in place |  Drawer, in place |
The device was reassembled and the drawer was found to perform satisfactorily.
 Complete device, with safety cover | 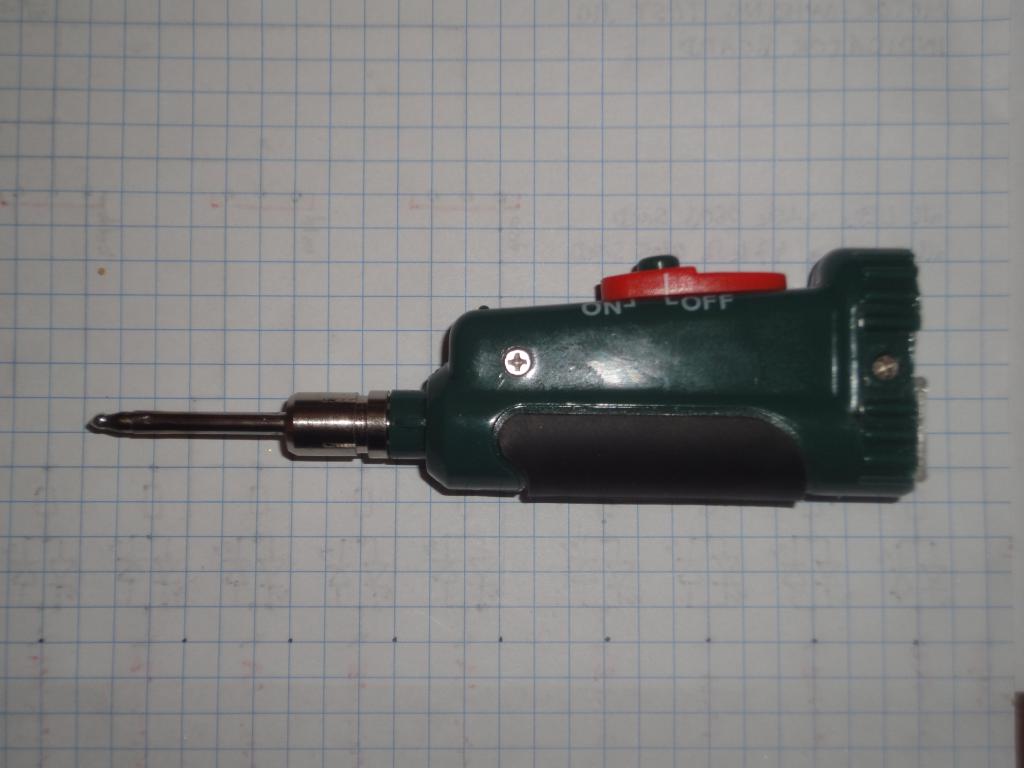 Complete device, with drawer in | 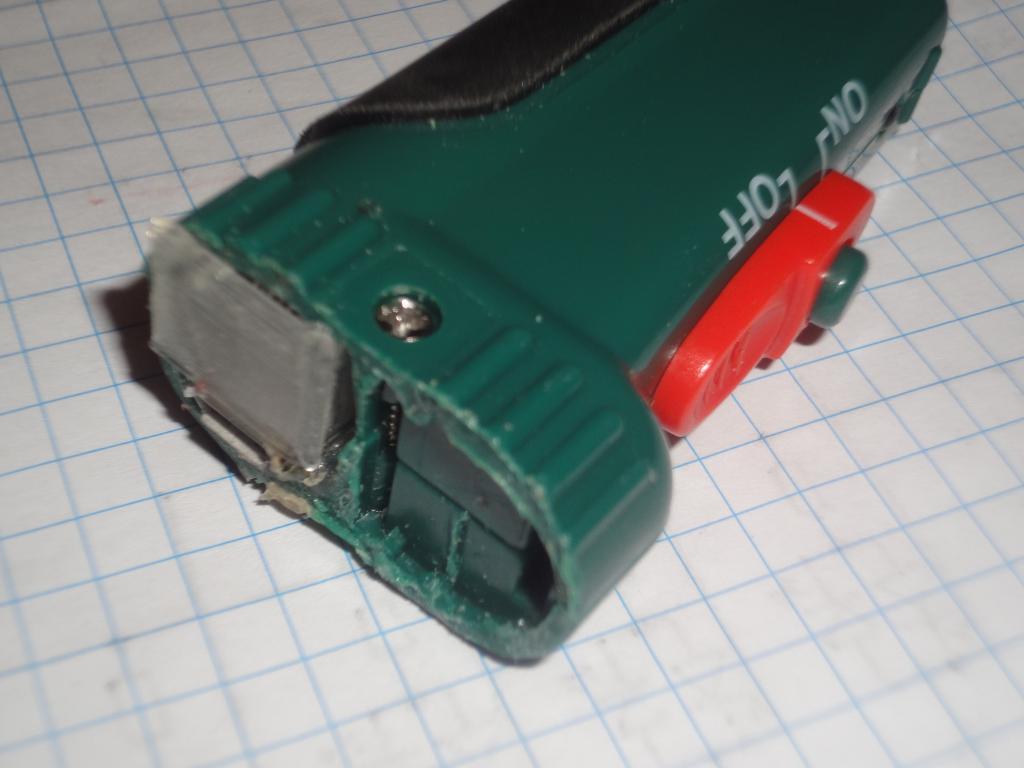 Drawer in place |
The soldering iron was tested and found operating more than satisfactorily. This device will now join the other tools in the portable miniworkshop, obsoleting the pen-type 12V one.