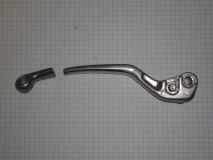
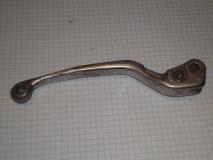
broken lever
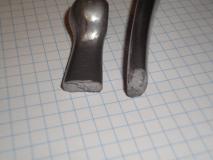
crack detail
During a rather high-energy fall, the clutch lever of a Ducati motorbike cracked. The replacement part was quoted to be over $180 new, and over $100 with some effort. A repair was therefore to be attempted.
 broken lever |  crack detail |
For joining cast aluminium, several approaches are possible. Soldering, with low-melting alloy,
in this case tin-zinc, brazing
, with higher-melting alloy, and welding
. Or purely mechanical
means, or epoxy.
Gluing with epoxy was chosen to be a last resort, together with mechanical approaches.
Soldering with a soft solder was decided against due to the low strength of such alloys.
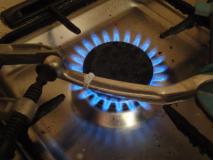
Brazing was chosen for the first attempt, due to favorable earlier experiences. Polish "AlumWeld" braze and "AlumWeld Blue" flux were used.
A kitchen gas stove was used as the heat source. Two C-clamps were used to hold the parts in place. The setup shown up to be suboptimal, not allowing proper heat transfer to both parts. The alloy wetted only the larger workpiece, did not flow to the joint, partially dissolved the workpiece and collected on the bottom in a fairly large drop.
This suggests the approach is potentially doable, but with more care about clamping the workpiece and setting the torch. A Bunsen burner would be better here.
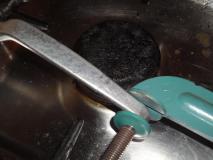 chucking | 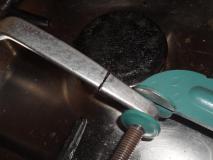 chucking | 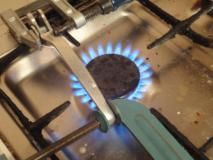 heating | 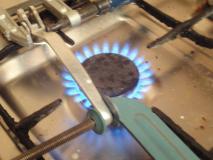 heating |
 flux aded | 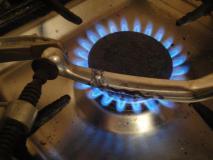 alloy added | 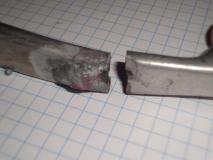 post-brazing | 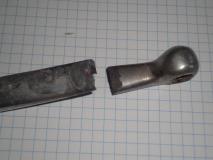 post-brazing |
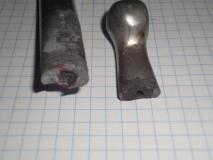 post-brazing |
Welding was chosen as the next approach. Due to the absence of equipment for TIG,
stick welding was picked - an underestimated method for aluminium about which there are many misconceptions.
Earlier experiences with this technology were unfavorable, but that was due to lack of experiences and too thin workpieces.
The OK96.40 (also called EL-AlSi5) electrode, with 2.5mm diameter, was chosen. The current was set a little over 50 amps.
The electrode produces fluid slag that spreads over the surface and wets the metal well. It however also coats the electrode tip, hindering striking the arc.
Additional difficulty is the electrode's pronounced tendency to stick on arc strike (hence "stick welding"), and stick so hard it can not be just pulled off. It then has to be bent back and forth until it breaks, leaving a piece protruding from the weld. The coating also breaks from around the electrode end, leaving exposed metal that has to be burned or cut off. (Would TIG-like high voltage spark arc ignition make things easier?)
The slag also hinders arc striking. It has to be removed with a wire brush, which is mercifully easy.
The electrode burns FAST. It has to be almost pushed into the weld. The material builds up fast. The first attempt consumed most of a whole electrode.
After the welding, the excess material was ground off using an angle grinder, and then manually filed to shape.
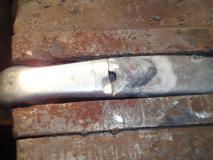 in a vise | 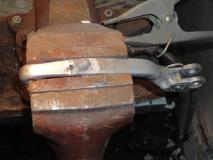 in a vise | 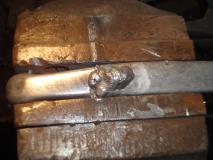 weld detail | 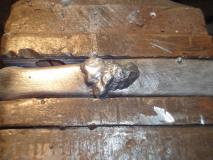 weld detail |
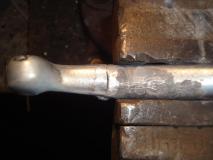 other side, before welding | 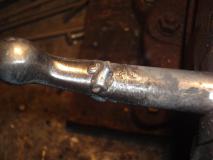 weld detail | 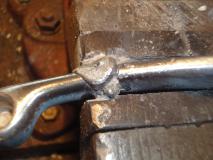 weld detail | 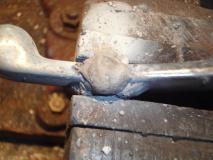 weld detail |
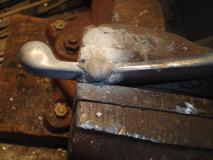 weld detail | 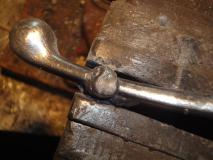 weld detail | 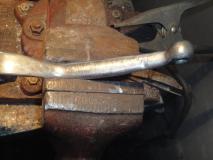 ground to shape |
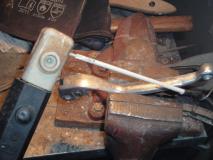 lever with electrode | 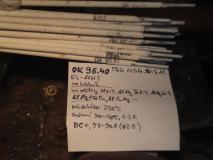 electrodes used |
The weld was tested by manually applying bending force. Crack goes the joint. Turned out there was next to no penetration into the metal, and everything was held together only by the metal deposited on the top. Which was ground and filed away afterwards.
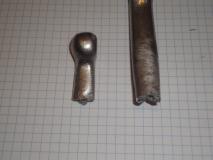 result of bend-test | 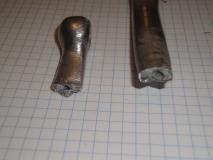 result of bend-test |
Second attempt, with lessons learned. The edges of the crack were filed to V-shape, facilitating better penetration of the weld. The current was set to the higher value.
70 amperes turned out to be almost too much. The arc burned into the material, leaving a groove. Which, however, shown signs of good penetration into the base metal. The operation was repeated around the part. The burned-in grooves were then filed, with current dialed back to about 55 amps.
About two thirds of the electrode were consumed.
The result was then ground and filed to the desired shape. The part passed the bend test that it failed earlier. The surface was then sandpapered using a Dremel wheel, to achieve smoother texture.
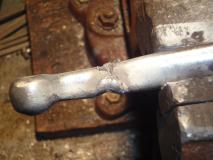 deep weld, 70A | 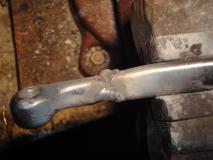 deep weld, 70A | 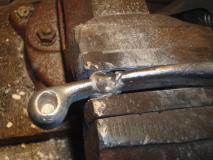 deep weld, 70A |
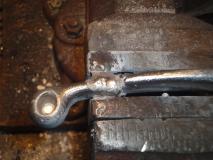 filled, at 55A | 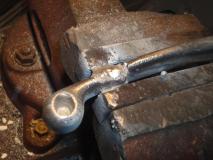 filled, at 55A |
 ground to shape | 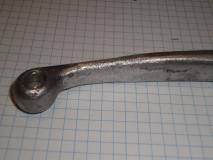 ground to shape | 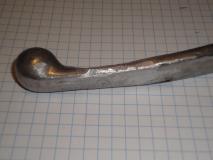 ground to shape | 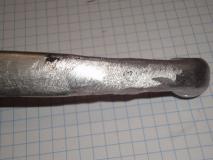 ground to shape |
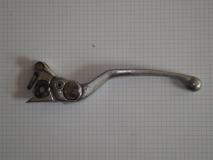
The second attempt yielded a nice, well-looking part that seems to be able to withstand the required forces. The results of the actual driving test were affirmative; the part survived an entire day of high-intensity driving on a racing track.
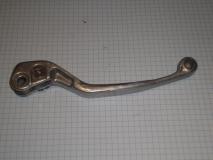 finished piece | 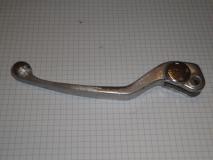 finished piece | 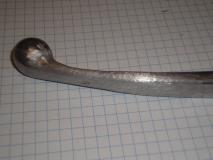 finished piece | 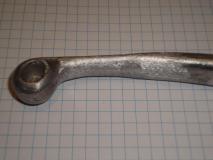 finished piece |
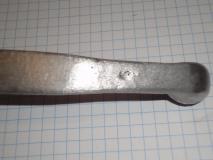 finished piece | 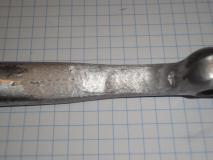 finished piece | 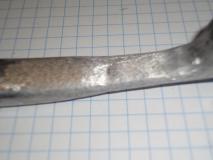 finished piece |
 reassembled | 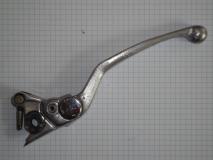 reassembled | 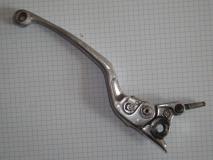 reassembled |
Also, it was found that the AlSi5 electrodes can be unbelievably hygroscopic. A bunch was left in the welding room, for a few weeks. A trace of some water spill, covered with rust blisters, was found afterwards, on the welding table. Its source was traced to the electrodes, which were found to be totally soaked, without any obvious source of liquid water, apparently just from the air. Hope they are not entirely destroyed.