A cheap USB microscope was acquired via eBay, then taken apart and documented.
It was found to be surprisingly good for the price. It was also found to be very fussy to adjust on its crappy stand.
It was decided to put it on a 3D printer, already modified with a replaceable head holder built around a load cell.
A holder for the microscope was designed in OpenSCAD and printed from ABS. The microscope is held in place
by the springiness of the pads, and kept in position with the raised inner rim.
For control, the OctoPrint interface was used, as it was already used
for the 3d printer control. The Control tab has a webcam feed built in, designed around the mjpg_streamer.
The interface has keyboard control; cursor keys for moves, PgUp/PgDown for up and down (in the case of microscope head this serves as the focus). The moving distance per keypress can be set to 0.1mm, 1mm, or more. 0.1mm is suitable for the highest magnification, 1mm for lowest.
The magnification has to be adjusted manually, by a ring on the body of the microscope. CAUTION: the ring has fairly low friction, and the vibrations during the movements of the head will make it move. It generally moves in the way towards higher magnification. Aretation should be solved.
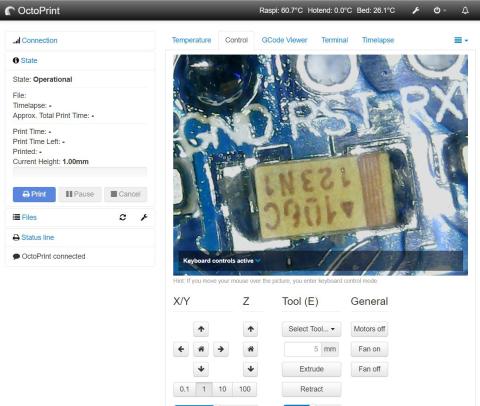 screenshot |
The mjpg_streamer is used for streaming the video to the operator and also for acquiring the snapshots.
On the server:
c ./mjpg_streamer -i "./input_uvc.so -d /dev/video0" -o "./output_http.so -w ./www"
For acquiring the snapshots, a curl or wget can be used. On the client:
c curl -s "http://server_address:8080/?action=snapshot" > filename.jpg
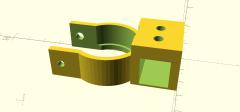 microscope holder | 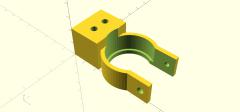 microscope holder | 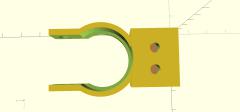 microscope holder |
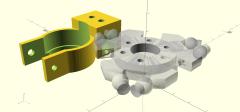 assembly on load cell | 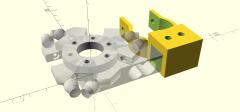 assembly on load cell |
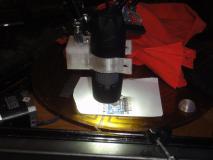 Microscope in use | 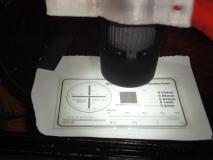 Microscope in use | 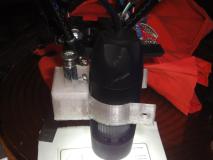 Microscope in use | 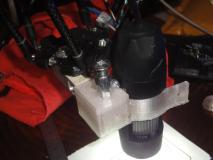 Microscope in use |
The process of acquiring shots can be automated. In principle, set the focus and position in the Octoprinter interface, then run the acquisition script; reposition head, wait until the movement ends and the vibrations settle, acquire the image, repeat until done.
The process can be done for mosaicing, focus stacking, or both.
The image acquisition depends on the mjpg_streamer, which allows both the realtime video (with few hundred milliseconds delay) and the acquisition of individual frames.
Focus stacking can be done by e.g. Hugin
, a software platform for
handling panorama, mosaic, and HDR
images. The specific method is described
here
.
The image acquisition script, focusstack1/getstack.sh, uses the sw_8control
suite of scripts, calling the
Octoprinter API. The wait for movement and vibration settling is set empirically.
The initial position of the head, and the z-distances necessary, can be determined using the Octoprinter manual control interface.
The script takes three mandatory parameters and one optional; e.g.
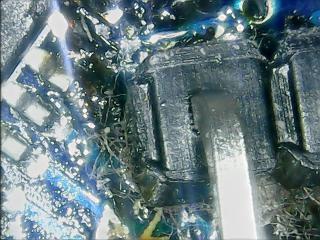 resulting image | 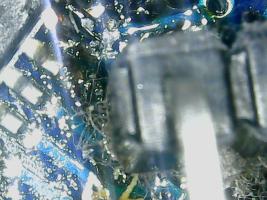 lowest focus plane | 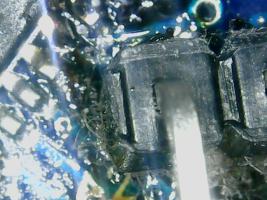 stack middle | 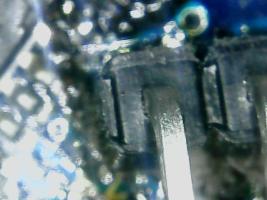 highest focus plane |
For mosaics, the image stitching can be done by e.g. Hugin
, a software platform for
handling panorama, mosaic, and HDR
images.
A first test of mosaicing, a 5x5 set of photos of a random Arduino board, is available here.
The image, stitched manually in the Hugin software, is a first attempt; the illumination is wrong (the LED ring
from the top) and there are many reflections from the shiny solder joints, and the stitching is not done optimally,
leading to observable image deformations.
The script takes six mandatory parameters and one optional:
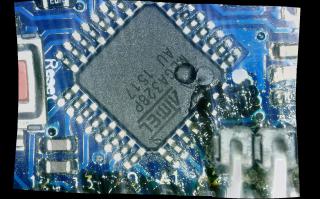 test mosaic, x=1..5, y=1..5, 1714x1068 | 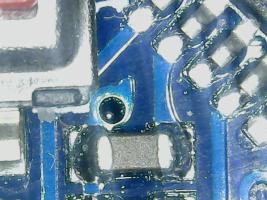 input image, x=1, y=2, 640x480 | 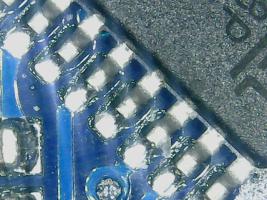 input image, x=2, y=2, 640x480 |
The image acquisition script, mosaic1/getmosaic.sh, uses the sw_8control
suite of scripts, calling the
Octoprinter API. The wait for movement and vibration settling is set empirically.
Effort has to be spent on automating the prearranged mosaic array stitching, so no user interaction is needed.
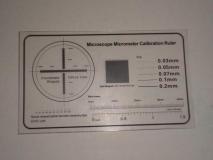 calibration card |
(reflective objects show the LED ring, better diffused lighting has to be employed)
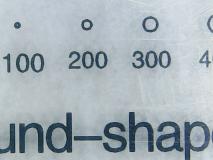 microscope shot | 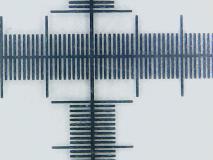 microscope shot | 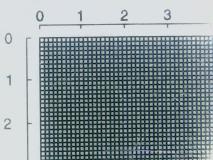 microscope shot | 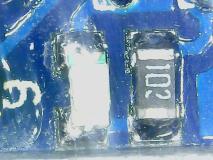 microscope shot |
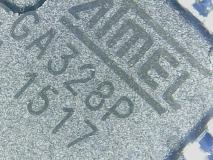 microscope shot |