DT4000ZC multimeter wifi upgrade
Why
Multimeters come in many flavors. Some have serial interfaces, often with some sort of dongle that gets lost quickly
and then cannot be found when needed. Virtually all have primary batteries that die at the most inconvenient time.
Next to none have customizable wireless connectivity to the local network.
How
Inside the DT-4000ZC meter
The multimeter is based on the FS9721-LP3 chip. There are more like that.
See Multimeters and their chips, with computer communication .
.
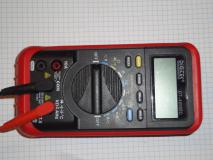
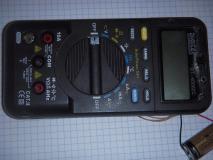
unmodified multimeter | 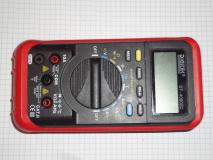
unmodified multimeter | 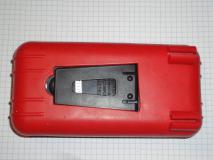
unmodified multimeter | 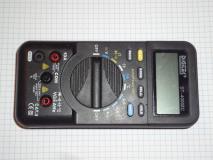
unmodified multimeter |
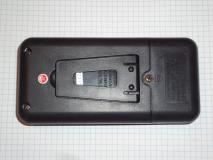
multimeter, back | 
multimeter, back | 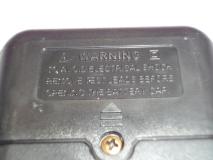
battery cover | 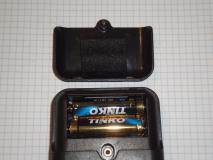
batteries |
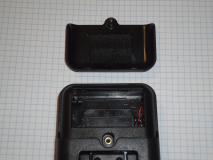
battery compartment | 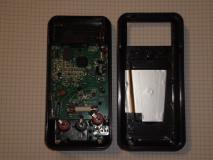
inside | 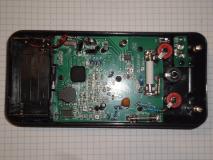
inside | 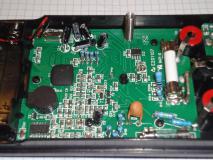
inside |
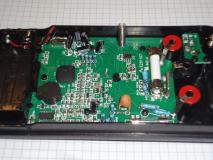
inside | 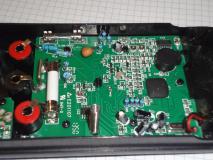
inside | 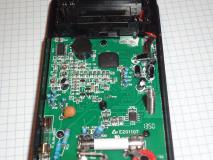
inside | |
Schematics
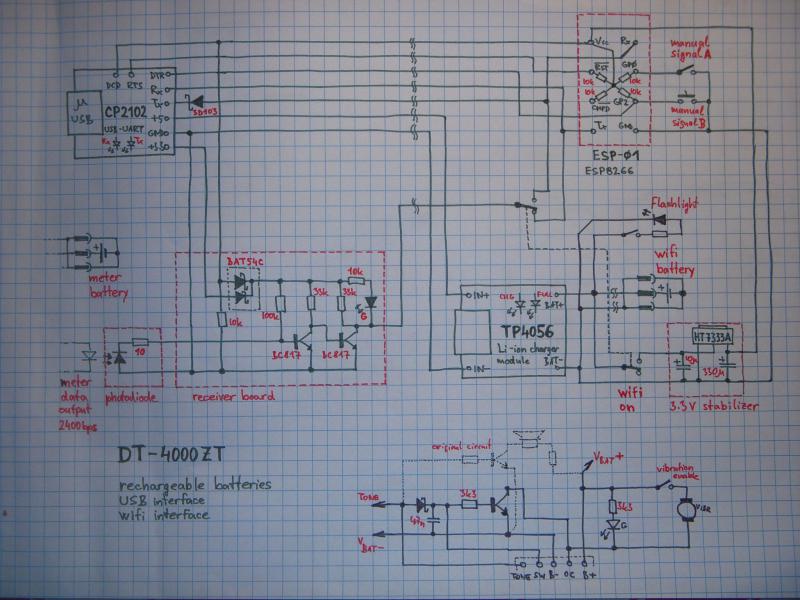
CAUTION: The pullup resistor on the photodiode should be 3.3 kΩ, not 100 kΩ.
This apparently worked earlier, but here it caused too slow rising edge from the photodiode,
which ate too much of pulse widths, taking them way out of specs even for the otherwise tolerant 2400 bps.
Rechargeable battery
A stock of rCR123a batteries was obtained. These cells were chosen as the standard retrofits.
A three-pin female header is used as charging connector. To avoid polarity problems, the edge pins are the negative
side, the center is the positive.
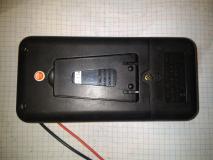
multimeter | 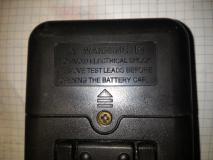
battery compartment | 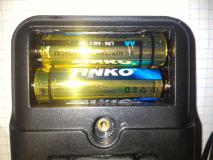
original batteries | 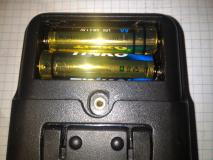
original batteries |
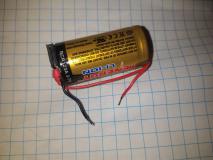
rechargeable battery | 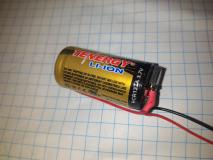
rechargeable battery | 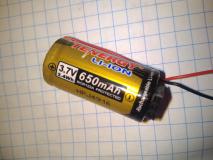
rechargeable battery | 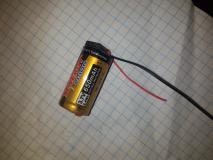
rechargeable battery |
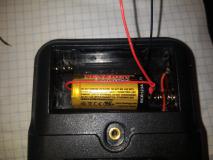
retrofit battery | 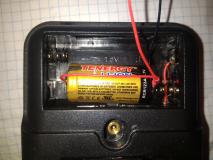
retrofit battery | 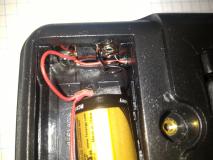
retrofit battery | 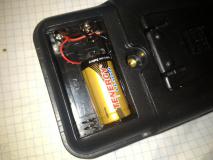
retrofit battery |
USB interface
The meter has optoisolated digital output. The meter controller outputs data at 2400bps, no parity, 1 stop bit, plain UART,
via infrared LED on the main meter board. The output board has a matching photodiode with a serial resistor, directly attached
to a 3.5mm panel jack. This allows the vendor to use both RS-232 and USB interface dongles. This also allows the gremlins to
snatch the interface when nobody looks and then giggle as the engineer tries to find it.
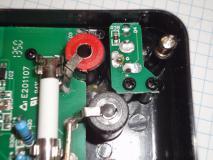
banana plugs, optical coupler | 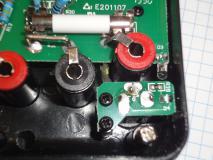
digital output optocoupler | 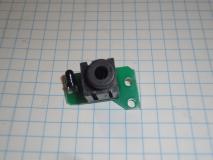
digital output module | 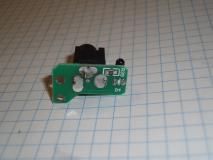
digital output module |
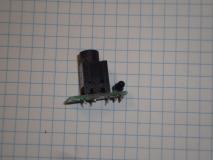
digital output module | | | |
The stock USB dongle was, predictably, quickly lost in the workshop mess. Not only that, it used CH341, a chip without
unique identification. Two meters attached to a linux machine therefore got only one link in the /dev/serial/by-id/ directory.
This made it impossible to comfortably access the meters by name.
A CP2102-based USB board was chosen as the new interface on the basis of availability, price, and configurable
onboard EEPROM that can store custom device names.
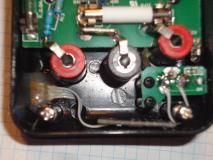
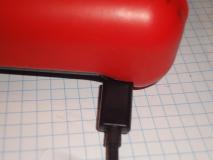
The original USB-A male connector was desoldered. A little breakout board with microUSB-B female was attached instead. A hole was cut
in the meter's bottom right side, for easy access and to not interfere with the other attached cables.
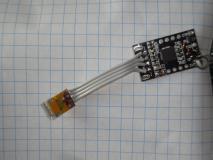
board with connector | 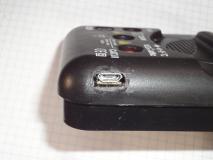
connector in place | 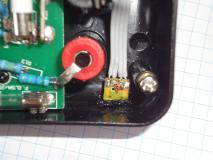
connector in place | 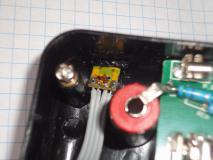
connector in place |
connector in place | 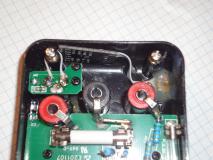
connector in place | 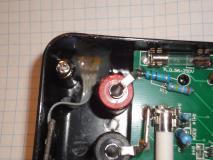
connector in place | 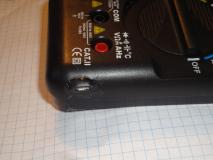
connector in place |
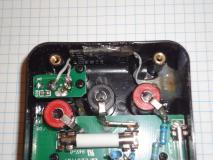
board in place | 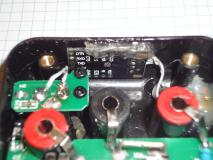
board in place | 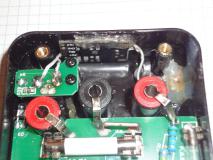
board in place | 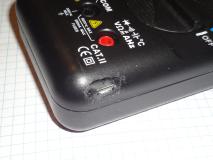
connector in place |

connector in place | 
connector in place | 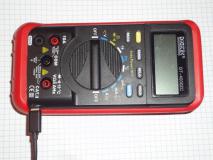
cable attached | 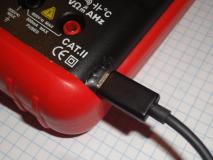
cable attached |
cable attached | | | |
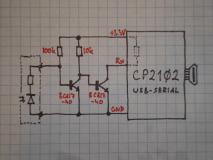
The photodiode could not be attached directly to the Rx line, the internal pullup was apparently too high. A two-transistor
signal conditioning circuit had to be used.
electrical schematics | 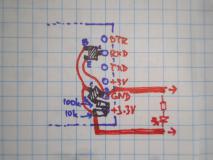
parts layout | 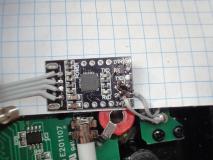
actual circuit | 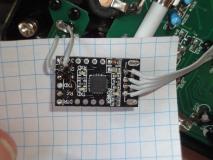
actual circuit |
WIFI interface, NodeMCU
To achieve wireless connectivity, additional electronics was added. The ESP8266 chip on the ESP-01 adapter board was chosen
on the basis of availability and cost.
power subsystem
The main meter's battery is only trickle-drained. More hassle with charging is therefore permitted. The wifi module is
fairly power-hungry, comfortable charging is therefore required. A TP4052 based battery charger was chosen and attached to the
USB interface board.
To maintain electrical isolation between the USB and meter, and to avoid loss of meter functionality by depleting the battery
with the wifi functionality, a separate battery was chosen for the wifi subsystem.
As the battery can reach too high voltage, a low-drop stabilizer was placed into the circuit. Large output capacitor was chosen
due to the high pulsed power demands of the wireless module when transmitting packets.
The batteries are attached via small 3-pin symmetrical connectors. This allows charging the meter battery using the wifi charger
module, or powering the meter from the wifi battery when the internal battery dies in the field.
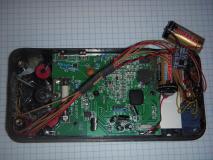
battery and electronics | 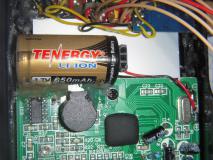
internal battery | 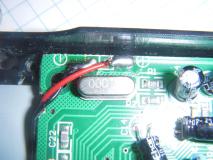
internal battery attachment | 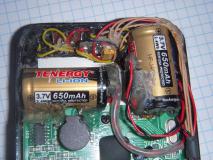
both batteries |
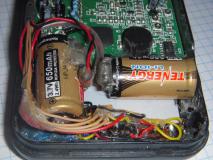
both batteries | 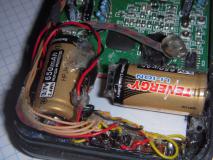
both batteries | 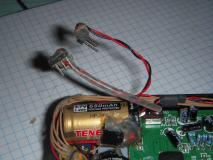
battery connector | 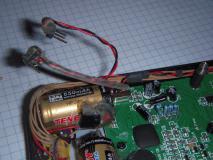
battery connector |
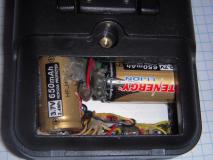
batteries on connectors | | | |
ESP-01 subsystem
The ESP board is attached to the USB board, using the crossed Rx-Tx lines for communication, and DTR,RTS lines for control
of code and firmware upload.
data lines
The power for the board is controlled by a DPDT switch. One half for power, the other half for attaching the meter's own
data Tx line to either the USB-UART Rx (when wifi is off) or to the ESP Rx (when on). This allows getting raw USB data
from the meter, or "cook" them through the ESP chip.
The meter must be manually off when the USB-ESP communication is desired to take place (flashing, code upload, configuration...).
To allow sending additional data to the server, to allow easy manual signaling of various conditions to the data-handling
software, two additional control elements were added to the panel; a slide switch, and a pushbutton. This allows sending events for
starting and stopping the logging, or to request any arbitrary action from the server that we can attach to the event.
The switches are attached to the GPIO0 and GPIO2 lines, which share functionality with power-on/boot mode setting of the chip.
This was forced by pin availability on the ESP-01 module. Both have to be in the off position for the ESP module to power on into the
non-bootloading flash operating mode.
The power from the wifi unit is attached to the UART DCD signal, allowing the host to sense if the wifi unit is powered.
The Schottky diode on the UART Tx output is to avoid crosstalk and pullup issues.
switches on panel front | 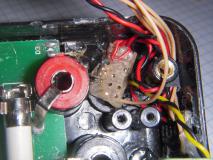
photodiode signal board | 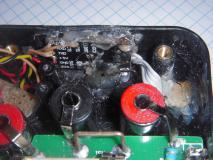
opto and USB | 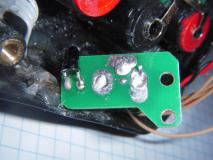
photodiode board |
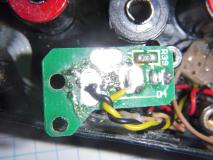
photodiode board | 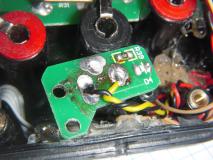
photodiode board | 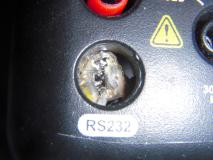
photodiode signal board, indication in place | 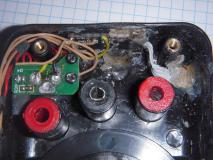
USB-UART, opto receiver |
ESP software
The NodeMCU firmware was chosen on the basis of ease of use. The communication and data conversion software is written in
the Lua
 scripting language.
At the initial version, configuration is handled by the "cfg.cfg" file that has to be manually edited. Wireless and other config
modes will be added later.
The data are sent via MQTT framework, using NodeMCU mqtt module (and Mosquito client on the server side to receive the data).
There are three types of data sent:
- s, status - uptime, heap (memory available), battery voltage
- e, event - unit powered up, switch was moved, button was pressed (and for how long)
- d, data - decoded data from the display, status of switch and button
The source is dirty, full of pieces of older things it was derived from expediently.
Most of the files, except init.lua, are compiled to .lc files after upload.
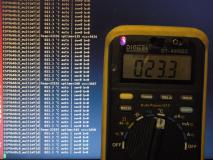
data feed normal | 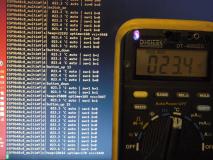
data feed with user events | | |
software .lua files
Haptic and visual continuity beeper indicator
The meter has a continuity tester mode. Below-limit resistance between the probes is indicated by an acoustic beep.
This is less than suitable in noisy factory floor environments. Additional indication had to be added.
The beeper is a small speaker, controlled with a transistor, by an AC square wave from the controller chip. However, we need
a steady on/off signal. A diode-capacitor detector circuit, driving an output transistor, was built on a tiny circuitboard
and attached to the meter.
For visual indication, a bright green SMD LED was placed on a pillar glued to the circuitboard and located under a hole made into the meter cover.
For haptic indication, a small vibration motor was built onto the meter board. A switch was added to disable it, as it is power
hungry and may be annoying at times.
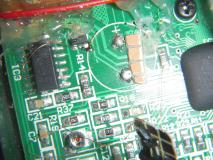
attachment points | 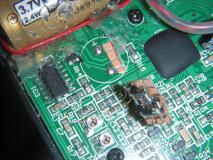
beeper detector board | 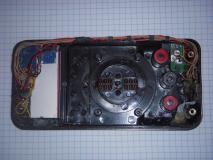
meter wifi assembly, inside | 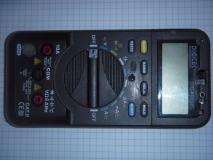
meter wifi and beeper LED outside |
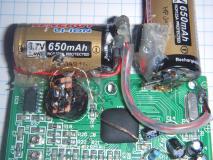
beeper detector | 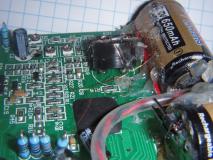
beeper detector | 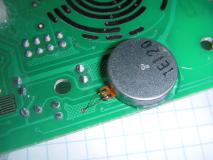
vibration motor | 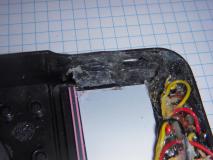
flashlamp switch compartment |
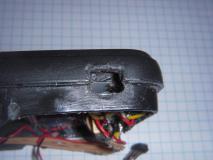
flashlamp switch hole | 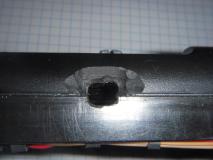
haptic enable switch hole | 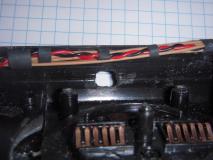
haptic enable switch hole | 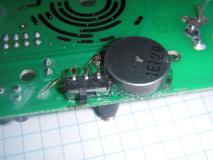
haptic switch, vibration motor |
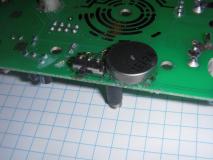
haptic switch, vibration motor | 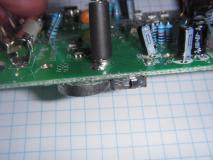
haptic switch, vibration motor | | |
experimentation interface
To experiment with further user interfaces, e.g. vibration motor or indicator LED directly on the handheld probe, or for feeding
the acoustic signal by a wireless interface, a five-pin connector was added:
- Batt+, battery positive
- OC_OUT, open-collector output of the transistor
- Batt-, battery negative
- SIGNAL, rectified detected signal from the diode-capacitor
- SOUND, the raw square-wave beep signal
To attach just a LED or a motor, place it between Batt+ and OC_OUT. To attach a bluetooth audio broadcast module, use the Batt+, Batt-, and SOUND pins.
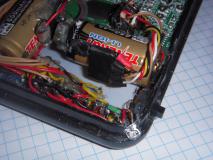
flashlight, beeper attachment connector | | | |
Flashlight
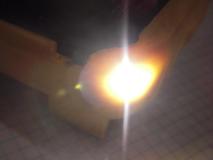
Too often, something small gets dropped inside of a dark space, or under the table. As the multimeter is usually already on hand,
too big to misplace too easily, and with a decent battery inside, adding a flashlight is a no-brainer.
The space was chosen in the corner of the device, to allow shining into tighter spaces from proximity.
A compartment was milled into the housing, a slide switch was glued in there.
A fairly weak LED was used due to availability constraits, it will be replaced with a more powerful one.
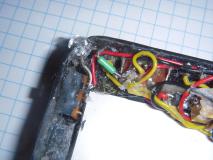
flashlight switch in place | 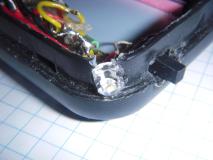
flashlight switch and LED | 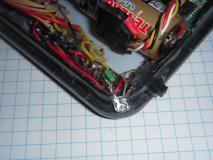
flashlight switch and LED | 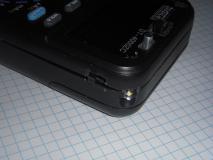
flashlight |
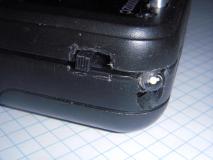
flashlight | 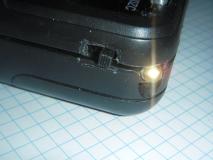
flashlight | 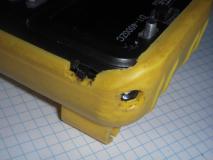
flashlight | 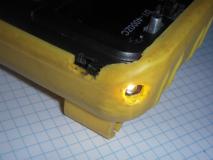
flashlight |
flashlight | 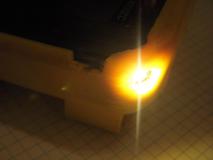
flashlight | | |
Mechanical integration
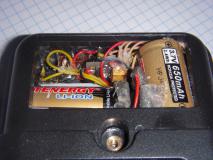
Holes were drilled or milled in the panel for the switches and for the indicator LEDs. There are plenty of little lights, as it should be.
Parts were attached usually by hot-melt adhesive, to allow reworking and for ease of work. The adhesive was also used as strain relief
and mechanical fixation on internal wiring.
electronics assembly | 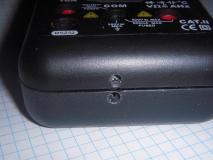
USB-UART RxTx LEDs | 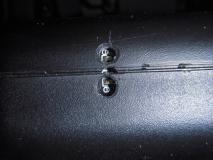
USB-UART RxTx LEDs | 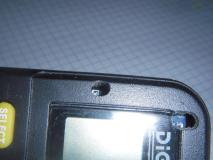
charger and wifi LEDs |
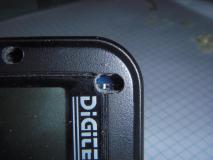
wifi LEDs | 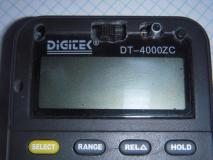
panel switches | 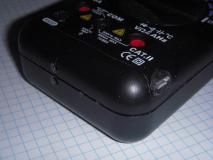
bottom side with USB | 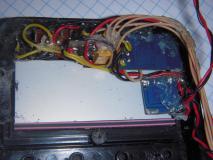
switches, power stabilizer, ESP-01, charger |
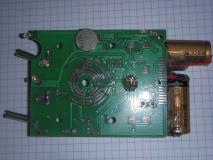
mainboard with vibration and LED and batteries | 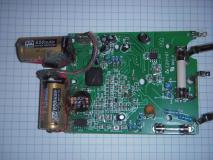
mainboard with batteries and beeper detector | 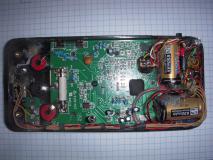
whole shebang | |
Todo
- Isolation spacers, to improve isolation between USB/wifi and meter (important only when reading USB data, or when feeding from external power supply)
- Retrofit the red meter with wifi as well
- Improve and document the software
- Replace ESP8266
 -based ESP-01 with ESP-12 for more GPIOs (and better LEDs signalling and so on), or with ESP32
 (yet more capabilities, and Bluetooth)
- Brighter LED for the flashlight
| If you have any comments or questions about the topic, please let me know here: |
 Why
Why


